Measuring flows, Install the flow hood, Start-up mode – Retrotec Flow Finder MK 2 User Manual
Page 12
Page 12 of 17
M:\PDF\Source\Manual-FlowFinder mk2\Manual-FlowFinder mk2.docx
© Retrotec Inc. 2014
7. Measuring flows
Install the flow hood
For small exhaust grilles the FlowFinder can be used without a hood. For larger exhaust grilles and for
ALL supplies, a hood must be used.
-
Optional 9.5 x 9.5 inches (241x241mm) hood for small supply measurements.
-
Clear 19 x 19 inches (407x407mm) hood for all exhaust and supply measurements.
-
Optional cloth hood 24 x 24 inches (610x610mm) for all supply and exhaust measurements.
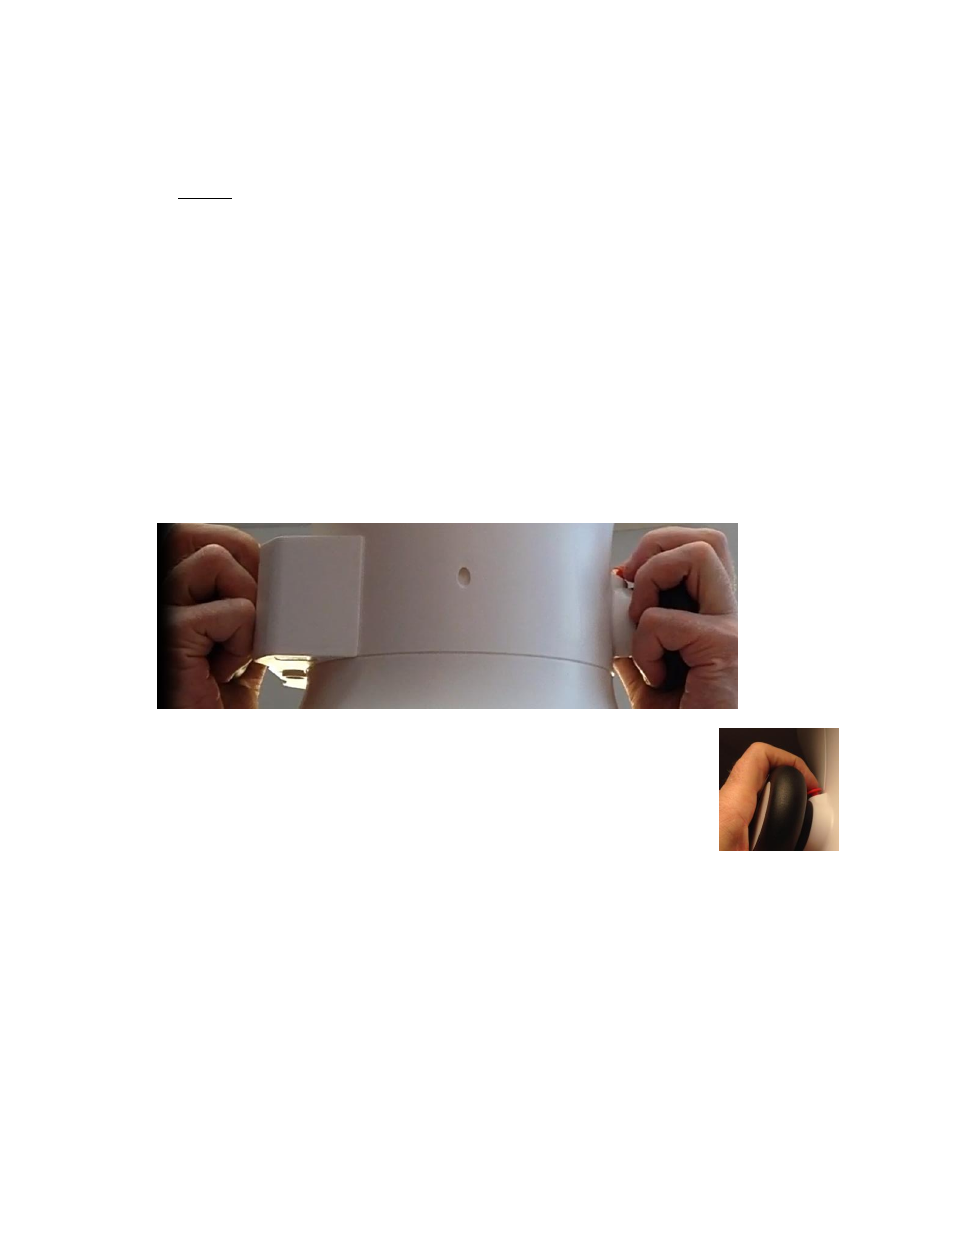
Attach the hood by fitting it to the body of the Flow Finder then pull the O-rings over the black posts.
Avoid using the Flow Hood for holding the Flow Finder but rather use the round knobs on both sides of
the body.
Start-up Mode
At start-up the FlowFinder will be ready to measure in the default mode set in Section 5. A red blinking
“0” shows it’s in the Adjust Mode while “- - -” shows it’s in Validate mode.
To make a measurement, hold the FlowFinder by its round handles and place the
instrument over the outlet or inlet you want to measure. A tight connection gives a
more accurate reading but good results can still be achieved with considerable gaps.
Press and release the red button behind the left knob to start the measurement.
Push too long and it may stop.