Epson 60 User Manual
Page 40
SELECTYPE LEVEL 2 FEATURES
How to Enter Selectype Level 2
Unlike Level 1, the procedures for Level 2 are the same even if you have set up both of
your printer’s channels.
1. Make sure that the printer is in printer "Ready" mode.
Note: If the machine is in fax standby mode, press
Function 3 5 Yes
.
2. Press and hold down
until the display is as
shown on the right. Then release the key im -
mediately.
Note:
If you let go the
key before you reached Level 2 mode, press
until you
get to printer "Ready" mode, then try again.
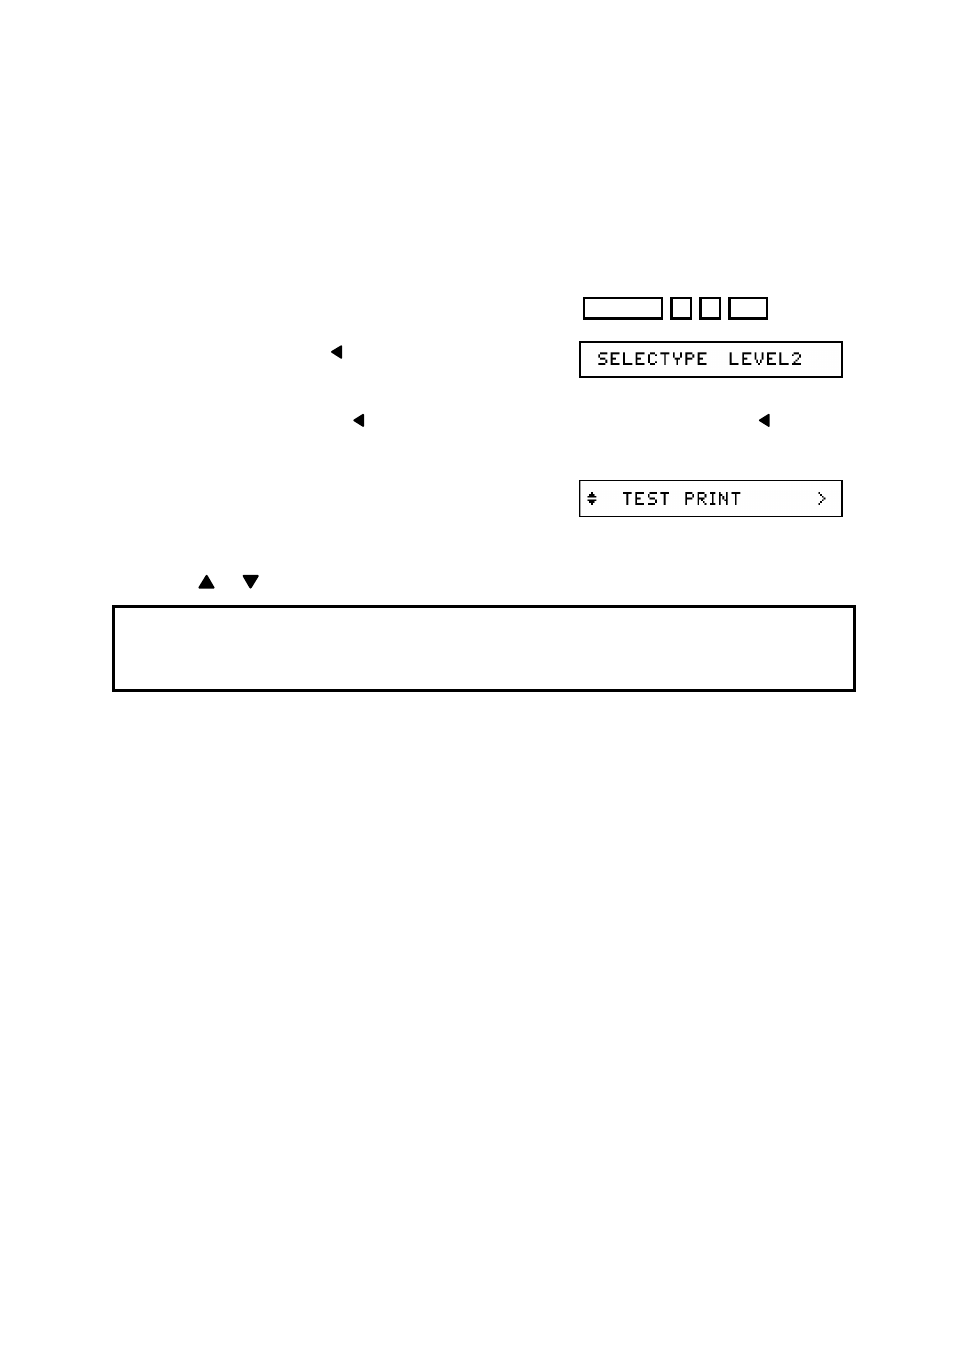
3. The display soon changes to show one of the
Level 2 menu features. An example is shown
on the right.
4. Press
or
until the feature that you want is displayed.
If you change a Level 2 setting and want to keep it permanently (that is, if you do
not want the machine to go back to the old setting when you switch the power off),
do the P-CONFIG SAVE routine on page 41.
Each of the Level 2 features is explained below. For a concise list of the features that
are available in level 2, see page 22.
TEST PRINT
Use this feature to print a test pattern.
Available Options: 1 (vertical lines), 2 (horizontal lines)
The procedure is given in the "Installation" section (see page 8).
MODE ASSIGN
Use this feature to select the emulation mode that you wish to use. If you are using
both printer channels, you can select a different emulation mode for each channel.
The procedure is given in the "Selecting an Emulation Mode" section (see page 16).
ADJUSTING THE PRINTER SETTINGS
34