Epson 60 User Manual
Page 31
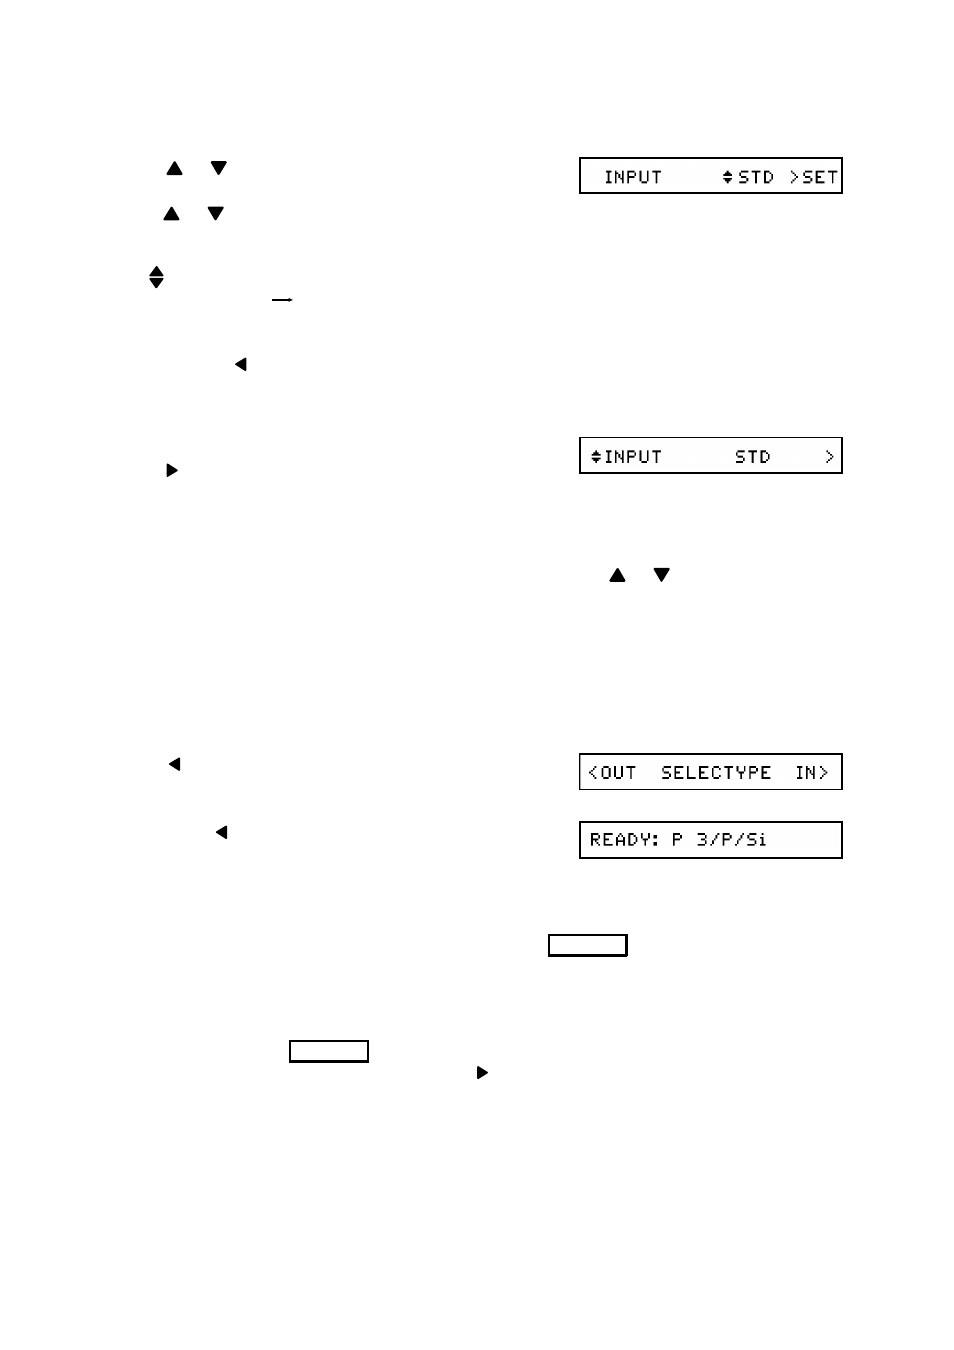
4. Display the required setting for this feature.
Press
or
to scroll through the possible set-
tings until you see the one that you want. Hold
down
or
if you wish to scroll quickly through
the possible settings.
The
icon to the left of "STD" indicates that STD is a possible setting, but it is not the
current setting. An
icon would indicate that this is the current setting.
Note:
If you want to return to the main menu at any time without changing a setting,
press
until you get back to the main menu.
5. Store the displayed setting.
When you see the setting that you want,
press
.
The new setting is stored, and you are returned to the main menu for Level 1. The new
setting is displayed.
If you wish, you can scroll through the main menu with the
or
key to change an-
other setting. If you have finished changing settings, go on to step 6.
Note:
You cannot move directly to a setting that is in a different Selectype level. For
example, you cannot directly access a Level 2 feature while you are in Level 1.
You must return to printer "Ready" mode, then enter Selectype Level 2.
6. Go back to printer "Ready" mode.
Press
as many times as necessary until you
see the following.
Then press
once more to go to printer "Ready"
mode.
7. Return the machine to standby mode for fax communication.
To return the fax machine to standby mode, press
Function
.
Also, if you do not touch the machine for 4 minutes, the machine returns to standby
mode automatically.
Note:
If you press
Function
while still in the middle of a procedure, your setting will
not be stored (unless you pressed
(SET) first). However, when you enter
printer setup mode again, the display will take you immediately to where you
were just before you left it. Also you may have to reset the machine on/off line.
ADJUSTING THE PRINTER SETTINGS
25