Casio E-CON Version 1.20 User Manual
Page 8
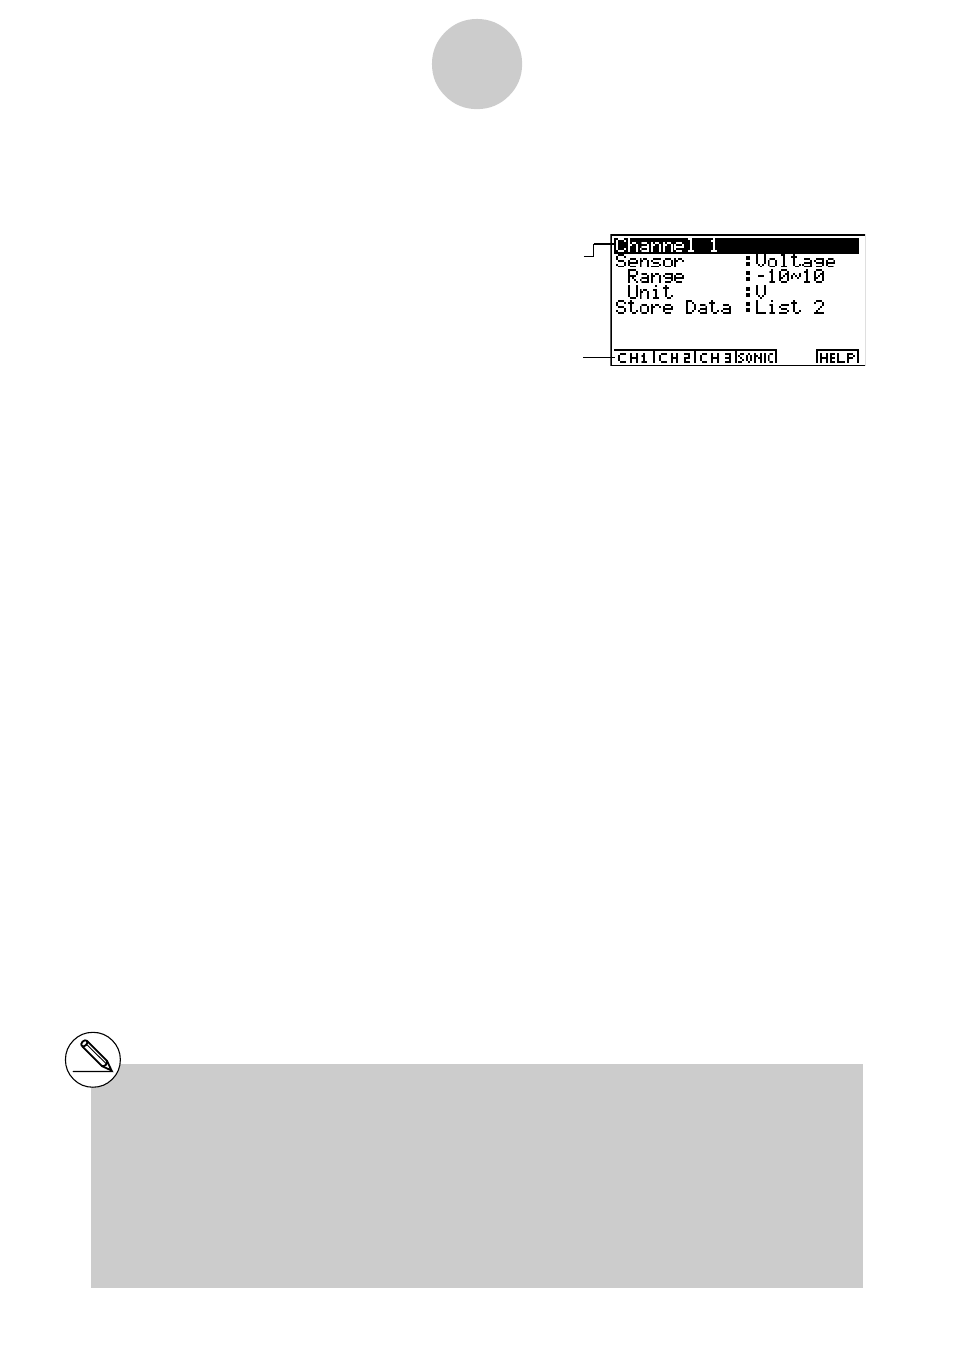
• To change Channel parameter settings
1. While the Advanced Setup menu is on the display, press b(Channel).
• This displays the Channel parameter setting screen.
2-6
EA-100 Setup
# If the list you specify for the Sample Data
Storage Location (Store Data) in step 2 is
already being used for data storage by
another sensor or for Record Time storage,
data is overwritten according to the priority
sequence shown below.
1. (Highest) SONIC
4. CH1
2. CH3
5. (Lowest) Record Time
3. CH2
Example: Specifying the same list number for
CH3 sample data and SONIC
sample data causes the CH3 data to
be overwritten by the SONIC data.
2. Use the function key operations described below to change Channel parameter settings.
(1) Selected Channel
• 1(CH1) ........ Channel 1
• 2(CH2) ........ Channel 2
• 3(CH3) ........ Channel 3
• 4(SONIC) .... Sonic channel
(2) Selected Sensor (Sensor)
• 1(CASIO) .... CASIO sensor
• 2(VERN) ..... VERNIER sensor
• 3(CSTM) ..... Custom probe
• 4(None) ....... No sensor
(3) Sample Data Storage Location (Store Data)
• 1(LIST) ........ Displays a dialog box for specifying the list for storage of
measurement data. Specify a list number from 1 to 20.
• To change the setting of an item, first use the
f and c cursor keys to move the
highlighting to the item. Next, use the function keys to select the setting you want. Note
that the Channel parameter settings you make affect the Selected Channel only. You
need to make separate settings for each channel you plan to use for sampling.
• Specifying a sensor causes its sampling range (Range) and measurement unit (Unit) to
appear on the display.
3. After all the settings are the way you want, press w to return to the Advanced Setup
menu.
Current setting of selected item
Selected item