Casio E-CON Version 1.20 User Manual
Page 14
• To configure a custom probe starting from the Advanced Setup menu
1. From the E-CON main menu, press 1(SETUP) and then c(Advan) to display the
Advanced Setup menu.
• See “Creating an EA-100 Setup Using Advanced Setup” on page 2-4 for more
information.
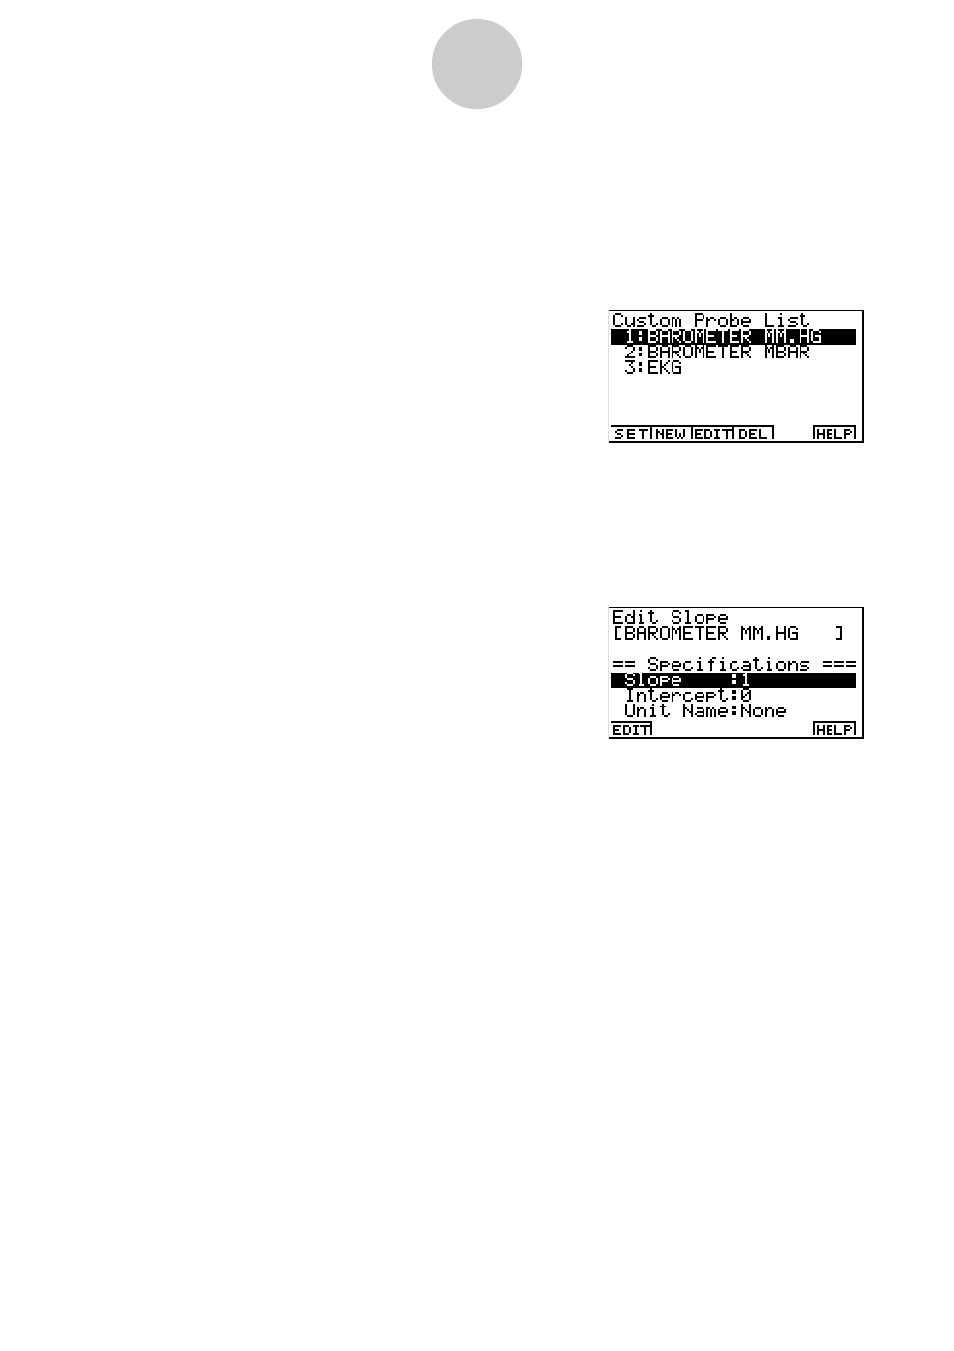
2. On the Advanced Setup menu, press f(Custom Probe) to display the Custom Probe List.
• The message “No Custom Probe” appears if the Custom Probe List is empty.
3. Press 2(NEW).
• This displays the screen for inputting the name of the new custom probe.
4. Input up to 18 characters for the custom probe name, and then press w.
• This displays the screen for configuring a new custom probe.
5. Use the function key operations described below to make custom probe configuration
settings.
• To change the setting of an item, first use the
f and c cursor keys to move the
highlighting to the item. Next, use the function keys to select the setting you want.
(1) Slope
Press 1(EDIT) to display a dialog box for inputting the slope for the linear
transformation formula.
(2) Intercept
Press 1(EDIT) to display a dialog box for inputting the intercept for the linear
transformation formula.
(3) Unit Name
Press 1(EDIT) to display a dialog box for inputting up to eight characters for the unit
name.
6. Press wand then input a memory number (1 to 99).
• This advances to the Channel parameter setting screen in step 1 under “To change
Channel parameter settings” on page 2-6. From there you can continue with the
EA-100 Advanced Setup procedure.
2-12
EA-100 Setup