K creating an ea-100 setup using advanced setup – Casio E-CON Version 1.20 User Manual
Page 6
k Creating an EA-100 Setup Using Advanced Setup
Advanced Setup provides you with total control over a number of parameters that you can
adjust to create the EA-100 setup that suits your particular needs.
u To create an EA-100 setup using Advanced Setup
The following procedure describes the general steps for using Advanced Setup. Refer to the
pages as noted for more information.
1. Display the E-CON main menu.
2. Press 1(SETUP). This displays the “Setup EA-100” sub-menu.
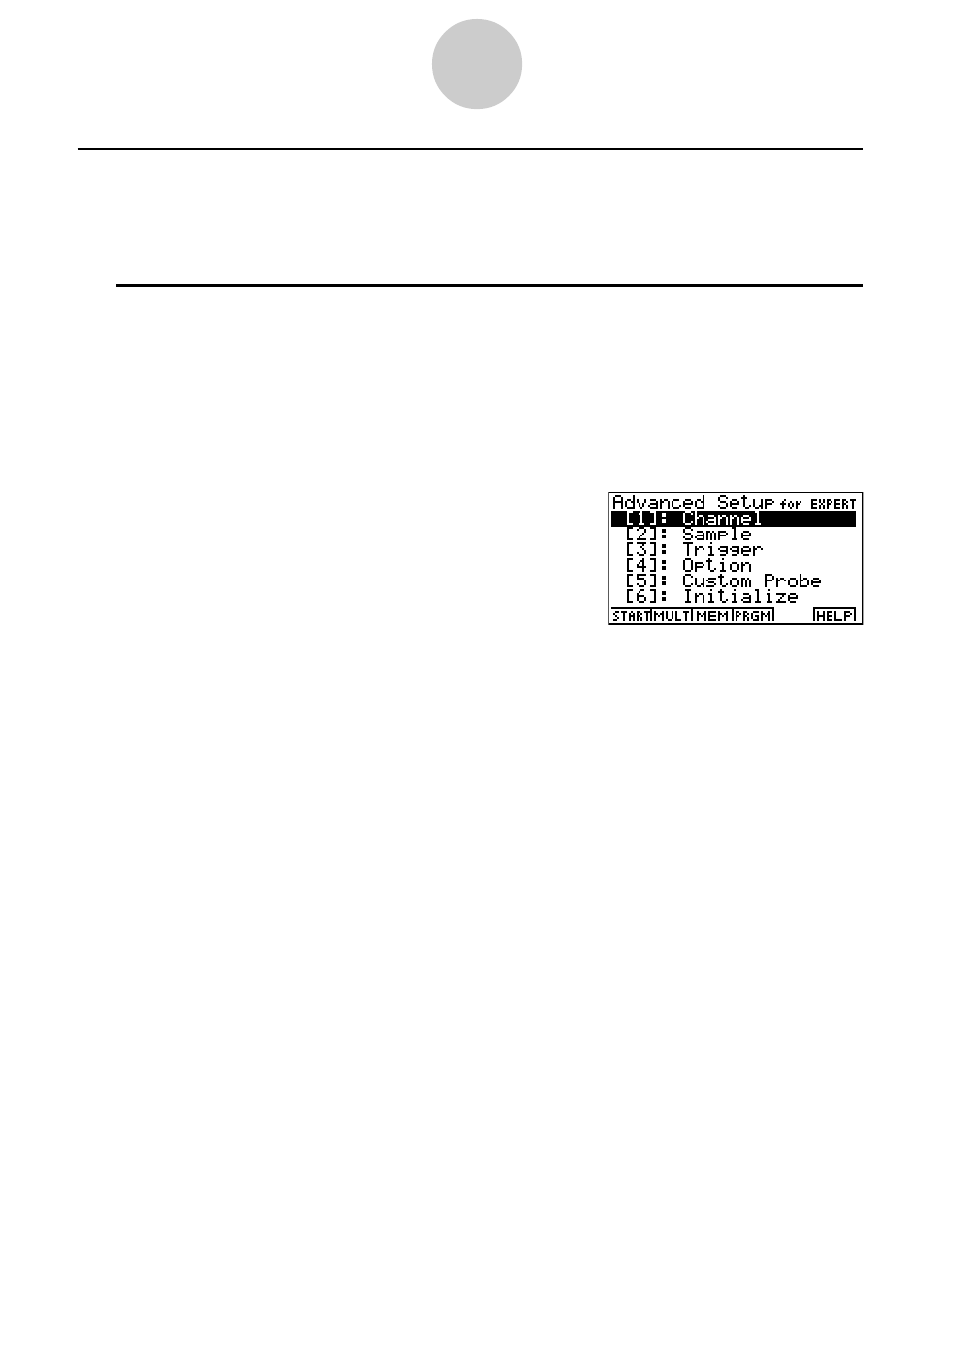
3. Press c(Advan). This displays the Advanced Setup menu.
4. If you want to configure a custom probe at this point, press f(Custom Probe). Next,
follow the steps under “To configure a custom probe starting from the Advanced Setup
menu” on page 2-12.
• You can also configure a custom probe during the procedure under “To change Channel
parameter settings” on page 2-6.
• Custom probe configurations you have stored in memory can be selected using Channel
in step 5, below.
5. Use the Advanced Setup function keys described below to set other parameters.
• b(Channel) .... Displays a screen for setting the following parameters: sampling
channel, sensor, sensor configuration, and storage location for
sample data (page 2-5).
• c(Sample) ..... Displays a screen for setting the following parameters: real-time
settings, sampling interval, number of samples, measurement time
recording method, and storage location for measurement time
records (page 2-7).
• d(Trigger) ...... Displays a screen for setting sampling start (trigger) conditions
(page 2-8).
• e(Option) ....... Displays a screen for making View Window settings, real-time
settings (channel for real-time sampling), and filter settings (page
2-10).
2-4
EA-100 Setup