Exporting a file in the p2 format – Grass Valley T2 Classic iDDR Addendum User Manual
Page 42
42
Users Manual (Addendum for SP3)
November 30, 2010
Chapter 3 T2 P2 Option
CAUTION: By default, the system will pause any transfer and conversion during a
recording or playback. If you want to change the setting to allow transfer and
conversion to be performed even during a recording or playback, click
Config.
and
then click
Common
in the "Transfer" tree. Unchecking
Pause file transfers while
recording or playing out.
enables transfer and conversion even during a recording
or playback. However, if this option is unchecked, the recording/playback
operations may not be performed normally, therefore, we recommend that you use
the system with this option checked.
Exporting a file in the P2 format
CAUTION: Importing a P2 source will copy all of the files that are located directly
under the root folder as well as the CONTENTS folder and its sub folders (AUDIO,
CLIP, ICON, PROXY, VIDEO, and VOICE folders). As for files in each folder,
only the files that are related to the selected file for the import will be copied. If a
clip imported as its native format is exported with no conversion, the exported clip
may not be properly handled by a device that uses any file or folder that was not
copied to your T2 during the import.
1. Display the clips in the Bin tab.
2. Select the P2 format clip(s) you want to export, right-click on it, and then click
Export...
.
• Multiple clips can be selected.
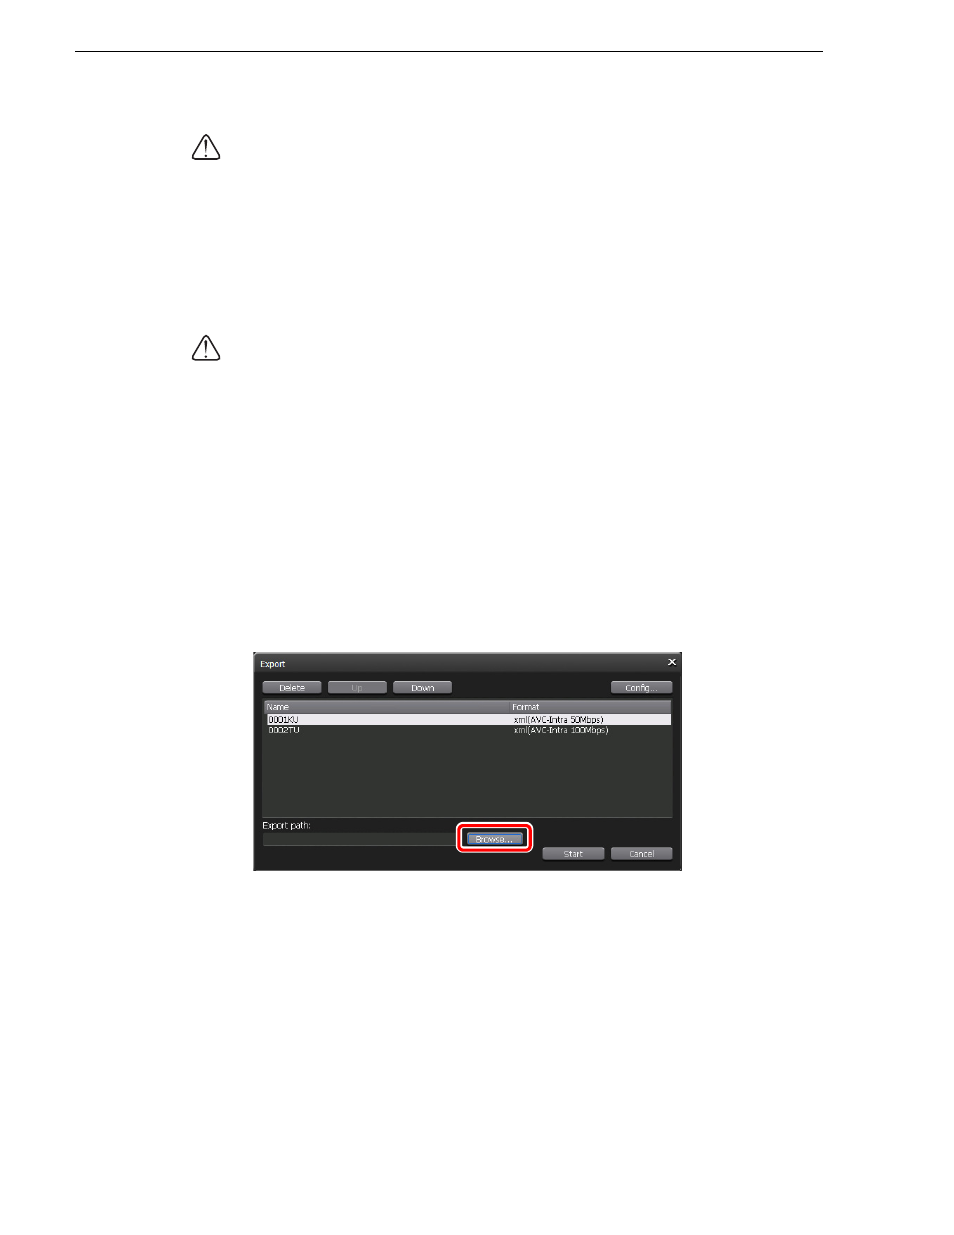
• The Export dialog box appears.
3. Click
Browse...
to configure the export destination.
• You can select a clip in the clip list on the Export dialog box and click
Up
or
Down
to change the export order.
• You can select a clip in the clip list on the Export dialog box and click
Delete
to
delete it from the export list.
4. Click
Start
.
• The export begins. You can check the progress in the transfer screen.