Grass Valley T2 Classic iDDR Addendum User Manual
Page 19
November 30, 2010
Users Manual (Addendum for SP3)
19
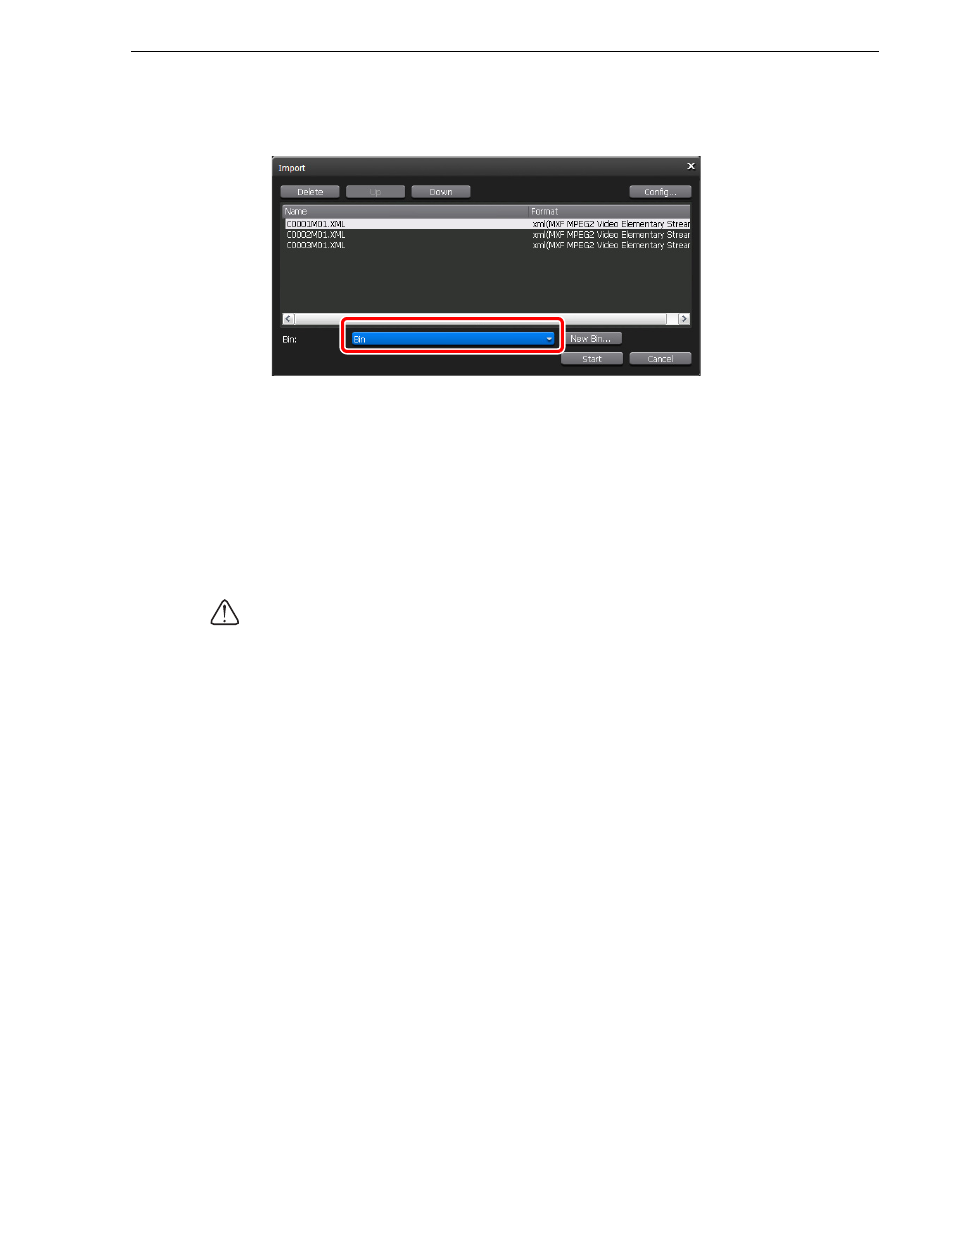
Converting XDCAM sources to Grass Valley HQ AVI for import
5. Choose the import destination bin.
• You can click
New Bin
to create a new bin and specify it as the import
destination.
• You can select a clip in the clip list on the Import dialog box and click
Up
or
Down
to change the import order.
• You can select a clip in the clip list on the Import dialog box and click
Delete
to
delete it from the import list.
6. Click
Start
.
• The import begins. You can check the progress in the transfer screen.
CAUTION: By default, the system will pause any transfer and conversion during a
recording or playback. If you want to change the setting to allow transfer and
conversion to be performed even during a recording or playback, click
Config.
and
then click
Common
in the "Transfer" tree. Unchecking
Pause file transfers while
recording or playing out.
enables transfer and conversion even during a recording
or playback. However, if this option is unchecked, the recording/playback
operations may not be performed normally, therefore, we recommend that you use
the system with this option checked.
Converting XDCAM sources to Grass Valley HQ AVI for import
You can import a file that is saved in a professional disc to your T2 after converting
it to Grass Valley HQ AVI.
1. Display the XDCAM clips in the Browse tab.
2. Select the clip(s) you want to import, right-click on it, and then click
Import
.
• Multiple clips can be selected.
• The Import dialog box appears.