Importing xdcam sources – Grass Valley T2 Classic iDDR Addendum User Manual
Page 18
18
Users Manual (Addendum for SP3)
November 30, 2010
Chapter 2 T2 XDCAM Option
2. Select and right-click a clip, and then click
Load to P1
or
Load to P2
.
• You can also load a clip by dragging and dropping it onto the P1/P2 channel or
double-clicking it after making your channel selection.
3. Click the
Play
button for the channel to which you loaded the clip.
CAUTION: Although In and Out points can be configured, importing only the part
between In and Out points is not available.
Importing XDCAM sources
You can import a file that is saved in a professional disc to your T2 as the original
XDCAM format.
CAUTION: Importing an XDCAM source will copy all of the files that are located
directly under the root folder as well as the General, Clip, Sub, and Edit folders to
your T2. As for files in each folder, only the files that are related to the selected file
for the import will be copied.
NOTE: You can also play a playlist in which XDCAM format sources and
non-XDCAM format ones are mixed.
NOTE: Clips can also be imported converting them to Grass Valley HQ AVI. In
addition, you can also convert a clip to GrassValley HQ AVI after importing it as
the original XDCAM format.
1. Display the XDCAM clips in the Browse tab.
2. Select the clip(s) you want to import, right-click on it, and then click
Import
.
• Multiple clips can be selected.
• The Import dialog box appears.
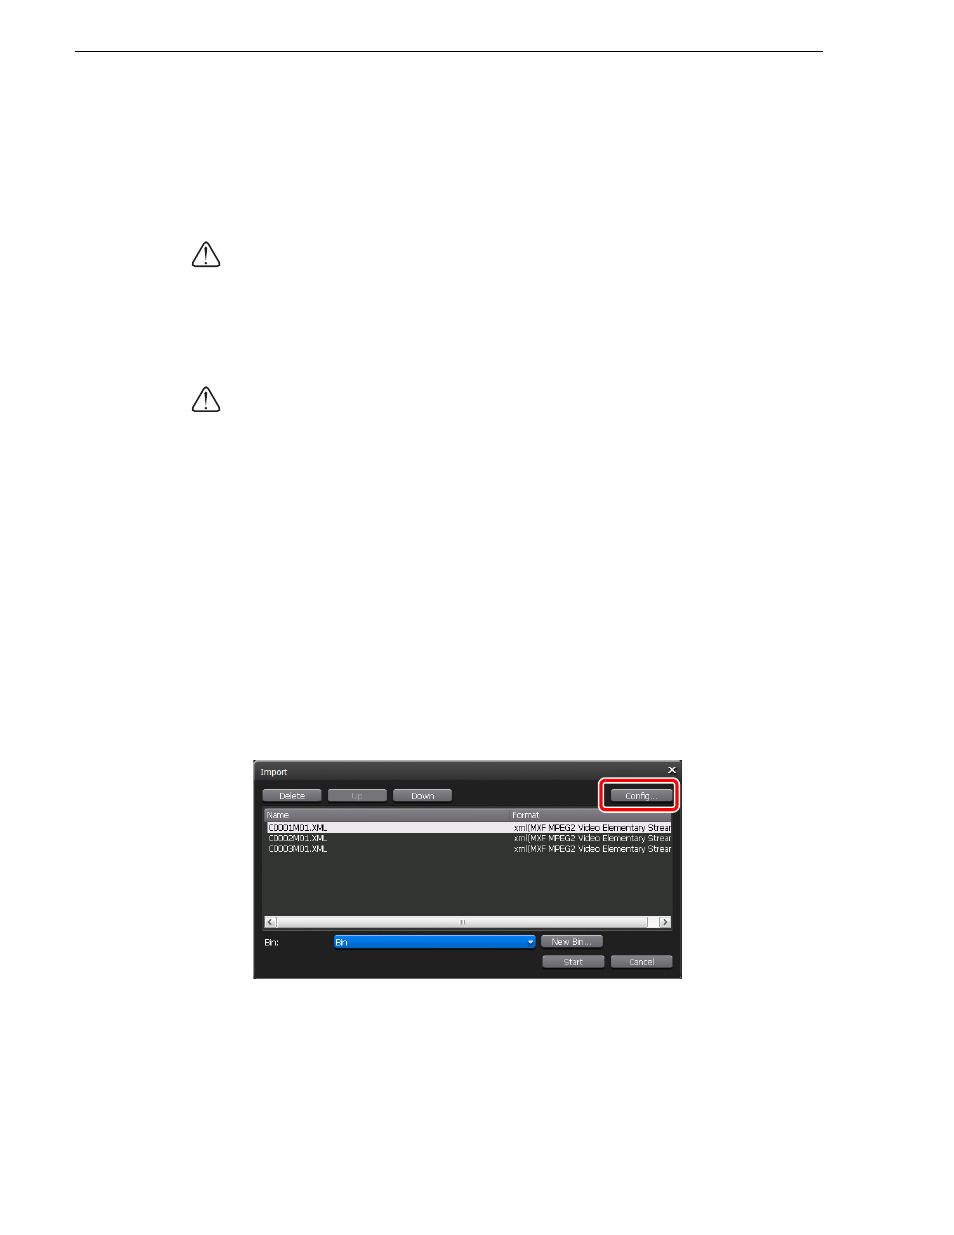
3. Click
Config...
.
• The "Format" column in the list shows the format to be imported. If no change
is necessary, you do not need to use
Config.
to change the setting. Proceed to
step 5.
4. From the "File format after import:" list, select
XDCAM
and then click
OK
.