Grass Valley FIO-1901-RR User Manual
Page 8
GUIDE TO INSTALLATION AND OPERATION
4 | FIO-1901-RR
Installing the card
Once a matching rear connector panel has been installed, install the FIO-1901-RR card as follows:
1. Open the front panel of the frame.
2. Slide the FIO-1901-RR card into the slot with the swivel handle at the top, and push gently on the handle to seat
the connectors.
3. Close the front panel of the frame.
2.2 Installation in a Densité-3 Frame
All cards and rear panels can be installed with the frame power on. The card has connectors which plug into a mid-
frame mother board for distribution of power and for connection to the controller card, and a second connector which
plugs directly into the rear connector panel for input and output.
The rear connector panel must be installed with the card out of the frame.
• To remove an existing card from the slot, tilt up the swivel handle on the front of the card to lever the connectors
apart, then use the handle to pull the card straight out of the slot.
The Densité-3 frame supports many Miranda Densité-2 series cards, including the FIO-1901-RR. Should you wish to
install the FIO-1901-RR card in your Densité-3 frame, you will need an adapter for the card as well as an adapter for
the rear panel. These adapters extend the height of the Densité-2 devices so that they will fit into the slots of the 3 RU
Densité-3 frame.
Card adapter:
There are 3 different types of adapters available,
depending on the Densité 2 card geometry, so be
sure to order the adapter designed to fit the FIO-
1901-RR card:
Densité 3 – EXT A
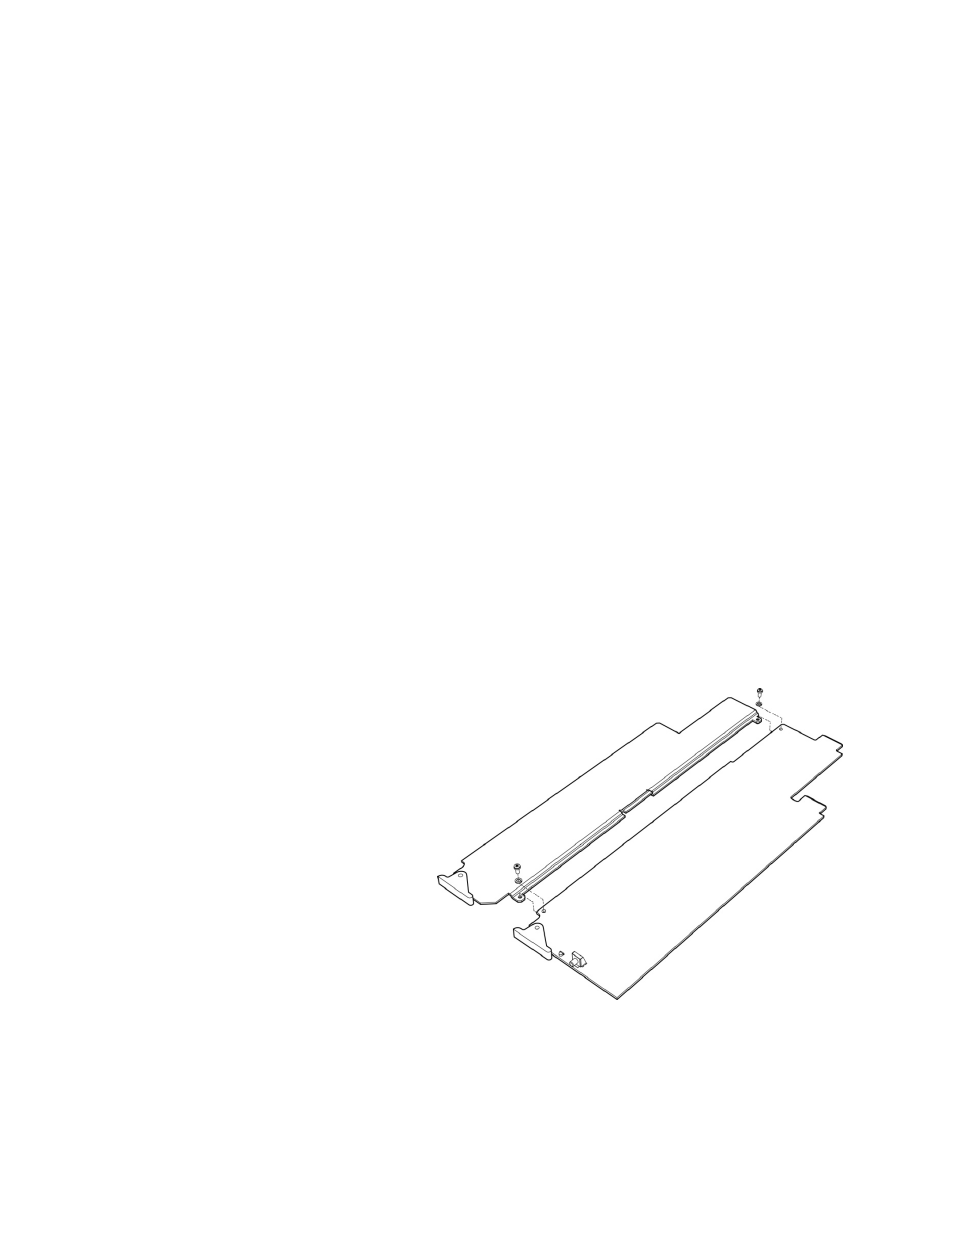
Install the adapter on the FIO-1901-RR as follows:
1. Fit the top edge of the card into the holding
slot along the bottom edge of the adapter.
2. Align the holes in the top of the card with the
holes on the adapter, and secure them
together with the two provided screws and
lock washers, as shown in the figure.