H3C Technologies H3C VMSG VFW1000 User Manual
Page 86
81
2.
Start VMware ESXI 5.1 and enable ESXI Shell. For more information about ESXI Shell
configuration, see related VMware documents.
3.
Log in to the server through ESXI Shell.
4.
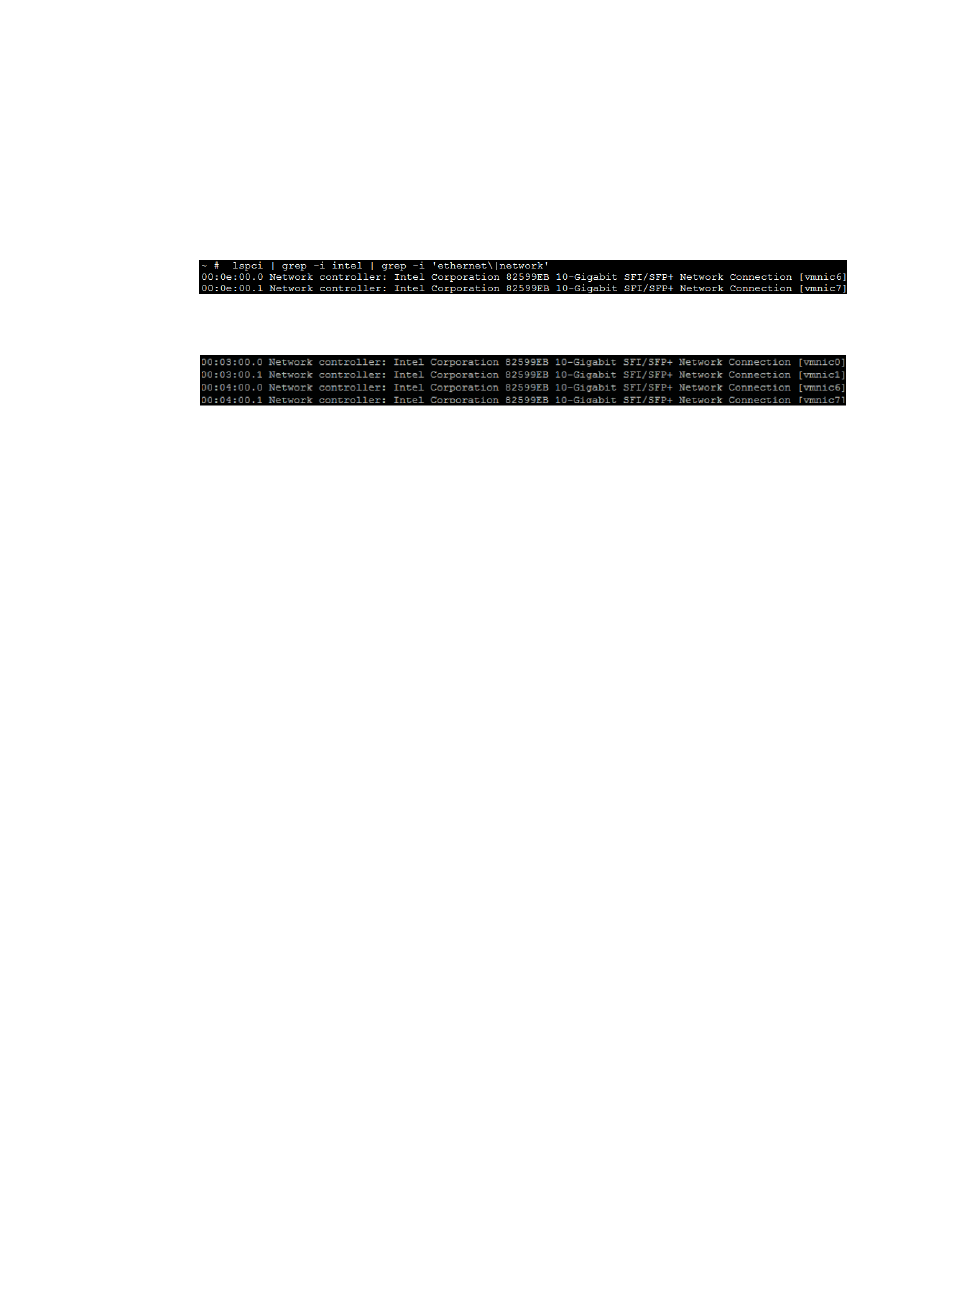
View information about the Intel 82599 NIC. The command output varies with NIC numbers.
~ # lspci | grep -i intel | grep -i 'ethernet\|network'
Figure 89 One Intel 82599 NIC, providing a total of two physical ports
Figure 90 Two Intel 82599 NICs, providing a total of four physical ports
5.
Configure the VF NICs.
~ # esxcfg-module ixgbe -s max_vfs=X,Y
Use the option max_vfs to specify the number of VF NICs for each physical port. Assign the value
for each port in the port display order after you execute the lspci | grep –i intel | grep -i
'ethernet\|network' command.
For example, there are two Intel 82599 NICs, providing a total of four physical ports, and the
ports are displayed as shown in
. If you use max_vfs=0,10,0,10, the system does not
create VF NICs for vmnic0 and vmnic6, but creates 10 VF NICs for vmnic1 and vmnic7.
6.
Verify the Intel 82599 NIC configuration and restart the server.
~ # esxcfg-module -g ixgbe
If the displayed values of max_vfs are the same as the values configured in step 5, the
configuration succeeds, and you can restart the server.
7.
Log in to the server through the VMware vSphere Client, and select Configuration > Advanced
settings to verify the VF NIC configuration.