1199-t32/64 rack mounting, Device connection, 1199-t32/64 rack mounting -5 – Visara 1199 TWA Mux User Manual
Page 15: Device connection -5
2-5
Chapter 2: Customer Installation
707026-001
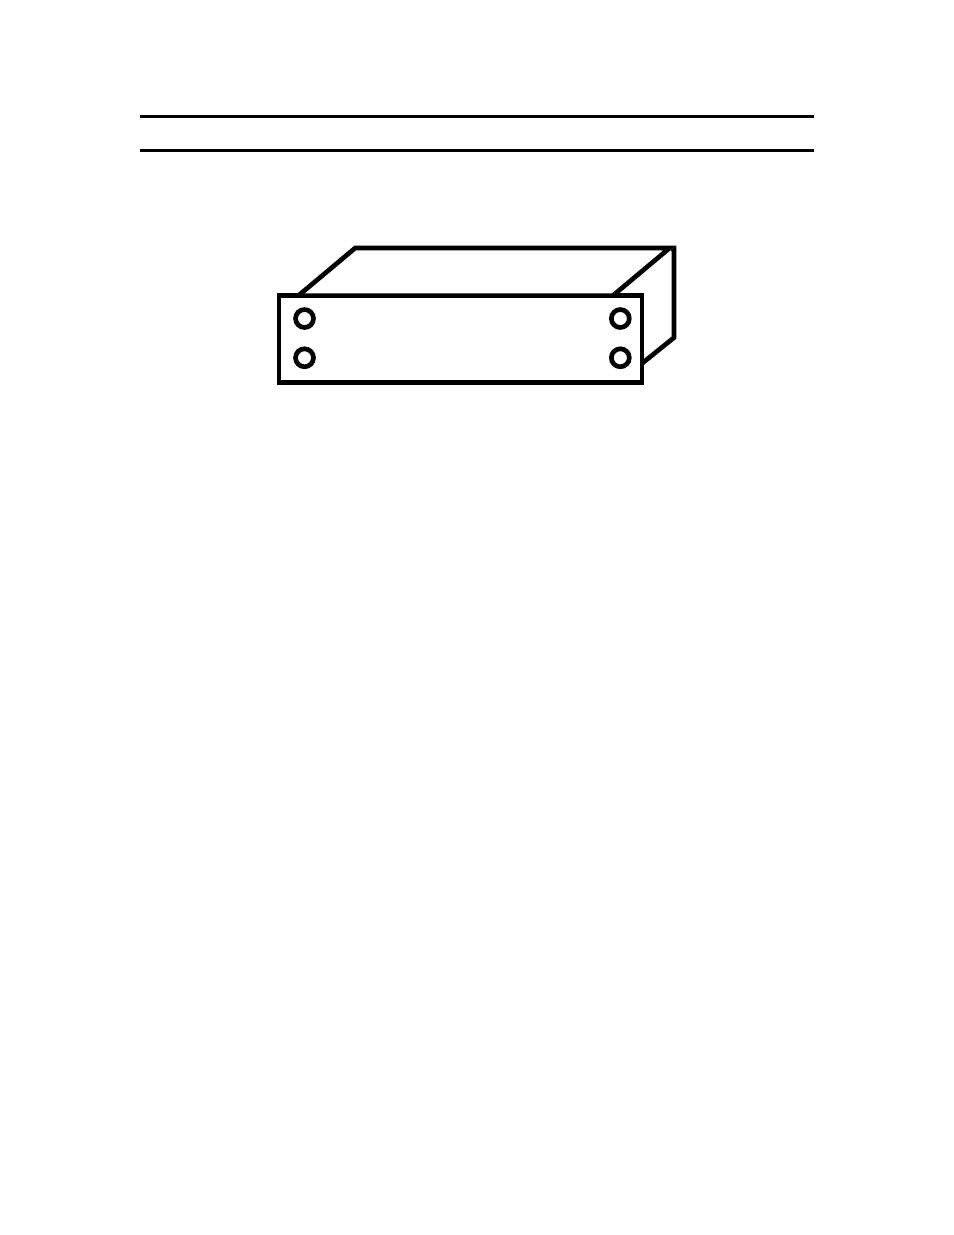
1199-T32/64 Rack Mounting
The 1199-T32/64 Multiplexers are designed with holes to mount them in a standard
equipment rack.. Four holes are provided for rack mounting. Refer to Figure 2-3.
Device Connection
Ensure the multiplexer is within reach of an acceptable AC power receptacle. There is no
power switch on the unit. Connecting the multiplexer to an AC power source is the last
step in installation. When plugged in, the green power LED on the front panel illuminates,
indicating power is applied and the unit is ON.
Connect the multiplexer in the following manner.
1.
Connect the transmission cable from the communications server (this must be a
multiplexed output port) to the BNC connector. For a 64 port TWA MUX, connect
two multiplexed outputs from the communications server to the two BNC connectors
on the TWA.
2.
Connect the associated devices to the connectors labeled A0 and A1 on the
1199-T32, or to A0 and A1 on the top and B0 and B1 on the bottom rows of
connectors for the 1199-T64.
3.
Plug the equipment side of the power cord into the multiplexer power receptacle.
4.
Plug the voltage side of the power cord into an appropriate AC power outlet. The
installation of the multiplexer is now complete.
If your multiplexer fails to work properly during its initial installation or within 48 hours,
please call the MTX IntelliCenter to report the problem and have a replacement multiplexer
shipped to you.
Call 1-888-334-4380 X6022
Figure 2-3. Rack Mounting