Setting up the tascam ds-m7.1, Adjusting the overall spl – Teac DS-M7.1 Setup Guide User Manual
Page 3
Setting up the TASCAM DS-M7.1
2
TASCAM DS-M7.1 Setup Guide
Setting up the TASCAM DS-M7.1
TASCAM DS-M7.1 Setup Guide
3
With the
SHIFT
indicator lit, press the
DOWNMIX/TRIM
key to bring up the screen at left. Note that the screen
shown here represents a 5.1 mix. If you have your setup in a different configuration, what you see on screen may
differ slightly.
Now, when you press one of the
MUTE CONTROL
keys, the pink noise will be output from the selected channel
(at the level you set earlier). The key lights to show you which channel is currently being tested. In addition, the
cursor on the screen jumps to the setting of the channel whose key has just been pressed.
TIP
When working in 5.1 mode, we suggest starting with the
C (dialog) channel in order to achieve best
results.
Use the SPL meter to measure the level from the channel at your listening position.
You can now press another of the
MUTE CONTROL
keys and read the level from the meter for that channel (we
suggest that you do not calibrate the sub-woofer) .
Using the
VALUE
dial, adjust the level of the channel until it matches the first channel.
Repeat this process until you have a variation of not more than a few dB between channels.
NOTE
These SPL adjustments do not affect the mix going from the multitrack system to the tracking record-
er—they are for monitoring purposes only.
Adjusting the overall SPL
When the individual channels are balanced, you should adjust the overall level of the system so that a nominal
signal generates the industry standard SPL. This is standardized at 85 dBC for movies, and 82 dBC for television
work.
The
SPLRefLevel
menu item described here works
in conjunction with the dBFS reference level of the device
feeding the DS-M7.1, measuring the reference level in dBC.
For example, if the source unit outputs a tone at –20 dBFS
and this menu parameter is set to 85 (dBC) there is 20 dB
of headroom available (as explained below). In other words, in this example the
SPL REFERENCE LEVEL
dis-
play can show up to 105 before distortion occurs. If the input signal is at full-scale, then there is no headroom
available past the reference level; that is, if the
SPL REFERENCE LEVEL
is set to a value above that of the
SPLREfLevel
, distortion will occur.
Therefore, if the source program material has a dynamic range that takes it up to full-scale levels, and the standard
is 85 dBC (movie), both the menu and the front panel knob should be set to 85. For other standards, the appropriate
values should be set. For a project which does not use SPL standards (e.g. music projects) the
SPLRefLevel
menu item may be set to a high value (say 109) so that the
SPL REFERENCE LEVEL
control can be used as a
volume control without distortion occurring.
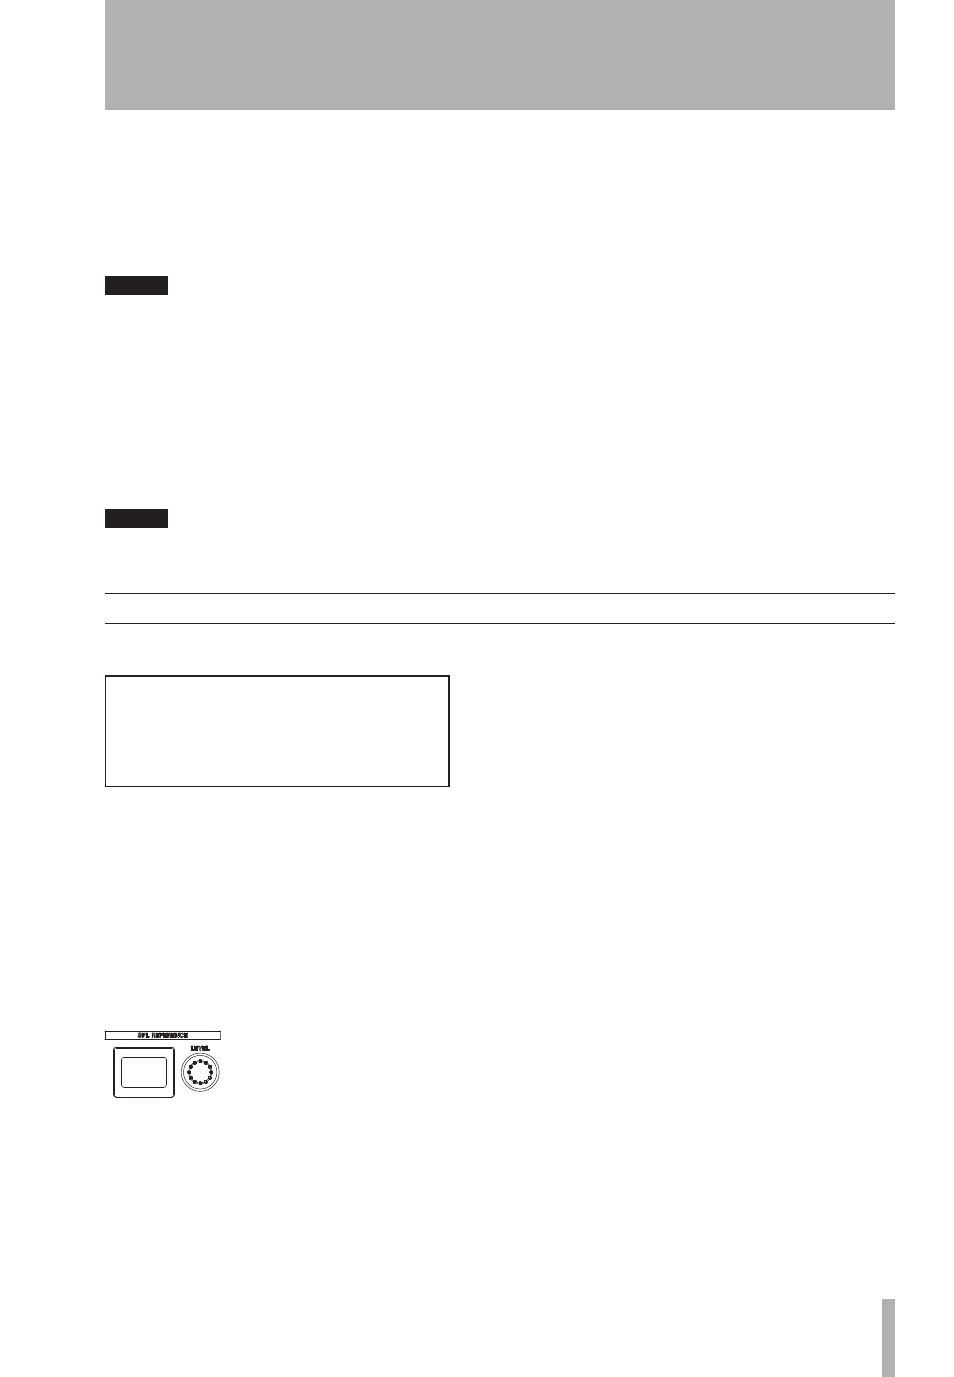
Use the
SPL REFERENCE LEVEL
control and 2-digit display on the DS-M7.1 to adjust the SPL
level in the following way:
Turn down your monitoring amplification system.
Press the
SYSTEM
key and press the cursor keys until the display shows the
SPLRefLevel
parameter. Use
the
VALUE
dial to set this so that it equals the standard you will be using in your project.
Set the
SPL REFERENCE LEVEL
control so that the display shows the reference level you want to use.
Play a nominal level signal (pink noise) through your mixing console into the DS-M7.1. Take the reading of the
SPL meter, and adjust your amplification system until the SPL meter shows the desired level. You may now use the
SPL REFERENCE LEVEL
control to reduce the monitoring level, but only increase it if the material permits.
��
[SYSTEM]
Dimmer - 60dB
SPLRefLevel 65dB
SurroundLvl -10dB