Set up – Smithco Spray Star 1607P (1999) Operator Manual User Manual
Page 9
7
Introduction
SET UP
The Model 1600P Prime Mover arrives from
setup and ready for service. Depending on freight
conditions the tires, wheels and steering wheel may need to be installed.
The spray system is normally shipped attached to the 1600P Prime Mover. If a spray system is to be retrofitted
to a 1600P Prime Mover by a dealer or owner, assemble and attach the components in accordance with the
parts drawings in the Spray Star 1600P Parts/Service Manual.
1. Remove the top and sides from the shipping crate then remove the banding from the Spray Star.
Banding is under tension.
2. Lift front end using a hydraulic jack, taking care that the jack is not placed in a
location that would damage any steering system components, install front
wheels and torque nuts to 64-74 ft/lb (87-100 Nm). Then raise rear axle using
a hydraulic jack and install rear wheels and tires, torque lug nuts to 64-
74 ft/lb (87-100 Nm). Torque again after the first 10 hours and every
200 hours thereafter.
3. Set park brake.
4. Check the tire pressure. The front tires are 20 psi (1.4 bar) and the
rear tires are 18 psi (1.3 bar).
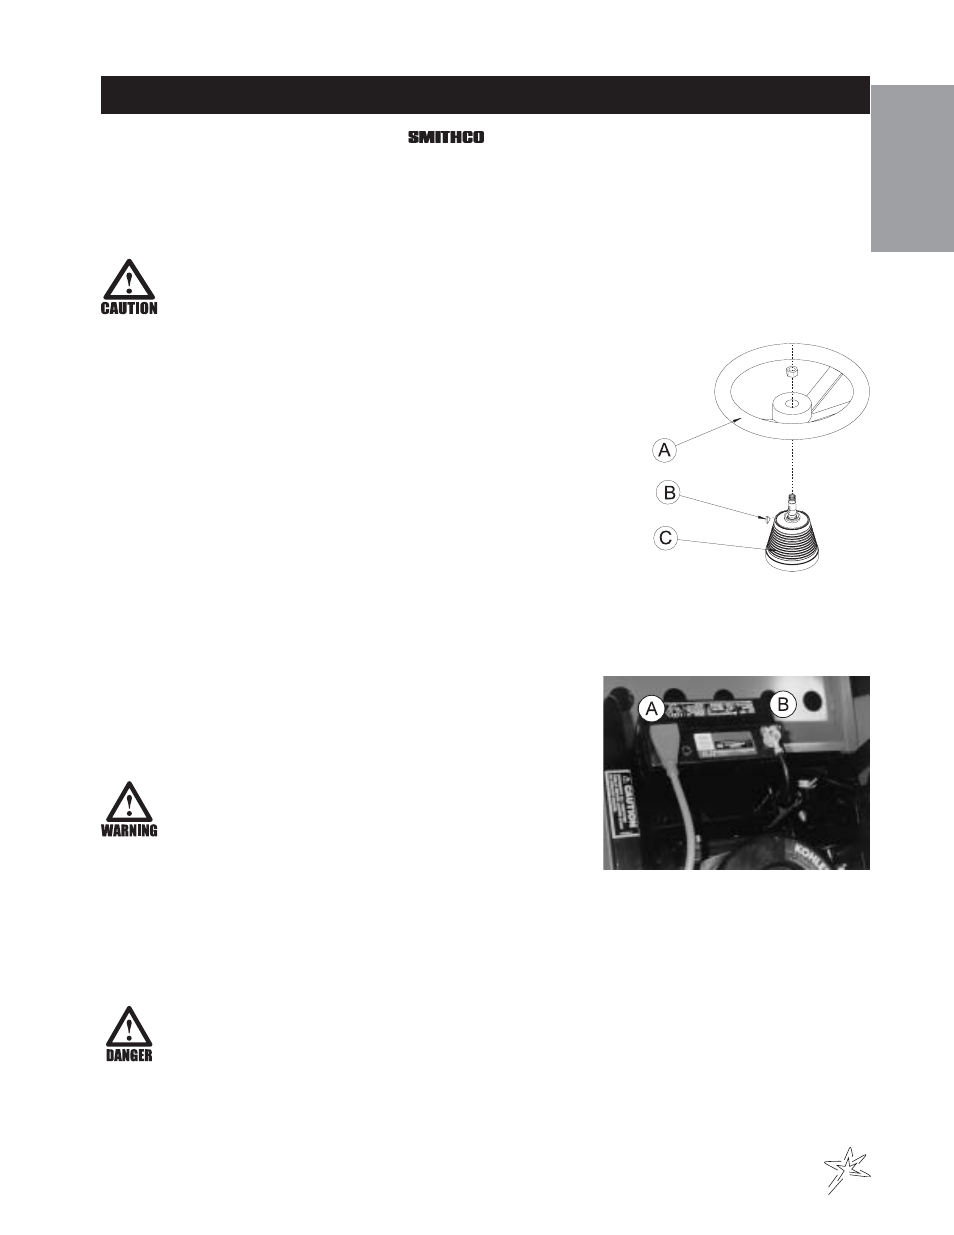
5. Remove the tape holding woodruff key (Ref B) to the shaft. Put
steering wheel (Ref A) on the shaft of the steering mechanism (Ref C).
Tighten nut to 30-40 ft/lb (41 - 54 Nm). Do not over tighten.
6. Install the seat with the stud going through the engine cover and the flat washers, lock washers and nuts.
Use the front set of holes for shorter drivers and use the back set of holes for taller drivers.
7. Be sure battery (automotive type 24F-12 volt; 575 cold cranking
AMPS minimum; 10.25" (260 mm) long x 6.88" (175 mm) wide
x 10" (254 mm) high maximum case) is installed in proper
position in the battery box, which is located on the left side of
the engine compartment. Battery posts should be to the rear.
This is a negative grounding system.
Connecting battery cables to the wrong post could
result in personal injury and/or damage to the electrical
system. Make sure battery and cables do not interfere
or rub on any moving part. Connect red positive (+)
cable (A) to battery first. When disconnecting remove
black negative (-) cable (B) first.
8. Check the engine oil and add as necessary. The dip stick is located in cutout hole behind the seat on the
left side. Oil fill is located on top of valve cover, use SAE 10W-40 API Service SJ or higher motor oil. DO
NOT OVERFILL.
9. Fill fuel tank, located on right side, with Unleaded 87 Octane gasoline (minimum).
Gasoline is flammable, caution must be used when storing or handling it. Do not fill fuel tank
while engine is running or an enclosed area, fumes are explosive and dangerous to inhale. DO
NOT SMOKE while filling the fuel tank. DO NOT OVERFILL.