Quantum Composers AF910 User Manual
Page 14
Page 14
AF910 Manual Version 1.4
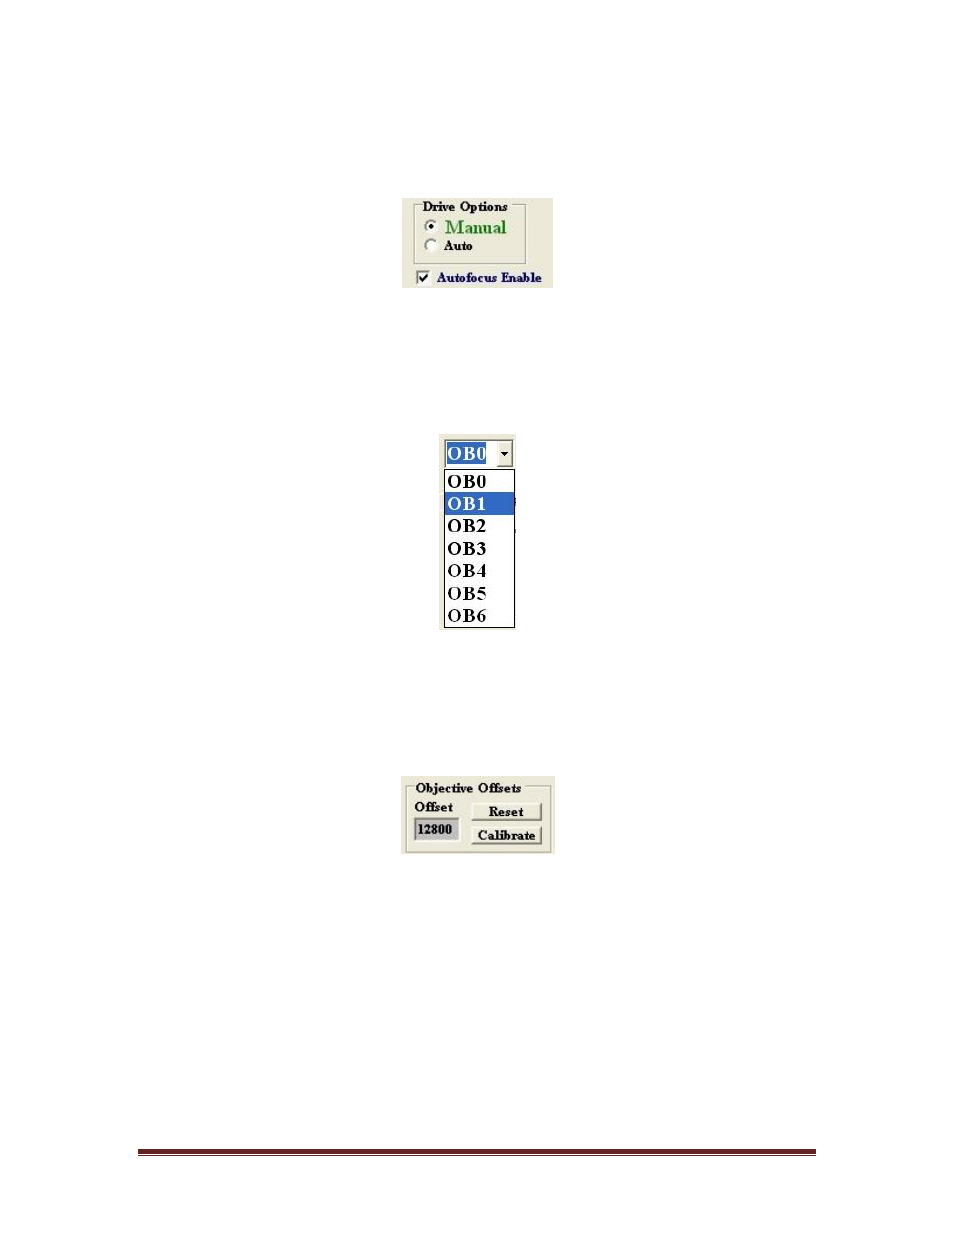
The unit will then be enabled and its status displayed. You should see that the laser diode
has been enabled. This also means that the analog output is now active. To turn off the
autofocus and thereby disabling the analog output function, deselect the Autofocus
Enable checkbox.
Figure 6 Autofocus Enable
Determine what objective number you would like to assign to the current lens. This is
done via the OB command (OB1, OB2, OB3, etc). For example, a 10x objective lens
could be assigned to OB number 1. All calibration parameters for that particular objective
would be stored as OB1. This can be selected using the included software by selecting a
number from the drop down selector.
Figure 7 Objective Selection
Focus the objective on the target sample by either using an external means or using the
built in motor controller function of the AF91x (if connected and utilized). Once focused
on the target, calibrate the autofocus by issuing the offset (OF) command or using the
software calibrate button.
Figure 8 Objective Offset Calibration
This now calibrates the selected objective to be in focus at that point. Repeat this step for
any other objectives to be used. Remember to change the objective number each time you
change objective lenses so that all the correct calibration parameters are recalled. The
calibration process should only be used if the target sample type changes or alignment of
the system is adjusted.
There are various focus windows that can be adjusted. When using the motor control
ouputs, these windows affect the speed at which the motor will move when outside the
windows. These are described in more detail under the Motor Controller section of the
manual. These windows will also affect the analog output and how it is set. In general,