Setting the clock and timer – Kleenmaid TO901X User Manual
Page 12
10
SETTING THE CLOCK AND TIMER
The time of day is displayed in hours and
minutes.
Always set the clock immediately after installation
or after a power failure. Once power returns to
the oven, the clock displays the time 12:00
AM
or
0:00 depending on the clock format.
The clock time will appear during all oven
operations except when the timer or a timed
cooking operation is running.
The oven is preset to a 12-hour clock and
indicates AM and PM. The clock can be changed
to 24hr mode. Refer to Page 20.
To Set the Clock
1. Press [CLOCK]. The hours will begin
flashing and the display will show the CLOCK
writing.
2. Press [+] or [-] to set the desired hour.
Continue until correct AM or PM is selected.
3. Press [CLOCK] again to confirm the hour
and minutes will start flashing.
4. Press [+] or [-] to set the desired minutes
value, hold the key to change by 10 minute
steps.
5. Press [CLOCK] again to confirm the time
or wait for 5 seconds.
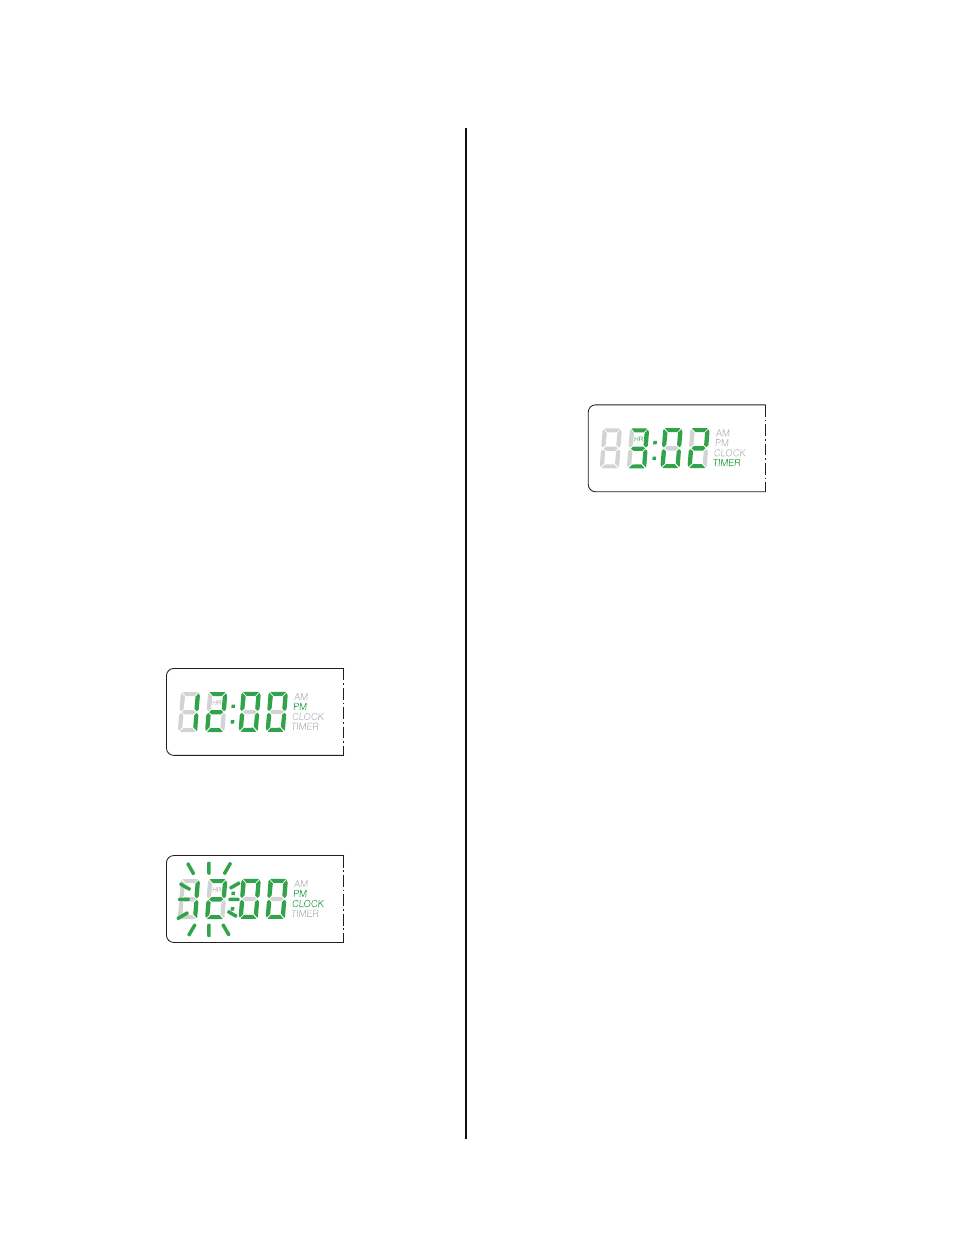
The following appears when edit mode is active
to set or change the value.
To Set the Countdown Timer
1. Press [TIMER]. The timer and TIMER writing
will appear on the display.
2. Press [TIMER] again. The hours value will
start flashing.
3. Press [+] or [-] to set the desired hour.
4. Press [TIMER] again to confirm the hour and
minutes will start flashing.
5. Press [+] or [-] to set the desired minutes
value, hold the key to change by 10 minute
steps.
6. Press [TIMER] again to confirm the value or
wait for 5 seconds.
7. TIMER will start to countdown.
8. When the time ends, reminder beeps will
sound every 6 seconds for 15 minutes or until
the timer key is pressed.
9. Timer format is usually HR:MIN but it
switches to MIN:SEC during the last minute.
10. The displayed value is always rounded to the
lower minute
11. You can change the alarm audible volume.
This action can only be done at the end of a timed
function while the alarm is sounding.
Hold [+] or [-] keys until desired volume is reached.