Creating a custom map package, To create a map package, Create custom maps – DeLorme Topo North America 9.0 User Manual
Page 207
DeLorme Topo North America Help
203
Creating a Custom Map Package
You can export maps that you create in DeLorme Topo North America to use on a DeLorme
Earthmate PN-Series GPS device. You can customize (Custom map packages are created
using the Handheld Export tab. The data that is included in a custom map package depends
on the data that is available for the export area.) your map with imagery and data from
NetLink's Map Library and draw layers. For more information about data types, see the
To Create a Map Package
Use the following steps to create a custom map to send to an Earthmate PN-Series GPS.
1. Click the Handheld Export tab.
2. Under the select layers list, select the check box next to each layer to include in the
map package. For information about layers, click a data type in the
Tips
• If you installed the PN-Series detailed DVD data on your device, clear the
Topo North America Data Series check box so you do not duplicate data.
• You can select multiple layers and then click one check box to select or clear
the check boxes for all selected items.
3. To change the maximum and minium zoom levels for the data, click the cell under
Min or Max and type the new number. Click the arrow next to the range in the table
to open a dialog with more zoom controls. For more information about zoom levels,
Data and Zoom Level Information
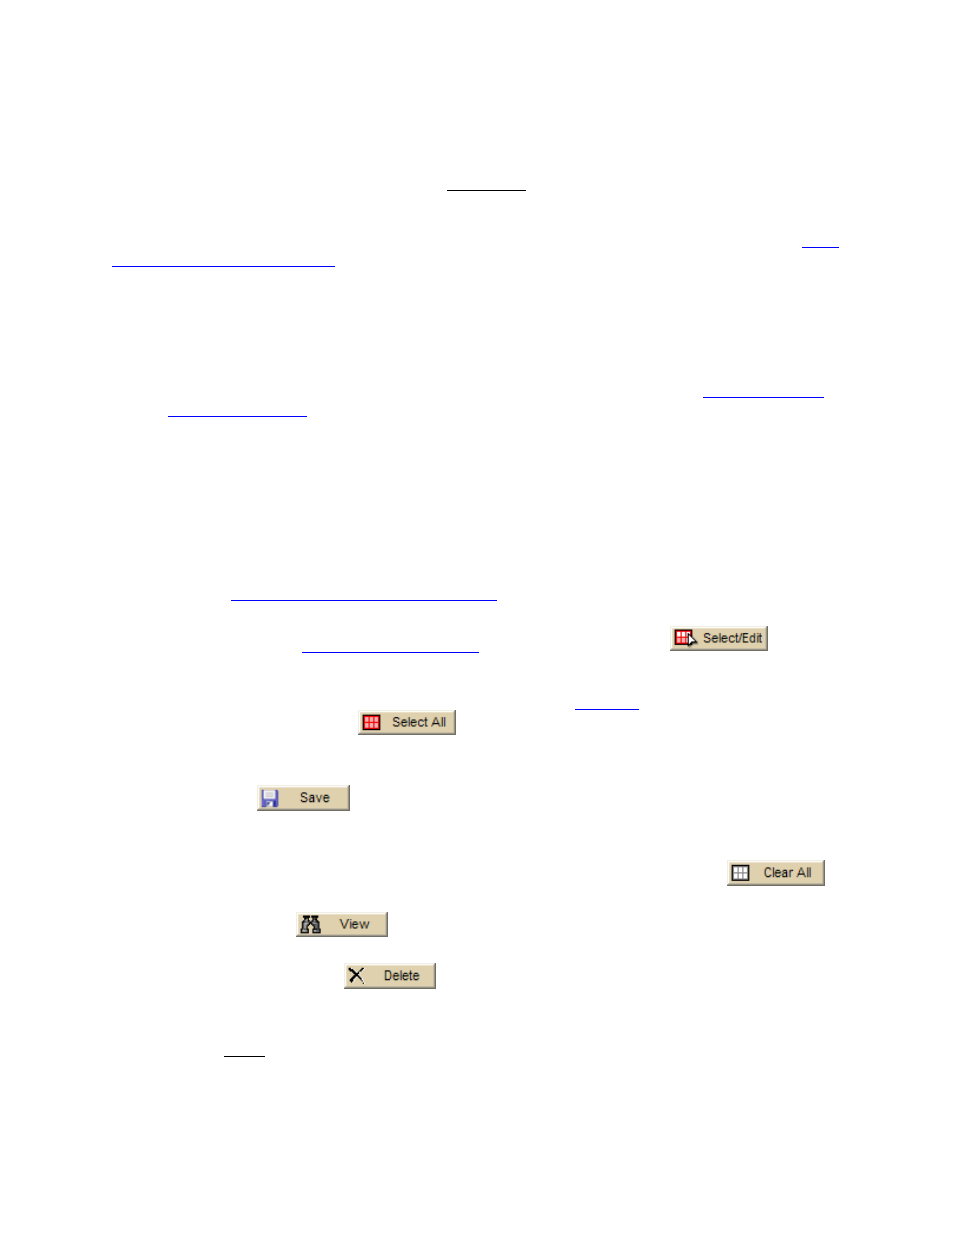
4. Select an appropriate grid size from the Grid Size drop-down list (for more
), click the Select/Edit
button,
and click grids on the map to add or remove them. Grids selected for export are
shaded red. You can click and drag to quickly select multiple grids.
If you used the Preview in Handheld feature on the
can click the Select All
button to select the default export area for the
layer.
5. Type a name for your map package in the Enter map package name box.
6. Click Save
.
When you sync your project, the map package will be sent to your device.
Notes
• To clear the highlighted grids from the map, click the Clear All button
• To view a previously exported map, select it from the Saved Map Packages list and
then click View
• To delete a previously exported map, select it from the Saved Map Packages list
and then click Delete
• Vector data (points, lines, polygons) may look slightly different in the software than
on the device.
• Lines
• Blazed Trail
• Sewer Line