Avoiding a specified area when routing, To avoid a specified area when routing, Route avoid – DeLorme Topo North America 9.0 User Manual
Page 155
DeLorme Topo North America Help
151
The list of routes you have created display in the route list on the left. A selected
check box indicates the route is displaying on the map.
2. Click a route to select and highlight it.
OR
Double-click a route to center it on the map.
3. The route directions for the selected route display in the right window.
Tip Click the header of a column to open a menu from which you can select the type
of information you want to display in each column.
4. Click a leg to select it and then click Go To to center the map on the leg.
OR
Double-click a leg to center the map on the leg.
Tip When tracking with a GPS receiver, select the GPS Track check box to follow along
with the route directions in real time as you travel. Click Show Turns to display the current
distance and time to your finish.
Avoiding a Specified Area When Routing
If you know you will be travelling in an area that is under construction or is a highly-
populated area with a lot of traffic congestion, you can draw a circle/rectangle/polygon over
that area to avoid it when you calculate your route. You can create multiple regions to
avoid.
To Avoid a Specified Area When Routing
Use the following steps to designate an area to avoid when calculating your route.
1.
2. Click the Draw tab to open the Draw dialog area.
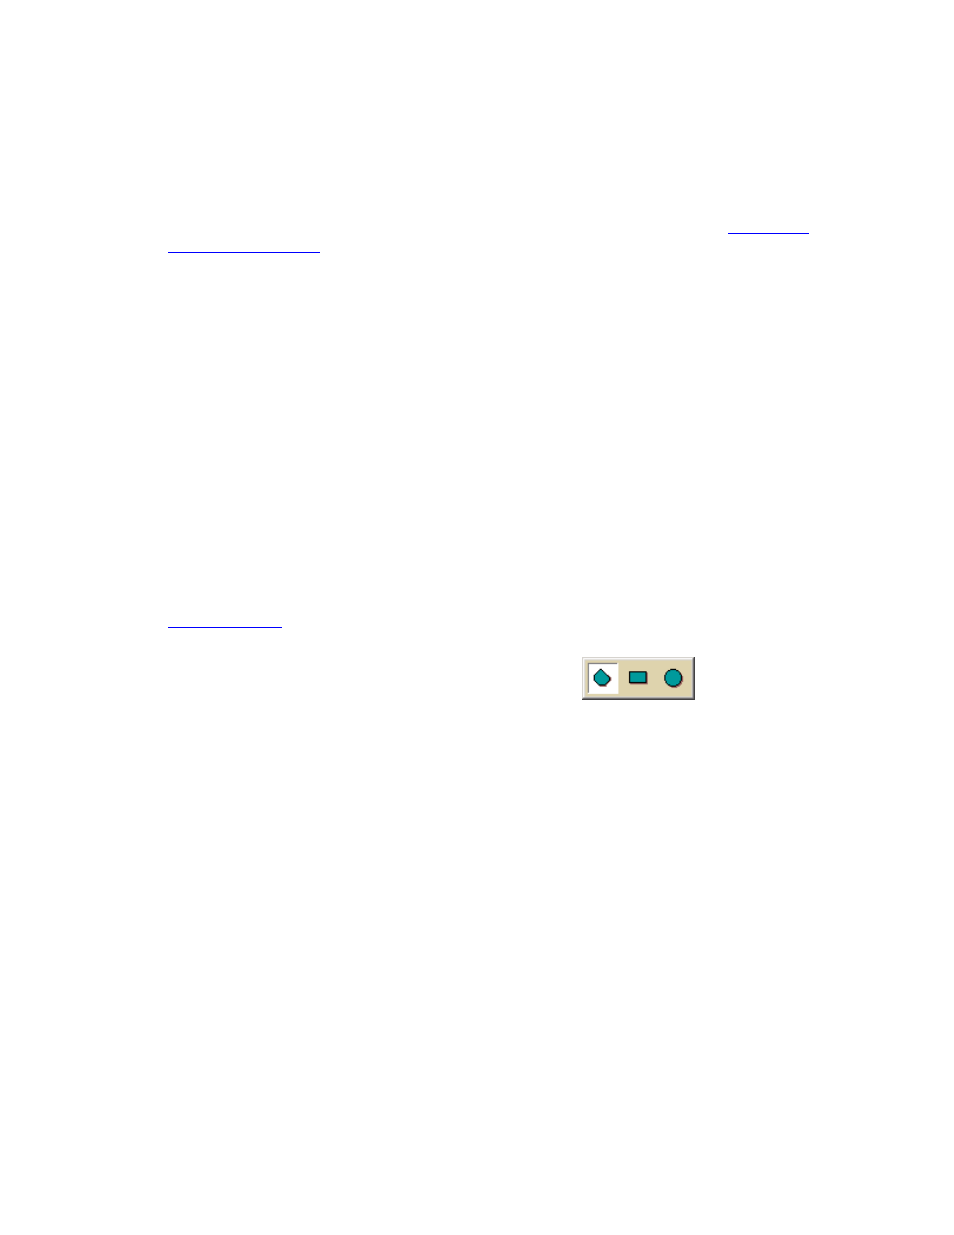
3. Click and hold the Polygon/Rectangle/Circle tool
to view its hidden
options. Select the tool you want to use.
4. Optional. Select one or more of the following:
• From the Fill drop-down list, select the fill style you want to apply to the draw
object.
• Click the fill color button to the right of the Fill drop-down list to select the
color for your fill style.
• Select an outline style for your draw object from the Outline drop-down list.
• Click the outline color button to select a color for the outline of your draw
object.
• Select the width for your draw object outline from the Width drop-down list.
• Select the Show Measurement check box to display measurement
information for your draw object as your draw it on the map.
5. If you selected the Circle tool, click the location for the circle's center on the map
and drag away from center to set the radius for the circle. Release as soon as you
achieve the radius you want.
The radius of the circle and the coordinates of the circle's center display in the
corresponding text boxes to the right of the circle fill option area.
OR
If you selected the Polygon tool, click the map to enter each point of the polygon.
OR