Optional – Ivoclar Vivadent PS Empress CAD Chairside User Manual
Page 27
27
Fabrication of IPS Empress
®
CAD Restorations
– V
eneers / Cr
owns – stained / glazed
After staining, the stain and characterization firing is conducted in a
compatible ceramic furnace (e.g. Programat CS2). The following points
should be observed when placing the restoration in the furnace and setting
the firing parameters:
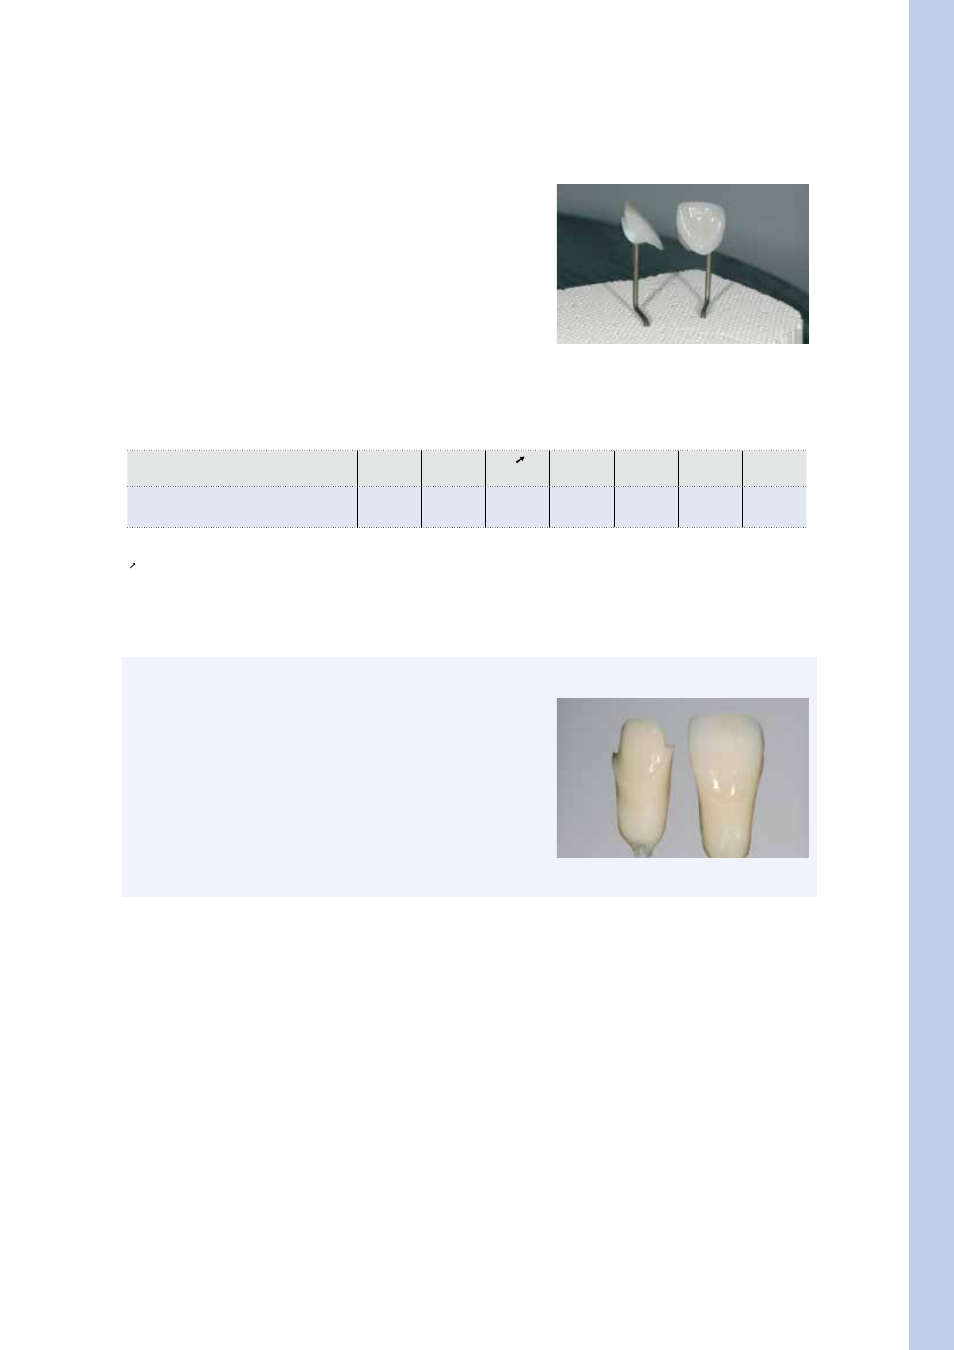
– Place veneers as well as anterior and posterior crowns on metal pins and
position them on the honey-comb firing tray.
– To better secure the restoration on the metal pins (particularly with
veneers), a small amount of IPS Object Fix Putty / Flow may also be used.
Firing parameters for the stain and characterization firing
(note the temperature control)
IPS Empress CAD with
IPS Empress Universal
B
°C / °F
S
min.
t
°C/min. / °F/min.
T
°C / °F
H
min.
V
1
°C / °F
V
2
°C / °F
Stain and glaze firing
403
6:00
100
790
01:00
–
–
B = Stand-by temperature °C / °F
S = Closing time/min.
t = Temperature increase rate °C/min. / °F/min.
T = Firing temperature °C / °F
H= Holding time/min.
V
1
= Vacuum-on temperature °C / °F
V
2
= Vacuum-off temperature °C / °F
The objects are placed on the honey-comb firing tray and the firing pro-
gram is started.
Optional
Shade check
To check the tooth shade after the first stain and characterization firing,
proceed as follows:
– Wet the inner aspects of the restoration with IPS Empress Universal Glaze
and Stain Liquid using a brush.
– Place the restoration on the individual control die, wet the surface and
check the tooth shade, as well as the individualized effects.
– If required, perform the necessary adjustments and fire the restoration
again using the same firing parameters.
Shade check. If necessary, the shade intensity can be increased by
additional staining.