Replace the fan, Replace the fan -12, Powermax – Hypertherm Powermax45 Service Manual User Manual
Page 116

Component replaCement
6-12
powermax
45
Service Manual
12. Tighten the green ground wire to the heat sink with a torque setting of 17.3 kg cm (15 inch-pounds).
13. Position the wires in the wire chase up the side of the end panel and out of the way of the power board.
14. Replace or reposition the end panel. Make sure that the screw hole in the ground clip aligns with the screw holes
in the end panel and the power supply.
15. Tighten the strain relief’s retention nut on the outside of the end panel to secure the new power cord.
16. If you are installing a plug on the new power cord, use a plug that meets national and local electrical codes. The
plug must be connected to the power cord by a licensed electrician.
17. Being careful not to pinch any of the wires, replace the Mylar barrier and slide the cover back onto the power
supply. Position the handle over the holes in the top of the cover, then use the 2 screws to secure the cover.
18. Reconnect the electrical power and the gas supply.
Replace the fan
1. Turn OFF the power, disconnect the power cord, and disconnect the gas supply.
2. Use a #2 Phillips screwdriver to remove the 2 screws from the handle on the top of the power supply. Tip the end
panels back slightly so that you can get the edges of the handle out from underneath them. Lift the cover off the
power supply.
3. Detach the connector from J4 (200–240 V CSA and 230 V CE) or J5 (400 V CE and 480 V CSA) on the power
board. You may have to lift the top edge of the Mylar barrier to see the connector.
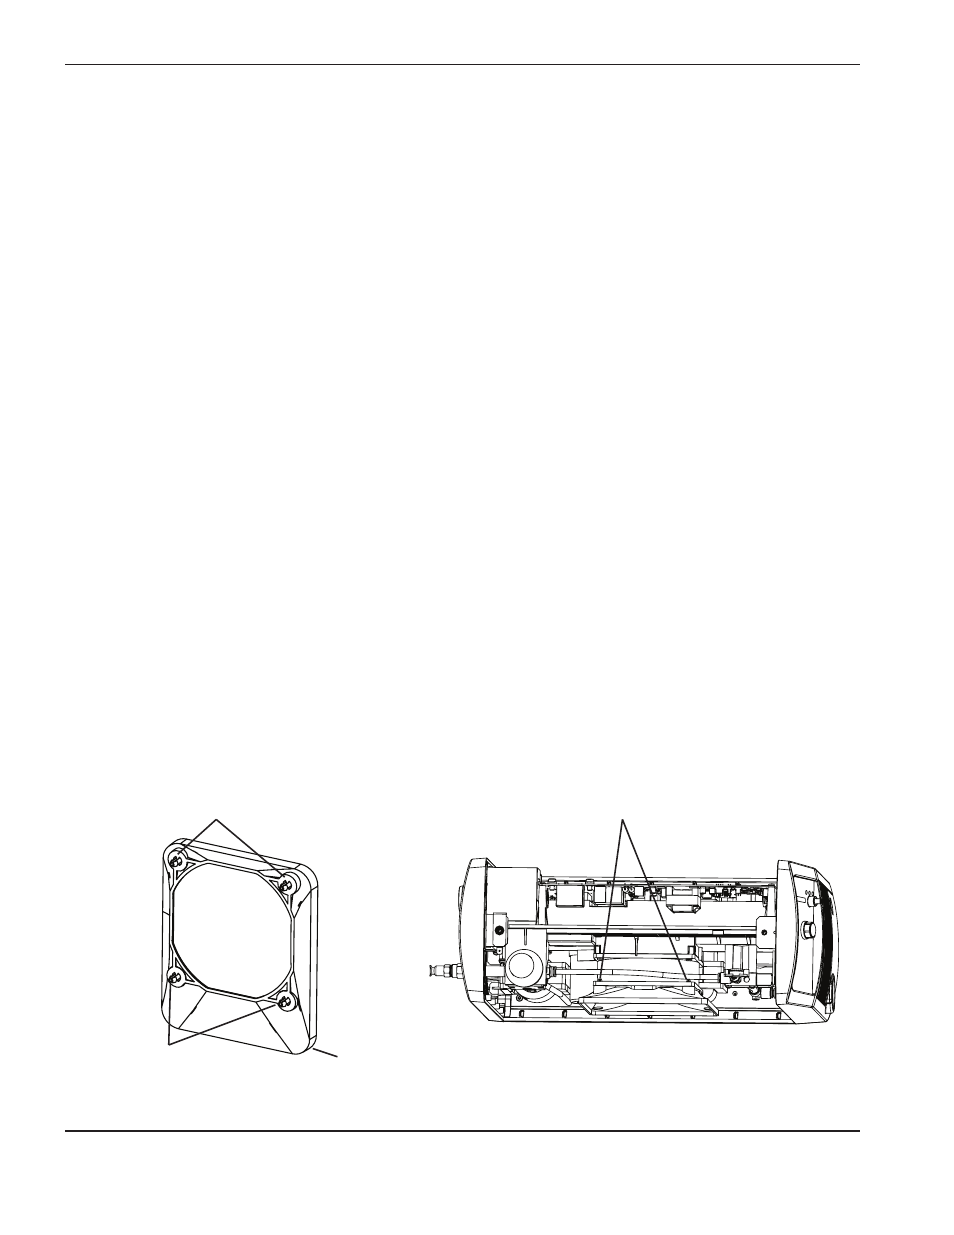
4. From the top of the power supply, use needlenose pliers to compress and release the 4 corner clips on the fan’s
plenum. After you release the top clips, you can tilt the plenum away from the power supply to reach the bottom
2 clips. Lift the plenum off the fan casing.
5. Insert a #1 Phillips screwdriver through the holes in the fan casing to remove the retaining screw from each corner
of the fan.
Corner clips
Top corner clips
Bottom
Corner clips
