Replace the compressor-driver board – Hypertherm Powermax30 AIR Service Manual User Manual
Page 121
Powermax30 AIR Service Manual 808850
121
6 – Power Supply Component Replacement
Replace the compressor-driver board
Remove the compressor-driver board
1. Complete the following procedures:
a. Set the power switch to OFF (O), and disconnect the power cord from the power source.
b. See Remove the power supply cover on page 98.
c. See Remove the component barrier on page 100.
2. Remove the wire connectors from the compressor-driver board at J1, J2, and J3. See Figure 42 on page 122.
3. Remove the screws that secure the clips covering the MOSFET
and diode
. Remove the clips and set them
aside.
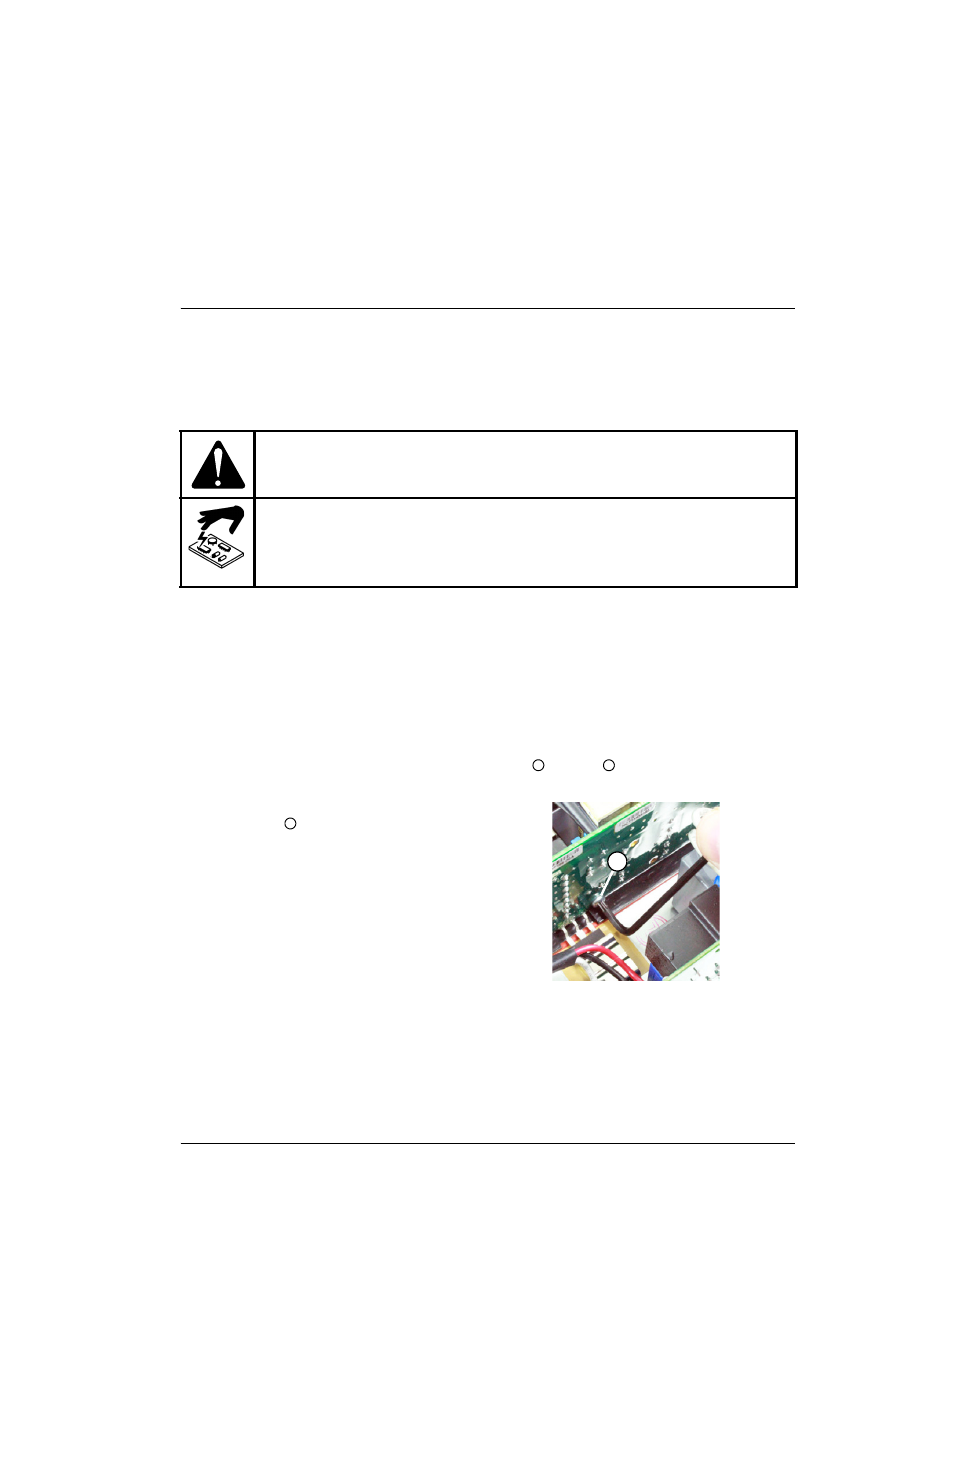
4. Use a right-angle TORX
®
screwdriver to loosen the
retaining screw
near the bottom of the
compressor-driver board, just above the heatsink.
Do not remove the screw.
A quarter turn to a half turn on the screw should
loosen it enough for you to remove the
compressor-driver board.
Kit number
Description
Kit: Compressor-driver board (includes thermal strips and polyimide tape) (141298)
CAUTION!
Static electricity can damage circuit boards. Use proper precautions when handling
printed circuit boards.
Store PC boards in anti-static containers.
Wear a grounded wrist strap when handling PC boards.
4
5
6
6