Groth 3000 Series User Manual
Page 10
7
BLANKETING THE TANK
Before installing a new or replacement regulator, the
tank pressure must be below the desired set pressure
so the regulator setting can be verified. Sequentially
open the block valves in the following order: (1)
Sense Line, (2) Regulator Discharge Line and (3)
Regulator Supply (See Figure. 4).
If the regulator was set at the factory, blanket gas will
begin to flow immediately. The tank pressure must
be monitored closely to verify that the gas flow shuts
off within the specified limit above set pressure.
If the regulator was not set at the factory, make sure
that the adjusting screw [2] is backed out as far as
possible (no spring compression). When the blanket
gas supply valve is turned on, there will be no flow,
unless the tank pressure is very low. Now slowly
turn the adjusting screw to increase tank pressure and
the gas will begin to flow. The tank pressure can be
increased as gradually as desired until the correct
pressure setting is attained. When tank pressure is
reached, back out adjusting screw, if necessary, until
gas flow stops.
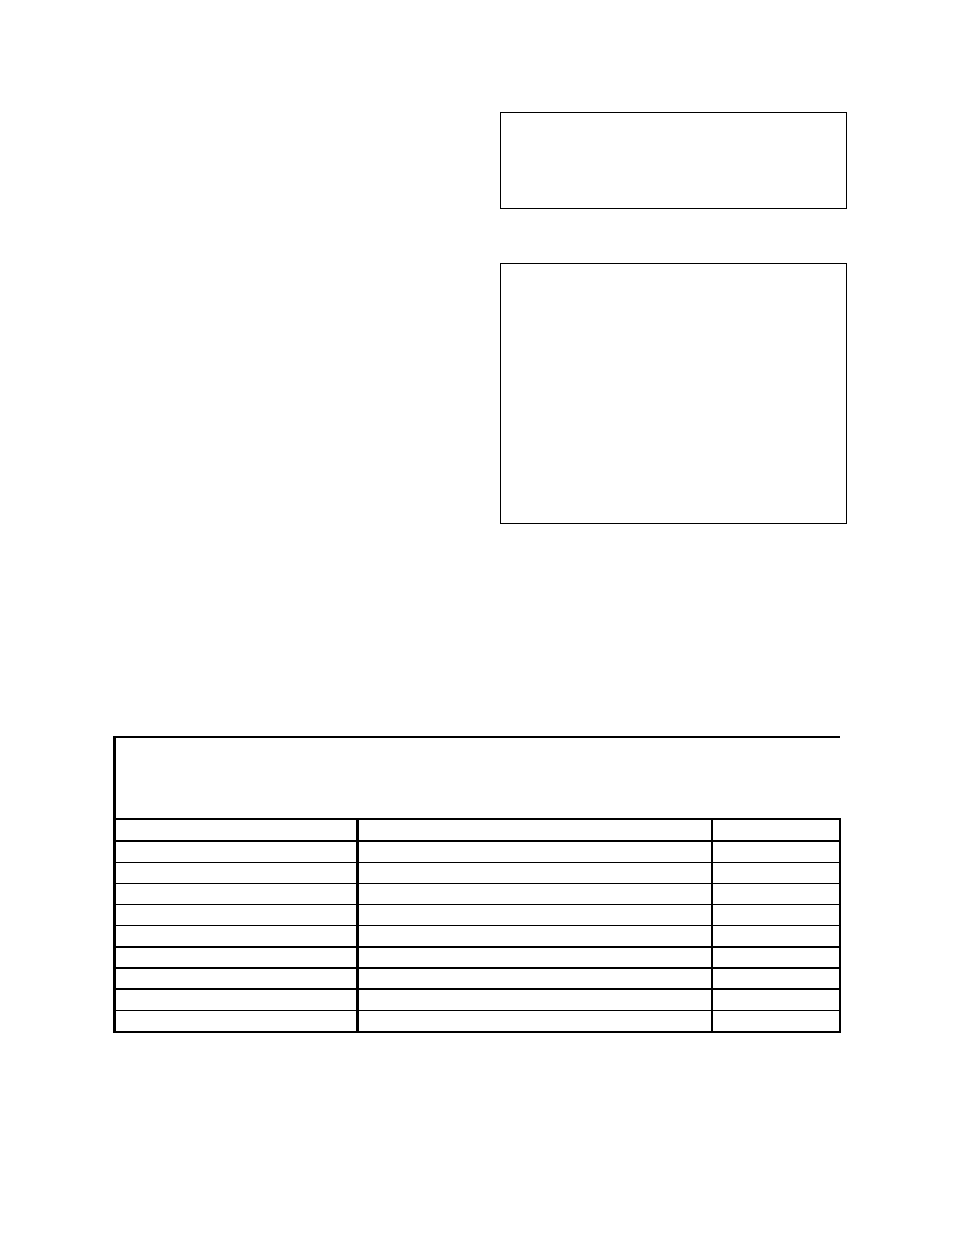
WARNING
When adjusting the regulator on the tank, always be
sure that the sense line is open and unobstructed.
Monitor the tank pressure accurately.
WARNING
In the event of actuator diaphragm [14] or piston
diaphragm [21] failure, the regulator will fail in the
OPEN position. Under this condition gas flow will
NOT be shut off by the regulator. The tank pressure
relief valve(s) must be sized to relieve the condition
of full regulator capacity, pump in rate; and thermal
expansion due to temperature rise. In the event of
blanket supply gas failure, the regulator will NOT
protect the tank from collapse due to a vacuum
condition. The operating relief valve should include
a vacuum breaker set according to the tank's design
vacuum capacity.
RECOMMENDED SPARE PARTS
When ordering spare parts, include model and serial number of regulator, pressure setting, and required material for
soft goods.
TABLE 7
RECOMMENDED SPARE PARTS
ITEM DESCRIPTION
QUANTITY
14 Diaphragm,
Actuator
2
21 Diaphragm,
Piston
4
25 O-Ring,
Piston
2
22
O-Ring, Guide Ring
2
35
O-Ring, Locking Screw
2
6 Spring
1
11 Vent,
Case
1
7 Vent,
Bonnet
1
39 Gasket,
Actuator
2