Led display guide, System optimization – Greenheck Vari-Flow Air Management Systems (472966) User Manual
Page 14
14
Vari-Flow Air Management System
®
Daily Operations of Vari-Flow System
The following section details the buttons on the
Vari-Flow keypad and their function as it relates to the
daily operation of the system.
Hood Lights - Momentarily pressing the ‘Hood
Lights’ button will turn on all lights for the respective
hood(s) attached to the system. A green LED light will
illuminate under the Hood Lights button indicating
power to the lights. Pressing the ‘Hood Lights’ button
again will turn off the lights for the respective hood(s).
The green LED light will no longer be illuminated.
Fan On/Off- Momentarily pressing the ‘Fan On/Off’
button will turn on the fan(s) (exhaust and supply
where applicable) for the respective hood(s) attached
to the system. A green LED light will illuminate under
the Fans On/Off button indicating power to the fans.
The fans will start at a minimum speed and vary
automatically based on heat load generated by the
appliances.
Fan 100% - Momentarily pressing the ‘Fan 100%’
button while the fans are operating will send the fan
speed for the entire system to 100% for 15 minutes
(adjustable) or until the Fan 100% button is pressed
again. Pressing the Fan 100% button again will take
the fans out of 100% operation and return them to
standard operating conditions.
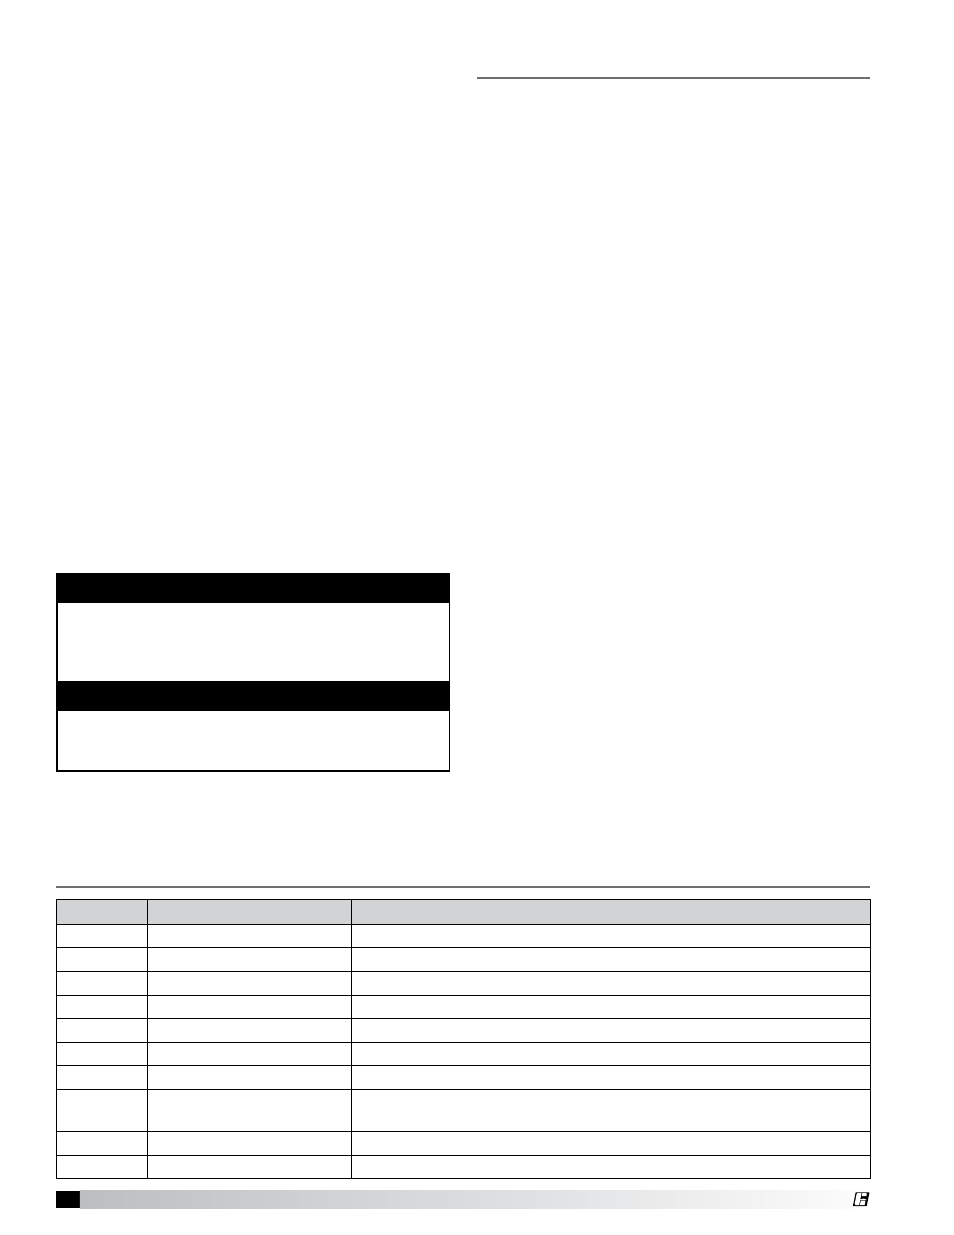
NOTE
When Vari-Flow is operating in temperature interlock
mode the fan 100% LED will flash. During this time
the fans may be manually turned on by pressing the
on/off button.
NOTE
In the event of a potential system fault, the display
will turn on an event message describing the fault.
This info can be used in servicing the fault.
LED Display Guide (
LED’s on face of Programmable Logic Controller U1
)
Indicator Operation
Detail
Power
Power
When LED is lit the controller is powered on.
Alarm
Alarm
When LED is lit the system is experiencing a fault.
1
Exhaust Fan Run
When LED is lit the controller is commanding the exhaust fans to run.
2
Supply Fan Run
When LED is lit the controller is commanding the supply fans to run.
3
Supply Fan Heat/Cool
When LED is lit the supply fan is operating in heating or cooling.
4
Pressure Sensor Fault
When LED is lit the pressure sensor is experiencing a fault.
5
Fire
When LED is lit the system is operating in fire mode.
6
Temperature Sensor Fault
When LED is lit the controller is not receiving a correct reading from
the temperature sensor.
7
Exhaust VFD Fault
When LED is lit the exhaust VFD is experiencing a fault.
8
Supply Fan VFD
When LED is lit the supply VFD is experiencing a fault.
System Optimization
Low Temperature Set Point (90˚F default)
Record the kitchen ambient temperature
________
Set the low temperature set point 5˚F above the
ambient kitchen temperature
Setting the Low Temperature Set Point
• Select the Exhaust menu on the PLC and scroll to
the right by pressing the right arrow button.
• Press return and scroll down using the down arrow
key until “EF1 LowTemp” is displayed.
• Press return and adjust the low temperature set
point by pressing the up or down arrow button.
• Once desired low temperature set point is reached,
press the return button.
• Press the escape (ESC) button to return to the
desired menu.
High Temperature Set Point (115˚F default)
• Turn the fans on by pressing the Fan On/Off
button.
• Turn on all cooking appliances and allow them to
reach normal cooking temperatures.
• Record the temperature in the hood by looking at
the “Temp Sensors” menu on the PLC.
________
• Set the high temperature set point 5˚F below the
previous recorded temperature.
Setting the High Temperature Set Point
(refer to
page 8 for keypad functionality)
• Select the Exhaust menu on the PLC and scroll to
the right by pressing the right arrow button until the
“Exh Temp Setpoints” is reached.
• Press return and scroll down using the down arrow
button until “EF1 HighTemp” is selected.
• Press return and adjust the high temperature set
point by pressing the up or down arrow button.
• Once desired high temperature set point is reached,
press the return button.
• Press the escape (ESC) button to return to the
desired menu.