Zone 1 facility port speaker outputs (lo-z), Zone 1 facility port, Speaker outputs (lo-z) – Cloud Electronics 46-50 User Manual
Page 16
46-50 Installation and User Guide V1.0
16
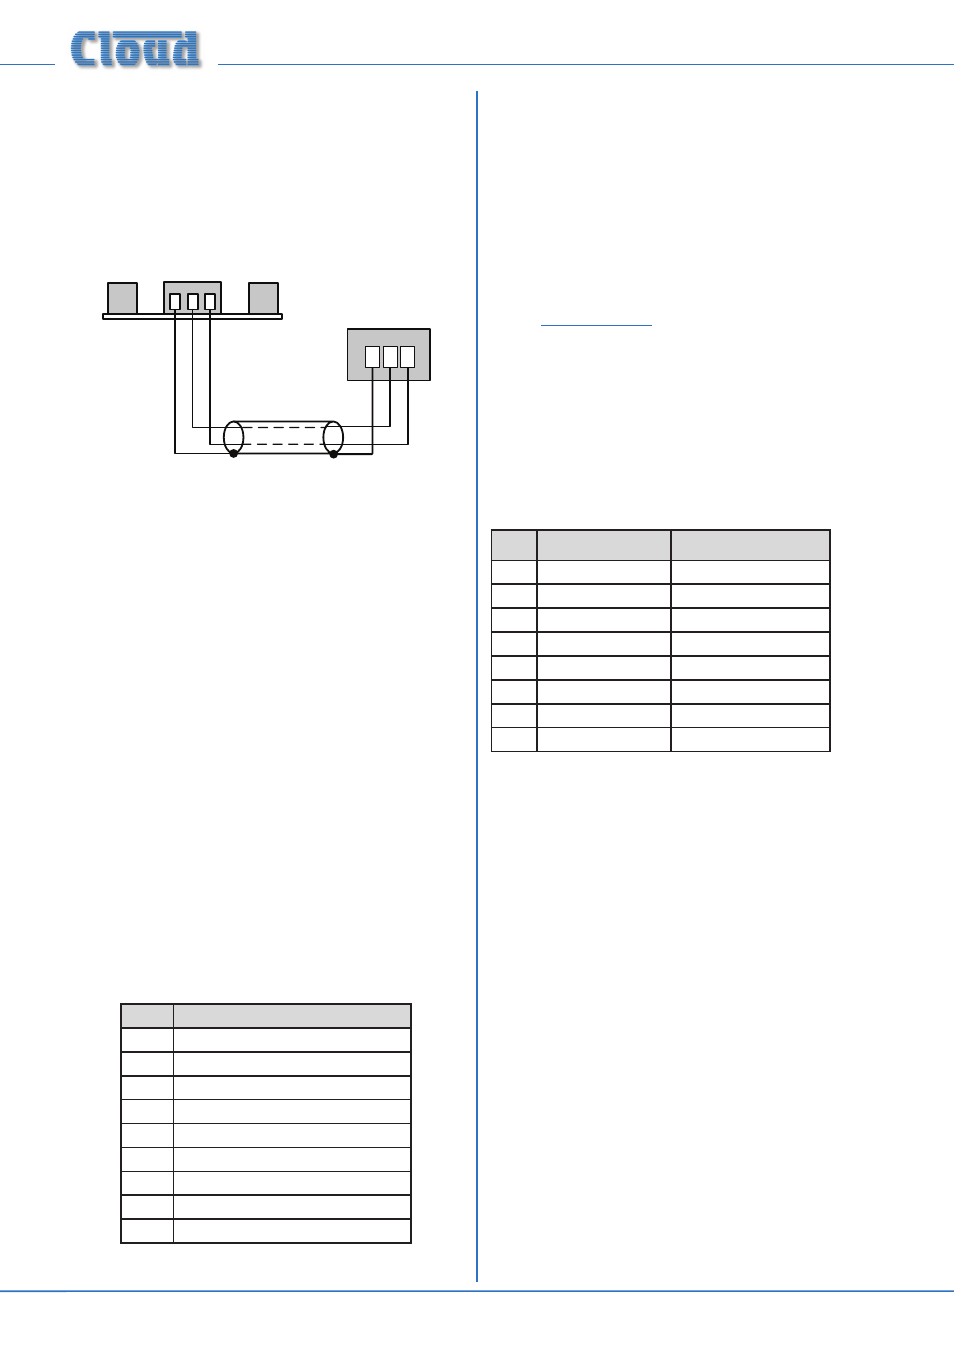
Connecting an RSL-6 Series remote control plate
Wire the remote control plate as shown below. Twin-and-
screen cable should be used. Maximum reliable cable run is
100 m.
1 2 3
REMOTE SOURCE & LEVEL CONTROL WIRING
RSL-6
USE TWO-CORE SCREENED CABLE
1 2 3
REMOTE
SOURCE + LEVEL
Before the RSL-6 will operate, the zone’s Music Control
Port must be enabled by setting the adjacent push-button
switch ([9] on page 12) to REMOTE (i.e., pressing it in).
In this setting, the zone’s front panel
MUSIC LEVEL and
SOURCE controls become inoperative.
Zone 1 Facility Port
Zone 1 of the mixer amplifier is provided with a
FACILITY
PORT in the form of a female 9-pin Dsub connector on the
rear panel. This may be used to connect a remote active input/
control module, but may also be used as a general-purpose
auxiliary balanced input (see page 22 for more information
on this application). Note that an audio source connected via
the
FACILITY PORT will only be available in Zone 1, and
no other.
Active modules operate from DC power supplied by the
46-50. The current consumed by each module is minimal and
in the vast majority of installations there will be no power
supply issues.
The pinout of the
FACILITY PORT connector is given in
the table below:
PIN
USE
1
Remote source select
2
Remote level control
3
Balanced audio input hot (+)
4
Balanced audio input cold (-)
5
Noise Gate control
6
-15 V DC
7
+15 V DC
8
0 V DC
9
VCA control voltage
Connecting an LM-2 remote active module
The Cloud LM-2 remote active module may be connected
to the FACILITY PORT using screened Cat 5 cable.
(Note that as the cable carries analogue audio, only screened
Cat 5 should be used.) As the LM-2 is primarily designed for
use with RJ45 connectors (and is itself fitted with an RJ45),
it is necessary to wire the screened Cat 5 cable to a mating
male 9-pin Dsub connector in order to use it with the 46-50.
This procedure, and details of how to configure the 46-50
to suit, are explained in full in Cloud Technical Note TN-007,
which may be downloaded as a PDF file from the Resources
page at
www.cloud.co.uk
.
Speaker outputs (Lo-Z)
The speaker output connector is an 8-pin, 5 mm-pitch
screw-terminal connector. Four mating 2-pin connectors are
supplied. The power amplifier outputs for all four zones are
present on this connector. Connect to speakers using pairs of
terminals as shown in the table:
Panel marking
Connect to:
1
0V
Zone 1 output ‘-‘
2
Z1
Zone 1 output ‘+‘
3
0V
Zone 2 output ‘-‘
4
Z2
Zone 2 output ‘+‘
5
0V
Zone 3 output ‘-‘
6
Z3
Zone 3 output ‘+‘
7
0V
Zone 4 output ‘-‘
8
Z4
Zone 4 output ‘+‘
Each output stage is designed to drive into an impedance
of not less than 4 ohms. Check the impedance of the
loudspeaker(s) in use and, taking into account any series
and/or parallel wiring, ensure that the total load on each
channel is not less than 4 ohms.