Baby Lock Momentum Quilting Frame (BLQM) Instruction and Reference Guide User Manual
Page 22
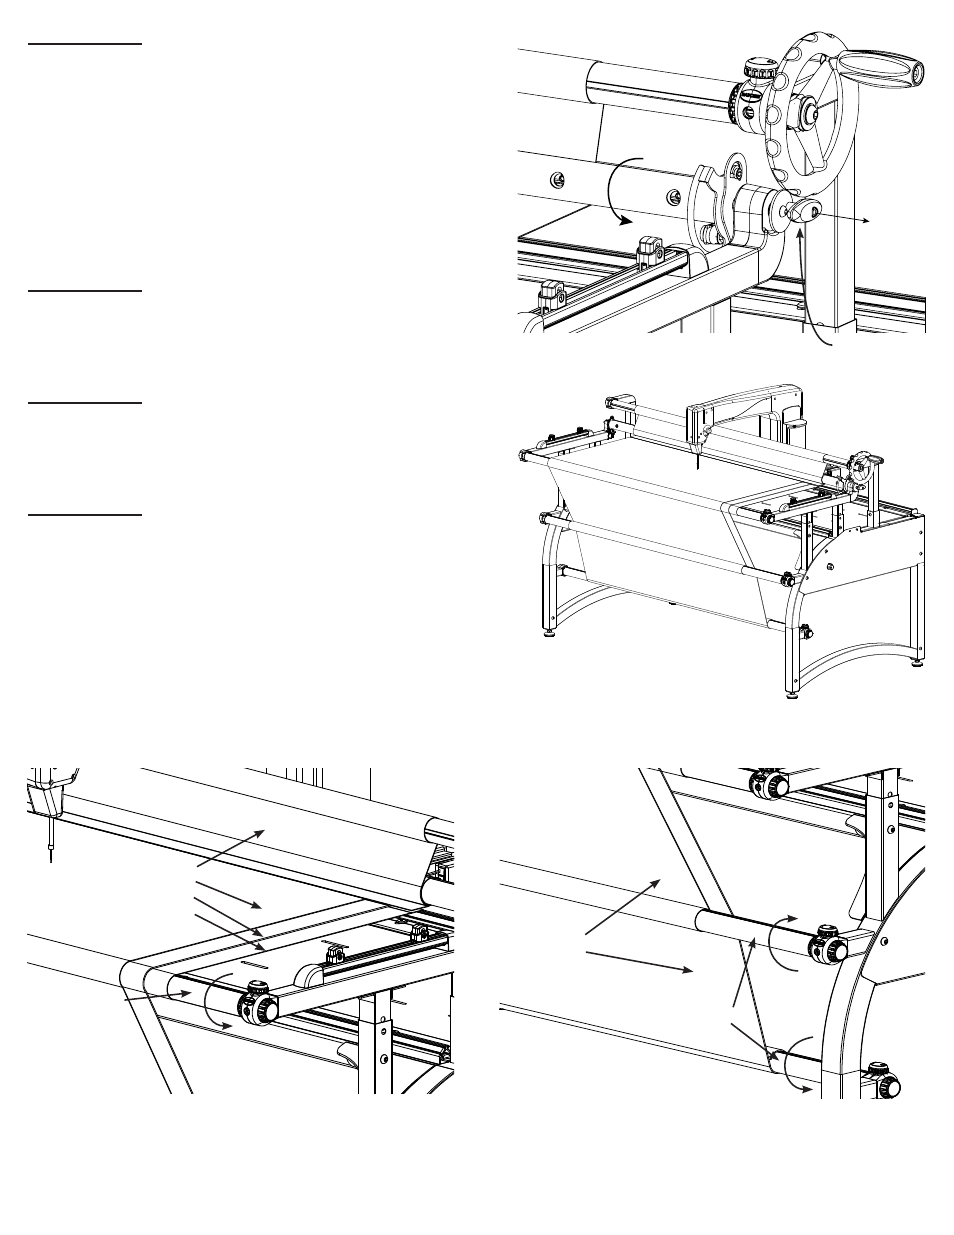
Fig-S. 3-6
Fig-S. 3-5
Take Up Leader
Clamp Rail Lock
Pin
Fig-S. 3-7
Fig-S. 3-8
Top Leader
Quilt Top
Batting
Quilt Backing
Quilt Top
Batting
Top Rail
Batting Rail
Backing Rail
Page. 21
Section 3-7: Disengage the Clamp Rail Lock Pin and
tighten the Idler Rail Assembly by turning the rail Coun-
terclockwise a full rotation. Re-engage the Clamp Rail
Lock Pin ensuring the fabric is wrapped on the Idler Rail.
(Fig-S. 3-5)
Note: Section 3-7 will make the Quilting Surface flat
and taut during quilting while the sliding rail operates.
Sections: 3-2, 3-6, and 3-7 will have to be repeated as
the quilt is rolled up on the Take Up Rail.
Section 3-6: Attach the Backing Leader to the Backing
Rail using the Fabri-Fast System and ratchet the remain-
ing fabric onto the rail. (Section 1: Fabri-Fast System
and Fig-S. 3-7)
Section 3-7: Similarly, attach the Top Leader to the Top
Rail using the Fabri-Fast System and ratchet the remain-
ing fabric onto the rail. (Section 1: Fabri-Fast System
and Fig-S. 3-8)
Section 3-8: The batting can be Fabri-Fasted onto the
Batting Rail if the batting is thin, otherwise tape and roll
it onto the rail to ease batting management. (Fig-S. 3-8)
Note: The Take Up Rail and Batting Rail have no par-
ticular direction of rotation and can rotate both ways
without effecting the frames performance.
Plug the power cords back in after the fabric installation
has been completed.