Tray controller help, Releasing picker motor energy – Dell CDPR3 User Manual
Page 31
Tray Controller Help
This section is a helpful procedure if the printer tray did not come out after pressing the
disc button.
1. Make sure the USB cable is plugged in at the printer and the PC.
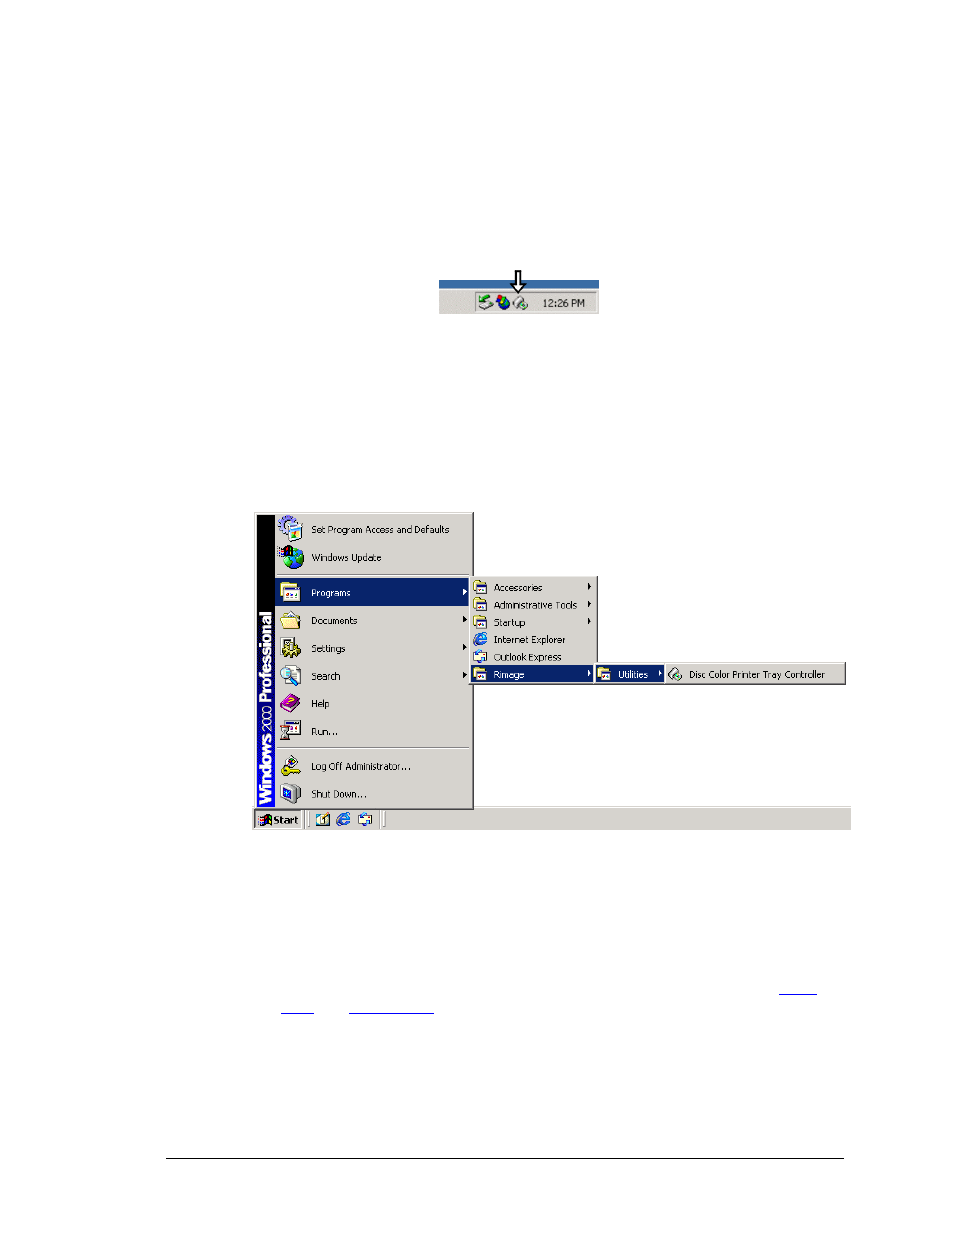
2. Make sure the tray controller application is running. This is seen in the icon tray as
shown here.
3. Make sure the tray controller application has finished initializing, by double-
clicking on the tray controller icon.
4. Check for the status. If the status is OK and there are no error messages in the tray
controller application, close the tray controller application and unplug the USB cable
from the printer.
5. Plug the USB cable back in the printer.
6. Select the windows Start menu and select |Programs|Rimage|Utilities| and
select Disc Color Printer Tray Controller.
7. After the tray controller has completed the initialization, try opening the printer tray
again by pressing the disc button. If you came from the printer alignment process,
return to page
Releasing Picker Motor Energy
This section is a helpful reference to the installation process on page
1. Press and hold the operator button for about eight seconds. When the
are lit, it indicates you can release the button.
2. Press the operator button six times and hold on the last press to release the
picker motor energy. Return to page
to complete the alignment process.
31
Installation