Installing a sata hard drive – NEXCOM NISE 3520 User Manual
Page 61
Copyright © 2013 NEXCOM International Co., Ltd. All Rights Reserved.
48
Chapter 3: System Setup
NISE 3520 Series User Manual
Installing a SATA Hard Drive
1. With the bottom side of the chassis facing up, remove the screws of
the bottom cover.
2. Remove the 4 mounting screws that secure the drive bay to the chassis.
If you are installing one SATA drive only, the system will allow you
to install an optional CompactFlash card, a half length SATA DOM
or a full length SATA DOM.
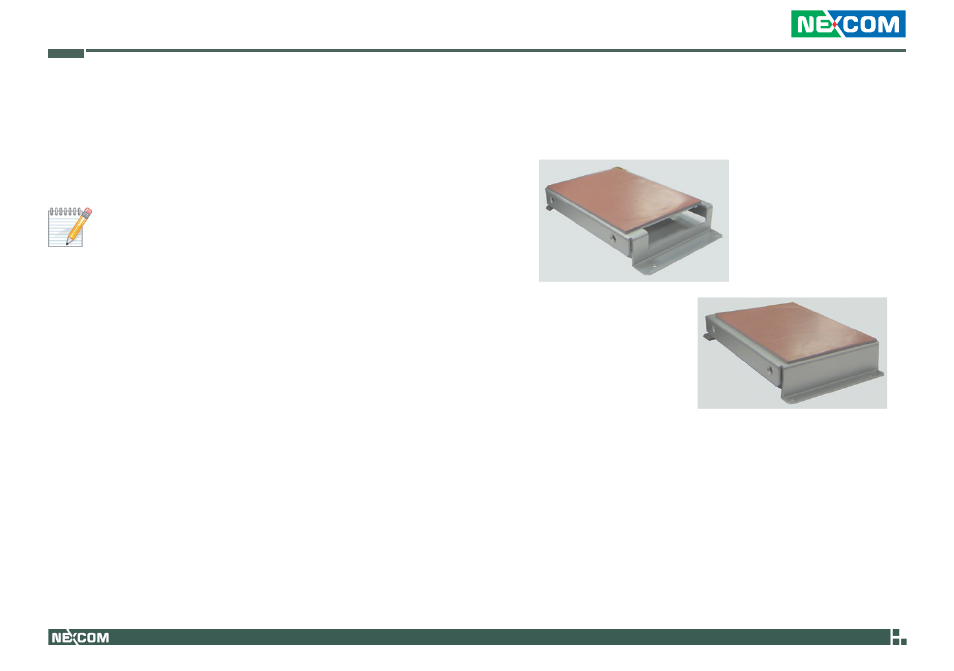
3. Remove the drive bay. The drive bay is used to hold a SATA hard drive.
This manual is related to the following products: