CRU DataPort 5 IDE/ATA-6 User Manual
Page 4
Preparation for Installation
1. To prevent data loss, read this manual thoroughly before installing or
operating the DataPort.
2. Before touching any electrical equipment, ground yourself by touching
the metal part of your computer chassis to discharge static
electricity and help prevent any damage to your computer. CRU-DataPort
is not responsible for static discharge damage.
3. Gather the following tools and needed items:
• Philips screwdriver
• Small flat-head screwdriver
• Computer Users Manual
• HDD manual to set Slave/Master jumper (IDE only)
• Internal IDE or Serial ATA data cable
• Available Serial ATA port (Serial ATA version)
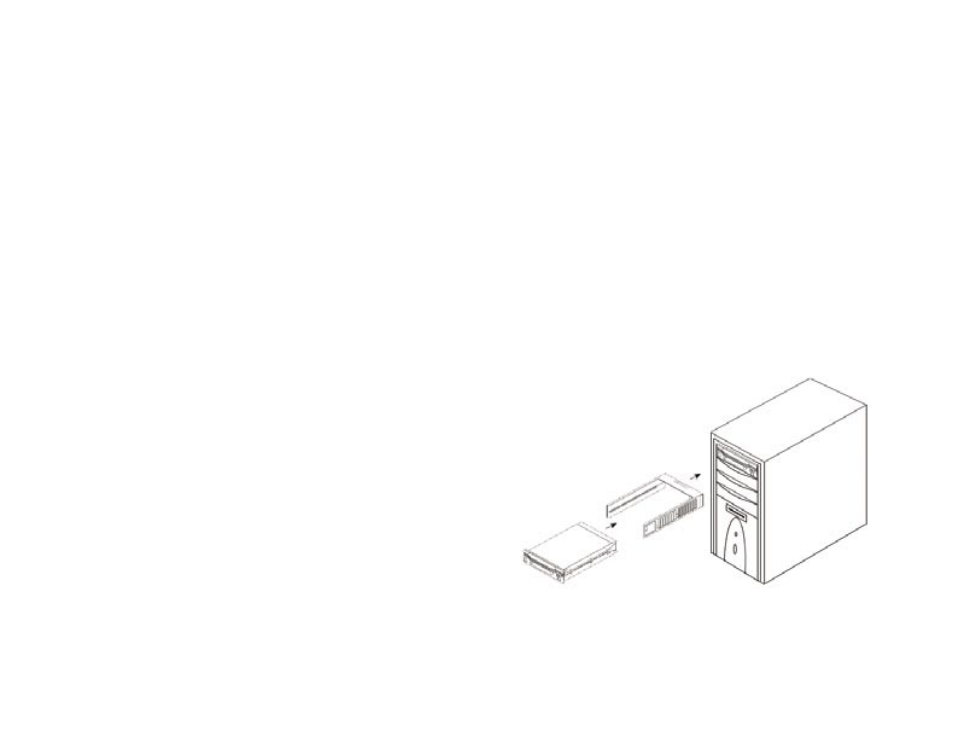
Frame Installation
1. Turn off the computer and disconnect its power cord from the electrical
outlet.
2. Wait one minute for any residual energy to dissipate from your computer.
3. Remove the cover of the computer.
4. Locate the empty external 5.25” half-height bay in which you will mount
the DataPort frame assembly, and then remove any filler plates that may
be present.
5. If the drive bay requires mounting rails, install one on each side of the
DataPort frame. The mounting rails should be provided with your
computer system.
6. Mount the frame assembly by sliding the frame into the 5.25” bay from
the front of the PC case.
Diagram 1 - Overview of Assembly
Page 3
Page 4