Heath Consultants Hi Flow Sampler User Manual
Page 23
Hi Flow
Sampler
Operation
Instruction 0055-9017
23
c. Click the Connect using drop-down menu and choose the COM port to which
the Hi Flow
is connected. Then click OK to display the COM Properties
dialog box for that COM port.
d. Set Port Settings to:
- Bits per second:
115200
- Data bits:
8
- Parity:
None
- Stop bits:
1
- Flow control:
None
Then click OK to display HyperTerminal’s main window.
e. Click File > Save. This creates a file with an .ht extension using the name that
was entered in Step b.
3. After HyperTerminal is running: click Transfer > Capture Text > Start to accept the
default drive\directory\filename to which all received data will be stored as an ASCII
text file.
Note:
The captured text file will be stored on the hard drive in the folder shown in the
File dialog box. If desired, click Browse to select a different drive, directory and filename.
The next time data is captured, it will be stored under the same location and filename.
Tip:
Changing the filename extension to “CSV” (comma separated variable) will allow
the file to be directly opened in the spreadsheet program. For example, double clicking
the filename CAPTURE.CSV in Windows Explorer will automatically start Microsoft Excel
and load the file.
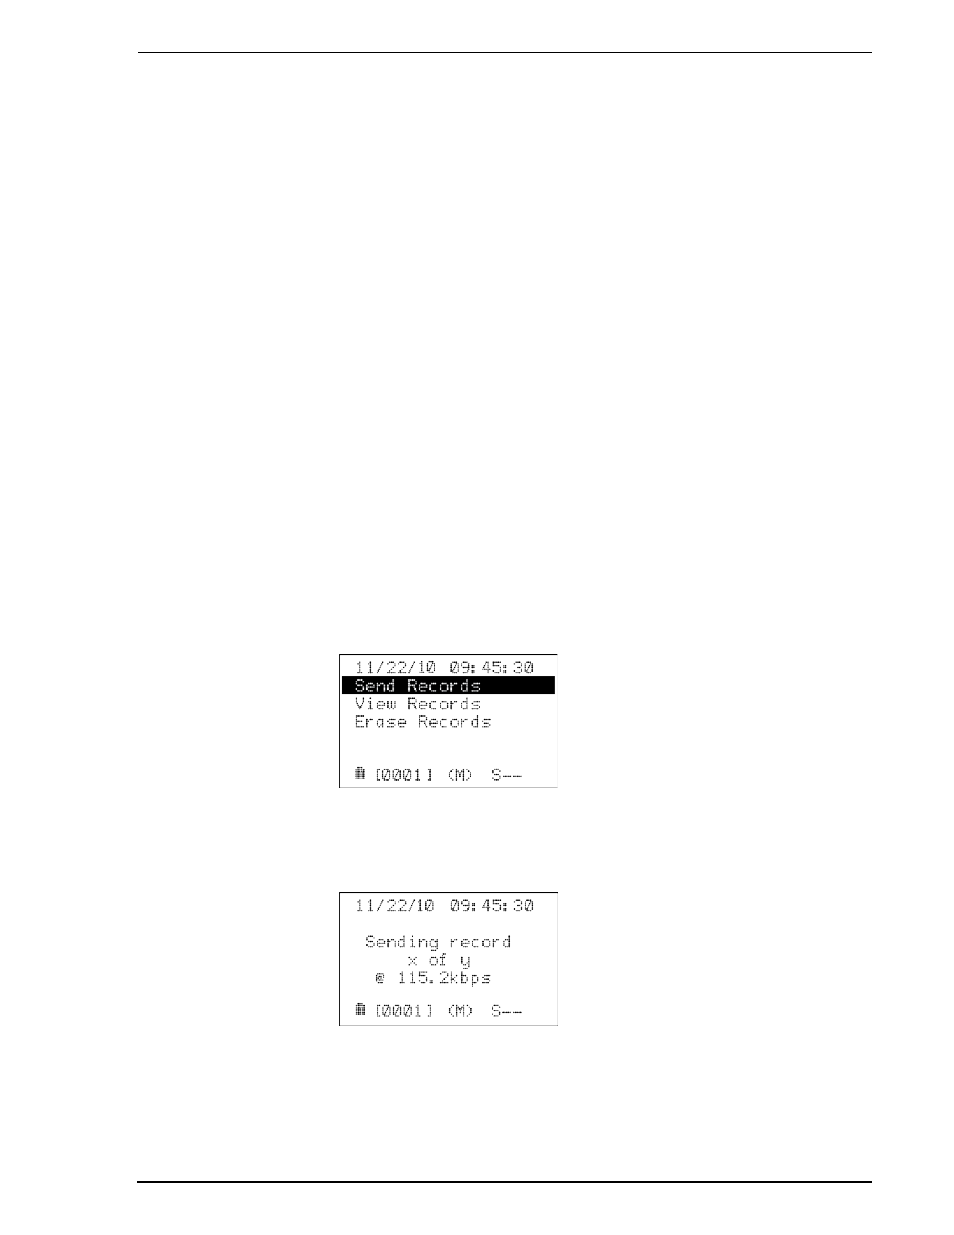
4. From the High Flow Sampler’s Expanded Main Screen, start the download process
by selecting Menu > Access Records > Send Records.
Observe that the Hi Flow
LCD displays the message “Sending record x of y @
115.2kbps,” where “x” is the current record being sent and “y” is the number of
records in memory. Also observe that HyperTerminal displays the data as its being
received.
5. After all data has been transmitted, stop HyperTerminal from capturing data by
clicking Transfer > Capture Text > Stop.
6. The saved data can now be viewed in a spreadsheet for analysis as described in
Section 2.16 Importing Saved Data into a Spreadsheet.