Chapter 2- ez-viewer operation, 1. power, 2. preparation for start-up – GoDEX EZ Viewer User Manual
Page 7: 3. connection
Chapter 2- EZ-Viewer Operation
2-1. Power
To run EZ-Viewer, two sources of power are considered:
1.
Sharing power with the printer through the printer’s RS-232 cable. Normally, EZ-Viewer requires power of 5V DC
170mA. In case a CCD (barcode scanner) is connected, EZ-Viewer’s power requirement would increase (including
that of the CCD’s).
2.
Using independent 5V 500mA power adapter to connect to the EZ-Viewer DC Jack. When using an independent
power, EZ-Viewer automatically stops receiving power from the printer. The 5V DC 400mA power adapter is to be
provided by GODEX as an option in the near future.
2-2. Preparation for START-UP
Prepare a printer and set the COM Port Set for 9600, N, 8, 1.
Be sure the flash memory card has been put into the
printer’s slot if you want to print label formats in the card.
Please refer to the printer user’s manual to install the
memory card into the printer.
If the flash memory card has not been downloaded with the label formats, please refer
to the Q-LABEL Manual to download the formats. Turn on the printer power and check the three bi-color LED lights.
The Ready light must be green.
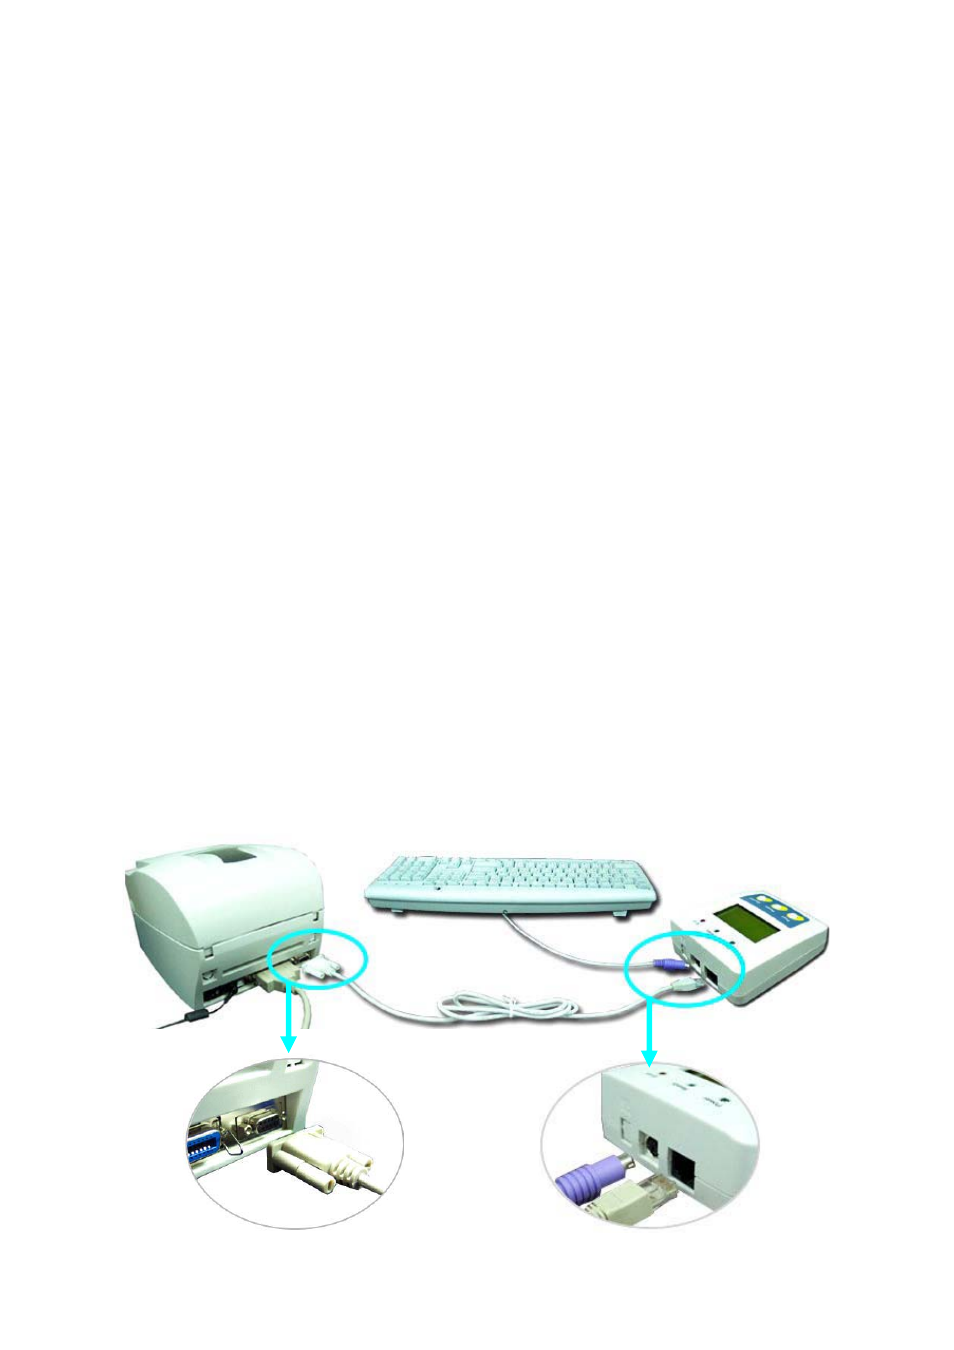
2-3. Connection
1. Make sure the printer is powered off.
2. Please refer to the user manual of the EZ-1000 for information on the printer and PC connections.
3. Then connect the RS232 Cable to the phone jack on the EZ-Viewer and to the RS232 on
the printer. (See the photo below).
4. Start-up the printer.
6