Introduction – Glow-worm Clearly Hybrid - Universal Module System User Manual
Page 17
0020096317_01 - 02/11 - Glow-worm
- 15 -
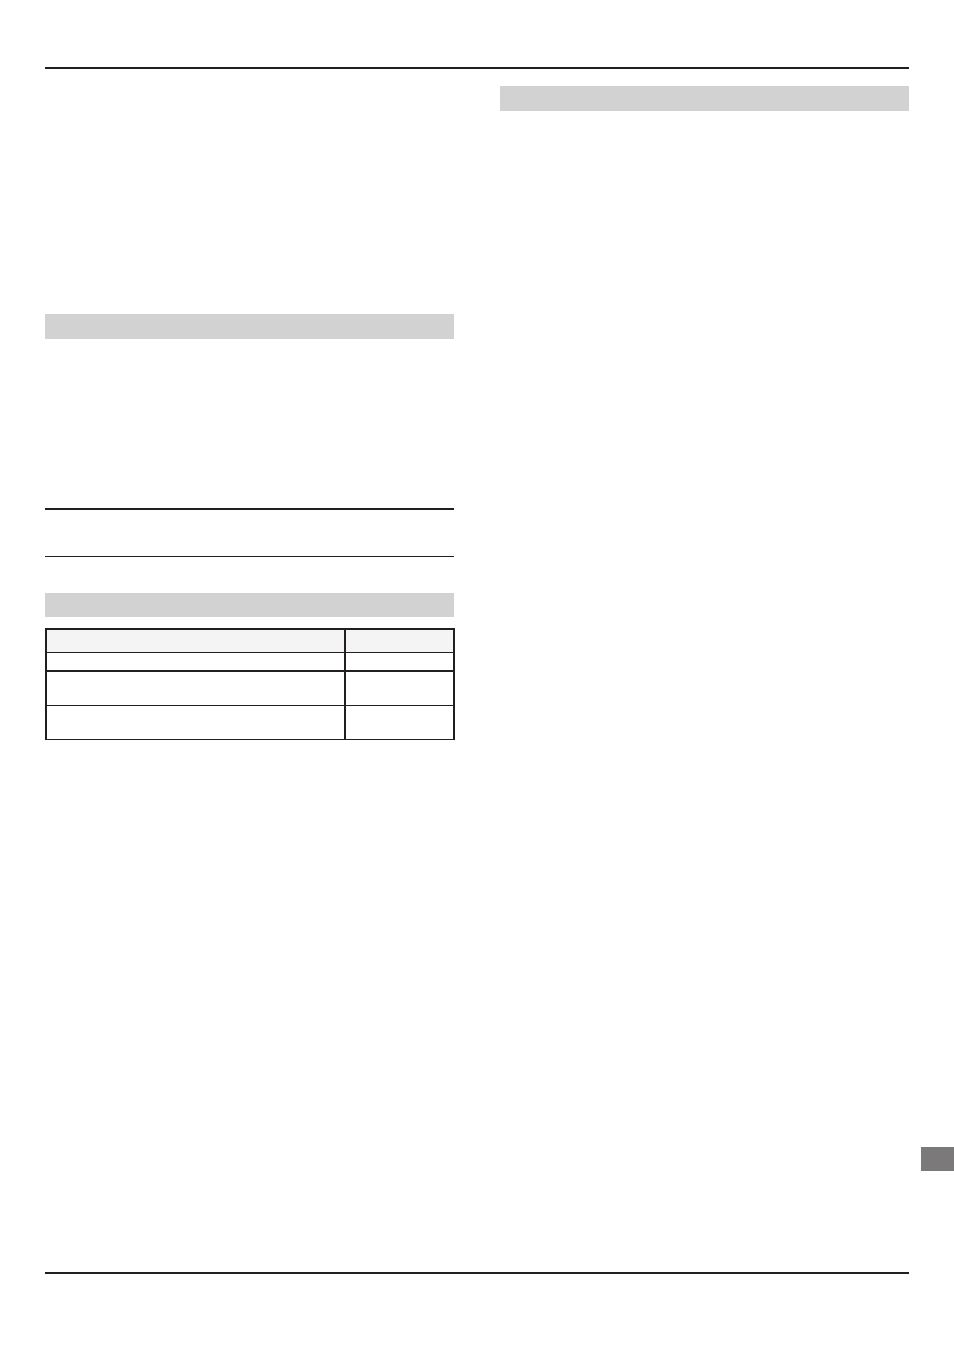
Key
1 2 port valve "heating zone 1"
2 Heating circuit zone 1
3 Climapro2 RF programmable wireless room thermostat "zone 1"
4 2 port valve "heating zone 2"
5 Heating circuit zone 2
6 Climapro2 RF programmable wireless room thermostat "zone 2"
7 2 port valve "heating zone 3"
8 Climapro2 RF programmable wireless room thermostat "zone 3"
9 Heating circuit zone 3
10 Systempro control unit
A Heating circuit return
B Heating
circuit
fl ow
Application conditions
- The Systempro control unit manages up to 3 heating zones.
- Each wireless room thermostat can control a heating zone.
- Zones must be same temperatures.
- The installation can be performed with a low-temperature
underfl oor heating (heating outlet temperature < 50°C) or low
temperature radiators (heating outlet temperature < 70°C).
e
Use 0.75 mm² section cables for the electrical
connections to the control unit.
Control unit settings
Description of main settings
Setting
Did you install a multizone kit ?
Yes
Max. heating fl ow temperature for the low
temperature zone
T < 30°C
Max. heating fl ow temperature for the high
temperature zone
T < 70°C
2 port valve electrical connections
- When the 2 port valve is connected to REL3:
•
Connect the neutral wire (blue) of the valve to the “N” of the
REL3 connector.
•
Connect the live wire (brown) of the valve to the “L” of the REL3
connector.
•
Connect the earth wire (yellow/green) of the valve to the earth
of the REL3 connector.
•
Electrically insulate the red and grey wires of the valve as they
are not used.
- When the 2 port valve is connected to REL4 or 5:
•
Connect the neutral wire (blue) of the valve to the “N” and
the live wire (brown) of the valve to the “L” of the REL4 or 5
connector.
•
Connect the earth wire (yellow/green) of the valve to the earth
of the REL3 connector.
•
Electrically insulate the red and grey wires of the valve as they
are not used.
INTRODUCTION
EN