EXFO MAX-700 User Manual
Max-700
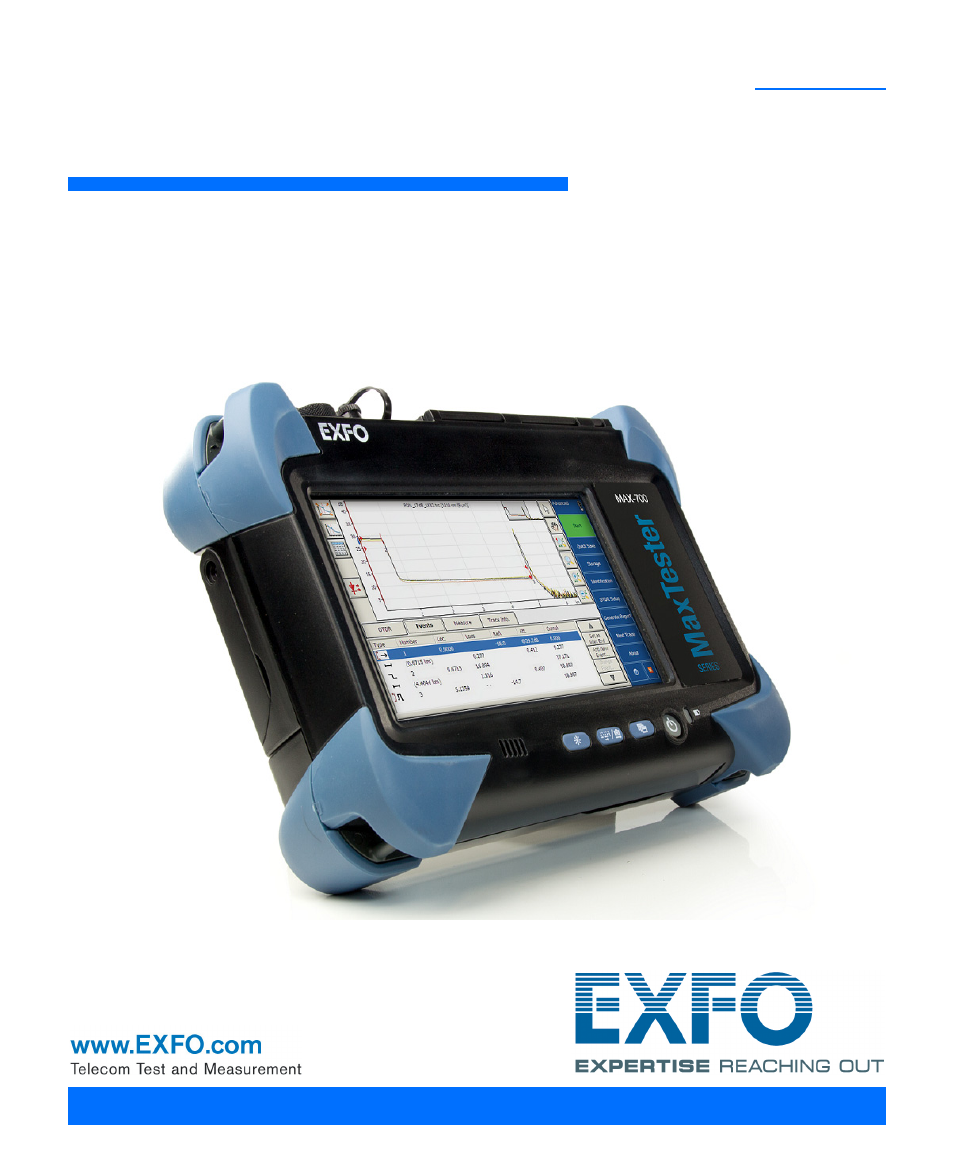
Table of contents
Document Outline
- Certification Information
- 1 Introducing the MAX-700
- 2 Safety Information
- 3 Getting Started with Your MAX-700
- Using the Supports
- Securing Your Unit Using a Kensington Lock
- Installing a Keyboard, Mouse or Other USB Devices
- Using the On-Screen (Virtual) Keyboard
- Right-Clicking with the Touchscreen
- Turning On or Off the Unit
- Installing or Upgrading the Applications
- Activating Software Options
- Starting Instrument Applications
- Timer
- 4 Preparing Your MAX-700 for a Test
- 5 Testing Fibers in Auto Mode
- 6 Testing Fibers in Advanced Mode
- 7 Testing Fibers in Fault Finder Mode
- Acquiring Traces in Fault Finder Mode
- Naming Fault Finder Files Automatically
- Selecting the Default File Format for the Fault Finder Traces
- Enabling or Disabling the Confirmation of Fault Finder File Name
- Enabling or Disabling the Storage Feature
- Enabling or Disabling the First Connector Check for Fault Finder
- Enabling or Disabling the Touchscreen Keyboard
- Setting Trace Display Parameters
- Selecting the Distance Units
- 8 Customizing the OTDR Application
- 9 Analyzing Traces and Events
- Graph View
- Linear View
- Summary Table
- Events Tab
- Measure Tab
- Trace Info. Tab
- Displaying the Graph in Full Screen
- Selecting the Default View
- Automatically Displaying the Event Table after Acquisitions
- Automatically Zooming in on the Fiber Span
- Using Zoom Controls
- Setting Trace Display Parameters
- Customizing the Event Table
- Displaying or Hiding a Trace
- Clearing Traces from the Display
- Viewing and Modifying Current Trace Settings
- Modifying Events
- Inserting Events
- Deleting Events
- Managing Comments
- Changing the Attenuation of Fiber Sections
- Setting the Analysis Detection Thresholds
- Analyzing or Reanalyzing a Trace
- Analyzing the Fiber on a Specific Fiber Span
- Enabling or Disabling the Detection of Reflective Ends of Fiber
- Swapping Traces
- Opening Trace Files
- 10 Analyzing the Results Manually
- 11 Managing Trace Files from the OTDR Test Application
- 12 Creating and Generating Reports
- 13 Using the OTDR as a Light Source
- 14 Setting Up Your Unit
- Adjusting Brightness
- Adjusting Microphone and Headphones Volume
- Recalibrating the Touchscreen
- Enabling or Disabling the Touchscreen Right-Click Feature
- Customizing the On-Screen Keyboard
- Selecting the Startup Application
- Configuring Network Printers
- Selecting the Language of Operation
- Setting Date and Time Formats
- Adjusting the Date, Time and Time Zone
- Configuring the Power Management Options
- Configuring the Internet Options
- Setting Other Parameters
- 15 Working with Your Unit
- 16 Using the Optional Built-In Power Meter and VFL
- 17 Inspecting Fibers with a Probe
- 18 Managing Data
- 19 Accessing Your Unit Remotely
- 20 Maintenance
- 21 Troubleshooting
- 22 Warranty
- A Technical Specifications
- B Description of Event Types
- Index