SINGER W1066 User Manual
Page 19
Attention! The text in this document has been recognized automatically. To view the original document, you can use the "Original mode".
iO MAKING BUTTONHOLES
Ensuring that
the needle is still raised to
its highest
position,
lower the foot onto the material.
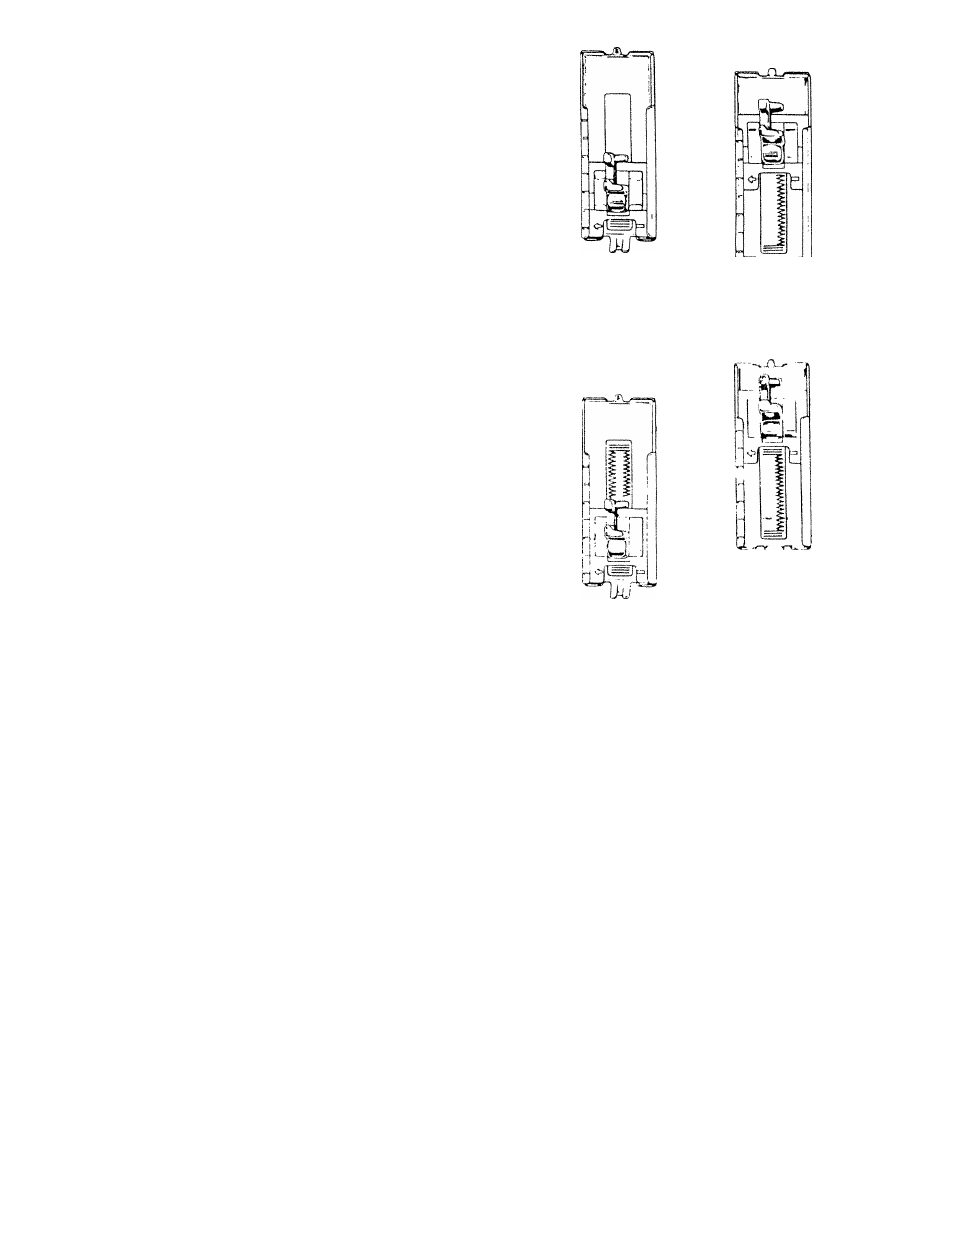
1.
Turn the automatic buttonhole dial to ilM) and sew the lower
bar tack by making 5 or
6
stitches (Fig. 26). stopping with
needle raised.
2. Turn the same dial to (2Q) and sew the right hand side of
buttonhole, stopping at
the upper bar tack mark
with the
needle raised. (Fig. 27)
3. Turn the
same dial to
¡30) and sew the upper
bar tack
making 5
or
6
stitches
(Fig. 28) as for the lower bar tack,
stopping again with the needle raised.
4. Turn the same dial to (4| ) and sew the left hand side (Fig. 29),
stopping with the needle raised.
5. Return the dial to 'OFF' position and make 3 or 5 stitches to
fasten.
6
. Cut buttonhole along center with buttonhole.
NOTE: FOR ALL NORMAL SEWING LEAVE THE AUTOMATIC
BUTTONHOLE DIAL AT THE 'OFF' POSITION.
Fig 26
Fig 29
Fig 27
Fig 28