Straight and zigzag sewing – SINGER W1640 User Manual
Page 23
Attention! The text in this document has been recognized automatically. To view the original document, you can use the "Original mode".
Keeping Stitching Straight
Your machine has three aids to help keep
your stitching straight, whether stitching
seams or doing decorative stitching.
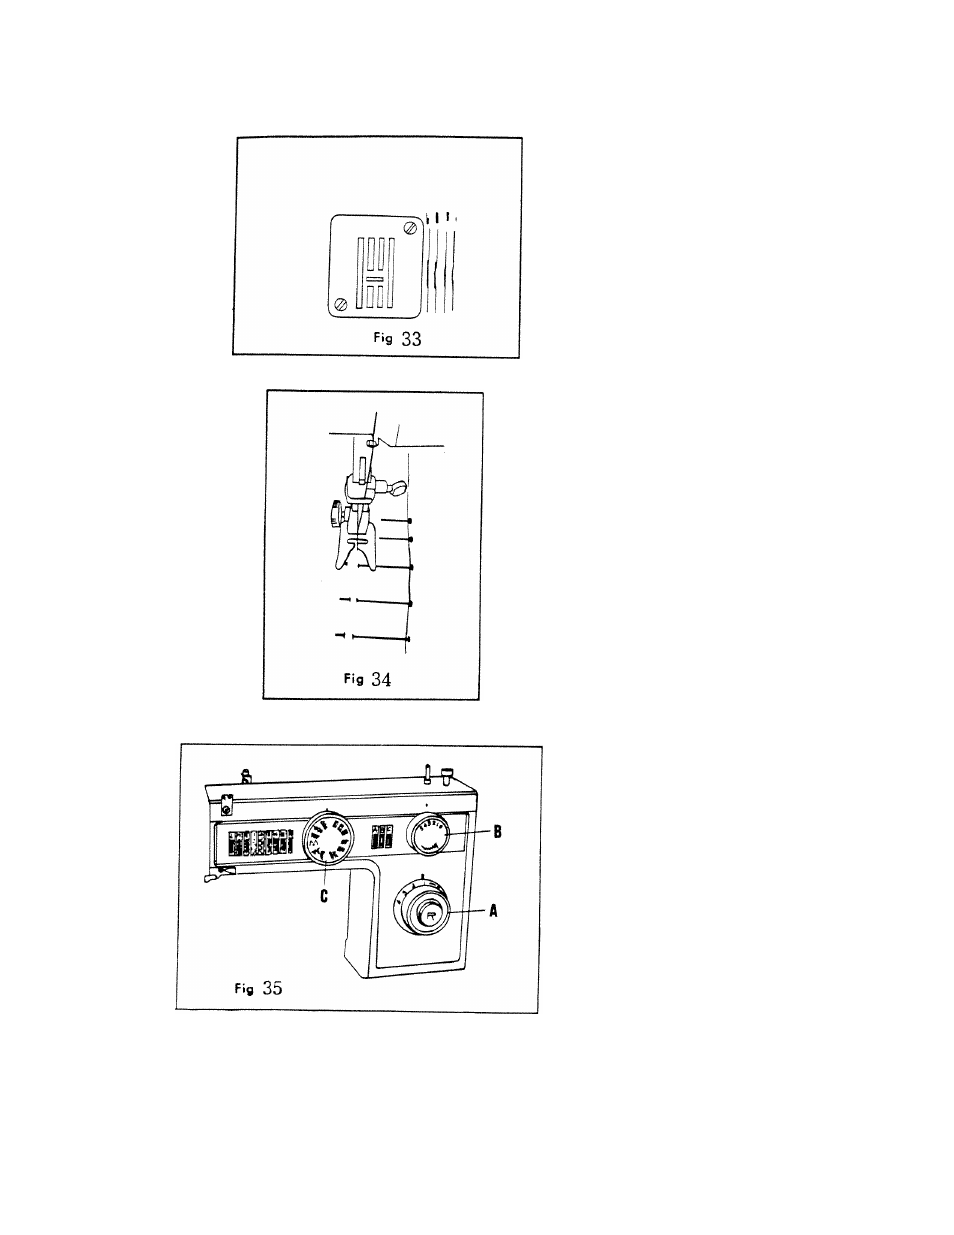
1)
Numbered guidelines on the right
side
of
needle
plate.
(Fig.
33)
Numbers indicate distance, in eighths
of an inch, from the needle. For
5/8" seam, line up your fabric with
the numbered 5/8 guideline.
2)
Quilting attachment (Page 26)
3)
Cloth guide attachment (Page 26)
Pin Basting
Place pins at right angles to pressar foot
with pins just nipping into fabric at
stitching
line.
Never
place
pins
on
underside of fabric in contact with fabric
feed or so presser foot rides over head
of pin. (Fig. 34)
STRAIGHT AND ZIGZAG SEWING
For sewing straight stitch and zigzag.
Turn Stitch Selector (C Fig. 35) at
By turning Stitch Width Dial (B Fig. 35)
clockwise, the stitch width will be in
creased; and counter-clockwise will be
decreased. Set Stitch Width Dial at bottom
indication mark for straight stitching.
-20-