W\aaa, How to set selectors for straight stitching, How to set selectors for zig-zag stitching – SINGER 9618 User Manual
Page 27
Attention! The text in this document has been recognized automatically. To view the original document, you can use the "Original mode".
—
w
\
aa
A/\
0
•
2
•
4
•
6
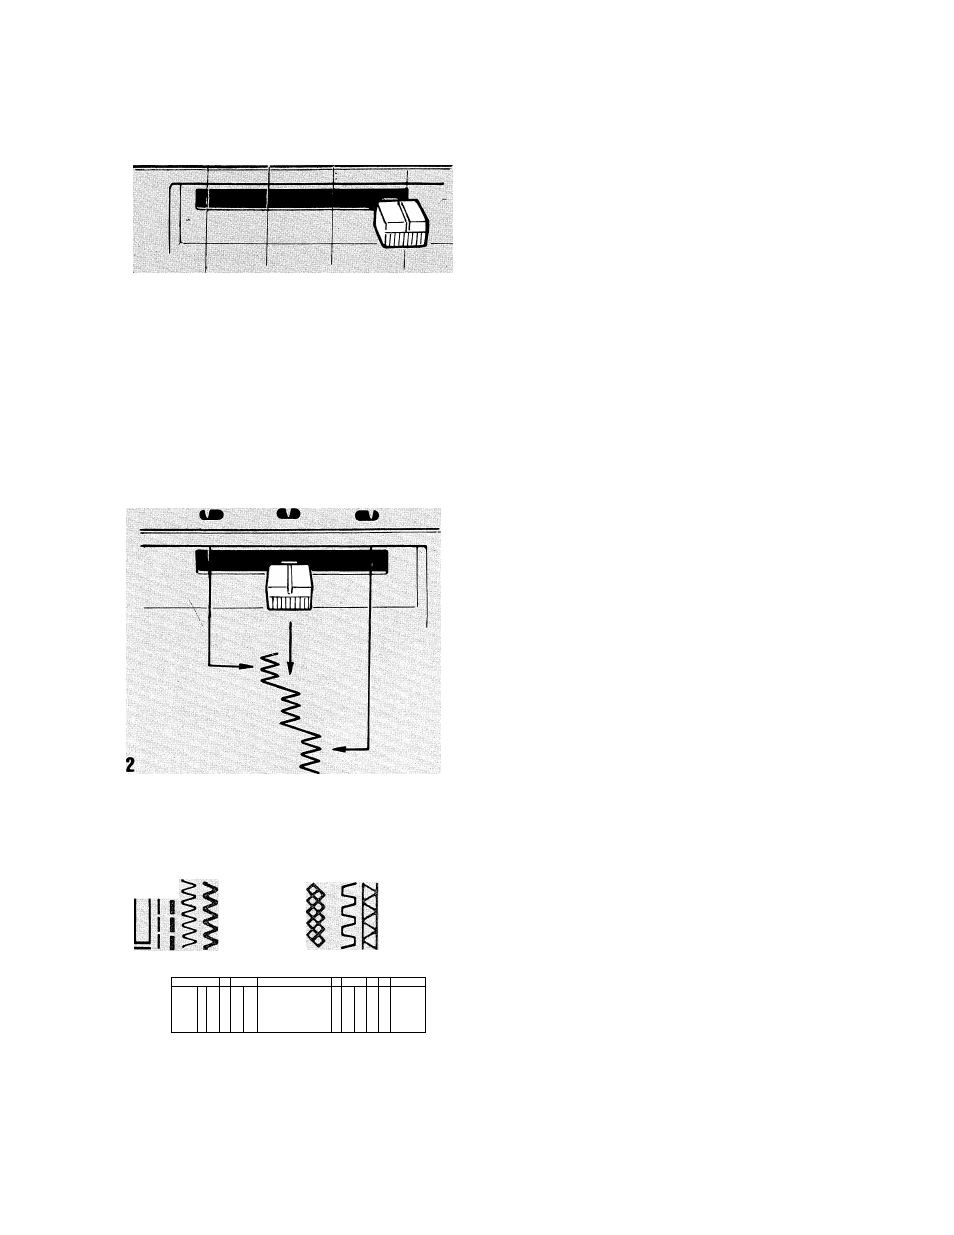
Before moving selectors, make sure needle is
out of the fabric
How to set selectors for straight
stitching
T r T1 T
• Needle Position:
• Stitch Width: 0
• Stitch Length: .5 - 4 to suit fabric
How to set selectors for zig-zag
stitching
• Pattern Group Selector: 1-2-3-4-5
• Needle Position:
!m
'¡^
m
J
tu
• Stitch Width: 1 to 6
• Stitch Length: .5 - 4 to suit fabric
1. STITCH WIDTH SELECTOR
To produce a plain zig-zag or a decorative
stitch, the stitch width selector is moved from
its straight stitch position
0
to any of its other
five
positions.
The
further
you
move
the
selector lever toward the right, the wider your
stitch will be.
1 2 3 4 5
6 7
8 9
1 0 1 1
11
•
1
-
2
-
3
-
4-5
2. NEEDLE POSITION SELECTOR
Most of your zig-zag stitching will be done in
centre ^ needle position.
Left ui and right ^ setting are used for
special stitch placement, as in button sewing.
3. PATTERN GROUP SELECTOR
For plain zig-zag stitching:
• Set stitch width selector on 0 (straight
stitch)
• Turn pattern group selector to 1-2-3-4-5
aligning number under • mark.
25