SINGER W710 User Manual
Page 32
Attention! The text in this document has been recognized automatically. To view the original document, you can use the "Original mode".
X
v>
90
With this buttonholer, you can produce as many buttonholes as desired which will be exactly
the same size simply by selecting the proper number or position. Automatically the button
hole will be produced. This buttonholer is used most often on light and medium weight
fabrics. The buttonhole lengths are relative to the numbers on the buttonhole control dial.
The lengths of the buttonholes are as follows;
NUMBER; 1
2
3
4
5
LENGTH;
1"
VA"
Most medium weight, stable fabrics will produce buttonholes of this length when the cor
responding number is chosen. In the case of slippery or sheer materials a smaller buttonhole
may result, which will require a slightly bigger number. It is best to test the buttonhole on a
scrap of fabric before making buttonholes on the garment. At this time you can also balance
the buttonhole density and adjust as necessary with the Stitch Density Control Dial for the
right side, and stitch length dial for left side.
1. Turn the Buttonhole Control Dial clockwise
from the OFF position to the ON position.
At the ON position press the dial down and
turn through the DOWN position. Release the
dial and turn to the desired buttonhole length
position. If the dial is turned past the desired
buttonhole length number, turn to the OFF
position and then turn the dial one more
complete turn to dear the mechanism and
repeat as above for buttonhole.
2. Lower the needle into the fabric at the
bartack marking line. Lower the presser foot
and start to sew. First, the bartack will be
made, then the right side of the buttonhole
will be sewn in reverse. The second bartack
will be made automatically when the desired
length is completed. Finally the left side of
the buttonhole will be made. Stop the
machine when the left side of the buttonhole
reaches the first bartack,
3. To lock the stitch, make sure the needle is out
of the fabric. Turn the dial to the OFF posi
tion and take a few stitches.
4. To make succeeding buttonholes, proceed as
above for an many buttonholes as necessary,
always turning to OFF and repeating steps 1
thru 3.
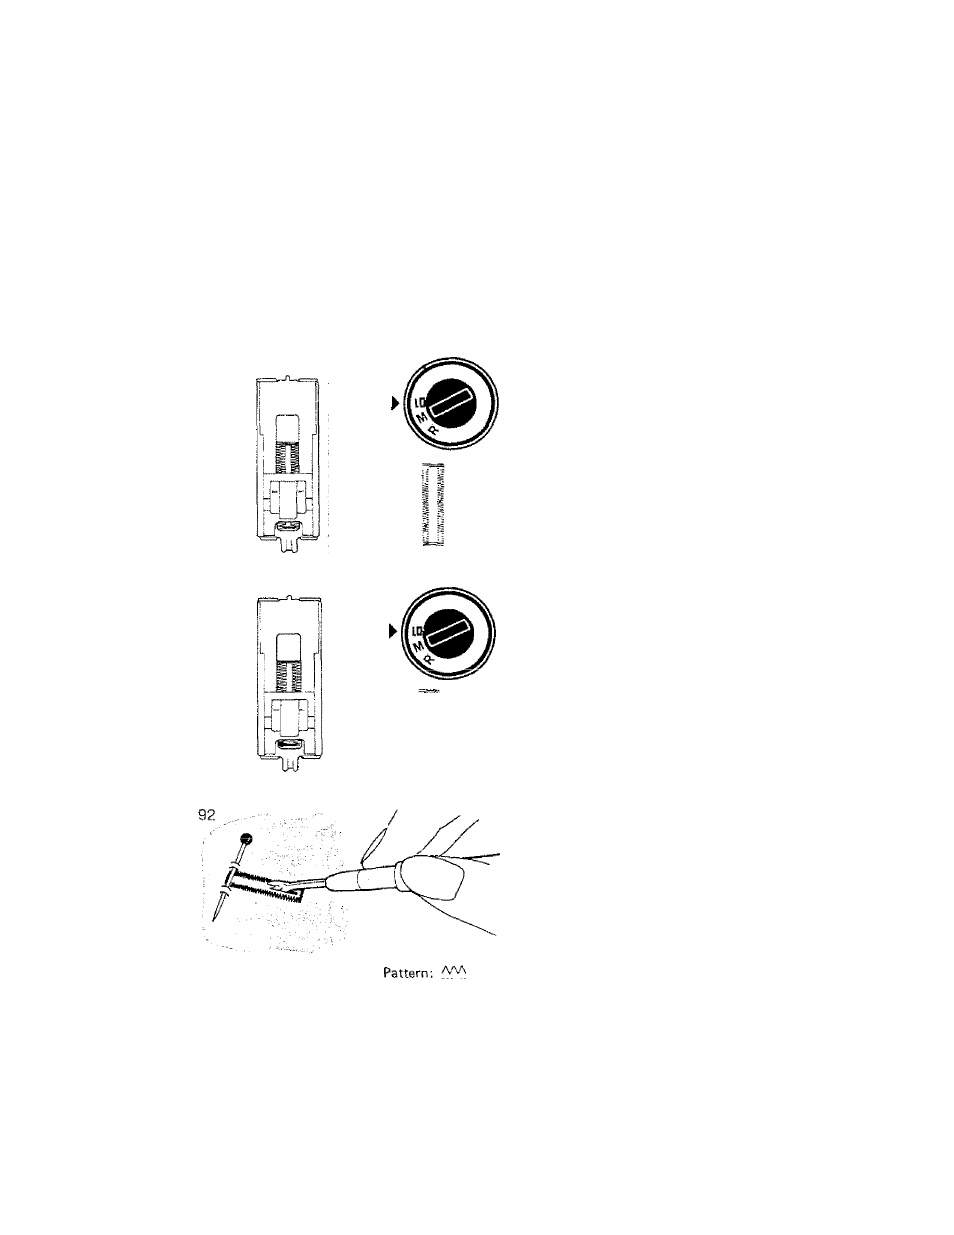
5. Score the buttonhole with the back edge of
the seam ripper several times. To prevent
cutting through the bartack, insert a straight
pin through the bartack. Cut the buttonhole
open with the seam ripper,
NOTE: Stitch Width Control should always be
set at "V' while making buttonholes. For a
narrower cutting space, you may turn your
zigzag control knob close to 2’A for desired
cutting
space.
To
turn
the
buttonhole
mechanism off, when the length has been set
and no buttonholes were made, turn the dial
one complete turn without pressing the dial
down
to
complete
the
cycle
and
dear
mechanism.
BUILT IN ONE STEP BUTTONHOLES
91
Length: Buttonhole
Width: 1
Feed Dog: Up
Pressure; Normal
Foot: Buttonhole or
Embroidery
Needle Position: L
31