Braid sewing, Darning and embroidery – SINGER W671 User Manual
Page 17
Attention! The text in this document has been recognized automatically. To view the original document, you can use the "Original mode".
degrees, and repeat the procedure as before.
(8)
Remove the fabric from the machine and open the buttonhole with a button
hole cutter included in the accessories.
Note : It is sugguested that you make one or two sample buttonholes on a clipping
of fabric to test adjustments of the machine and to make corrections.
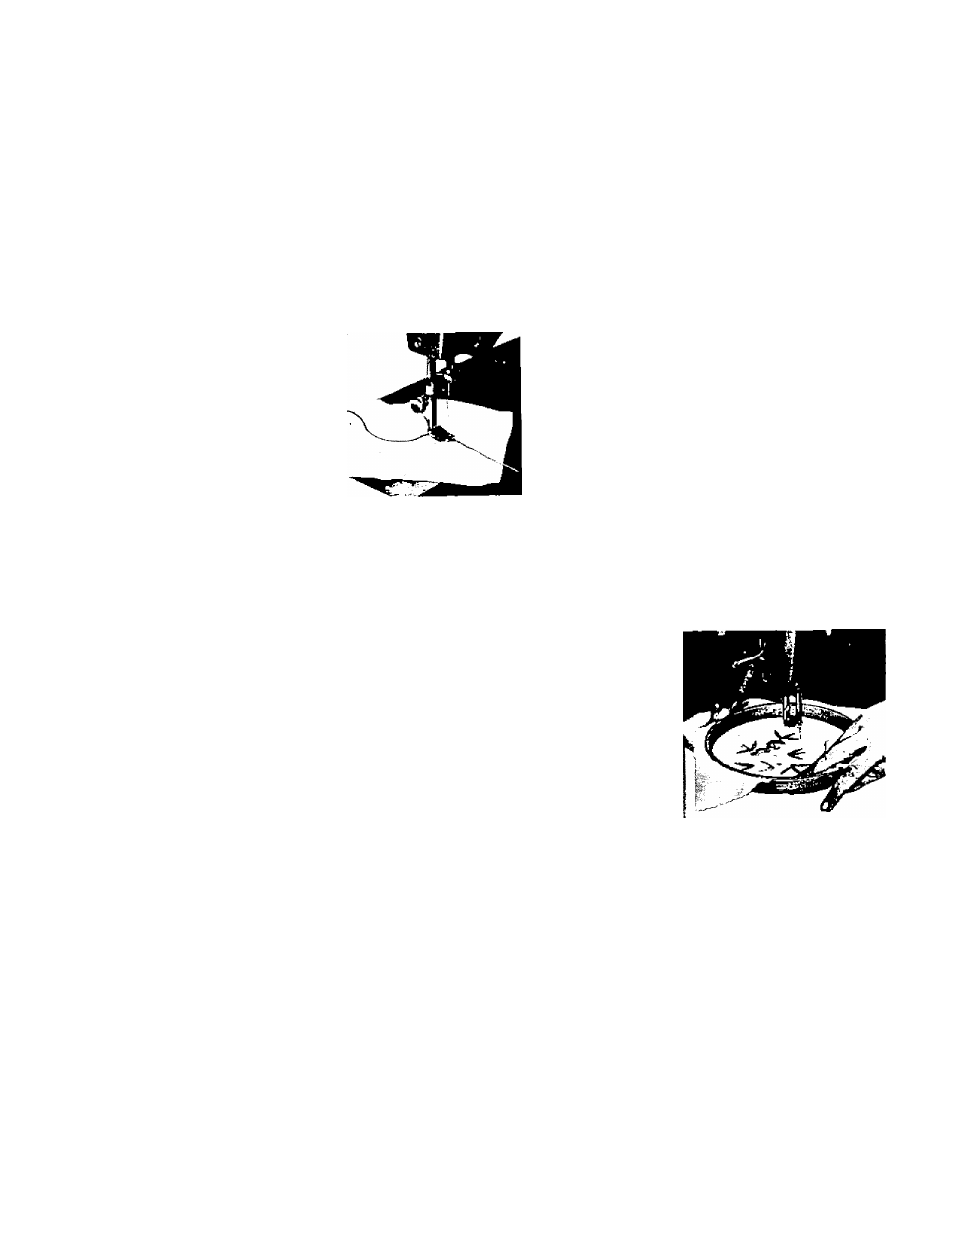
Braid sewing
Remove the regular presser foot from the machine
and attach the braider foot, as shown in Fig. 25.
Insert the braid through a small hole at the front of
the foot.
Adjust width of zigzag seam and length of stitch to
obtain a covering of the braid which appears the
(Fig. 25)
most desirable for the material you are sewing.
Using a needle thread of a contrasting color will enhance the beauty of your
braiding.
Darning and Embroidery
Raise
the
foot
lifting
lever
and
remove
the
presser foot.
Drop the feed by pressing down the drop feed
button,
remove
the
regular
needle
plate
and
attach the needle plate for darning and embroi
dery*. (see page 3)
Now* your machine is ready for embroidery and
darning.
(Fig. 26)
Embroidery will be done most successfully when the fabric is stretched and fixed
16 "