Buttonhole sewing – SINGER W671 User Manual
Page 16
Attention! The text in this document has been recognized automatically. To view the original document, you can use the "Original mode".
(6)
Turn the hand wheel slowly toward you, making sure the needle enters the
holes in the button. Slowly start the machine, making about six or seven
stitches. To knot the thread, set the lever “A’' to “O" and make three
or four stitches.
When sewing four-hole buttons, first sew one set of two itoles, then stitch into
second set of two holes and lock thread with three or four plain stitches in last
hole in same way as described above.
Buttonhole sewing
(1)
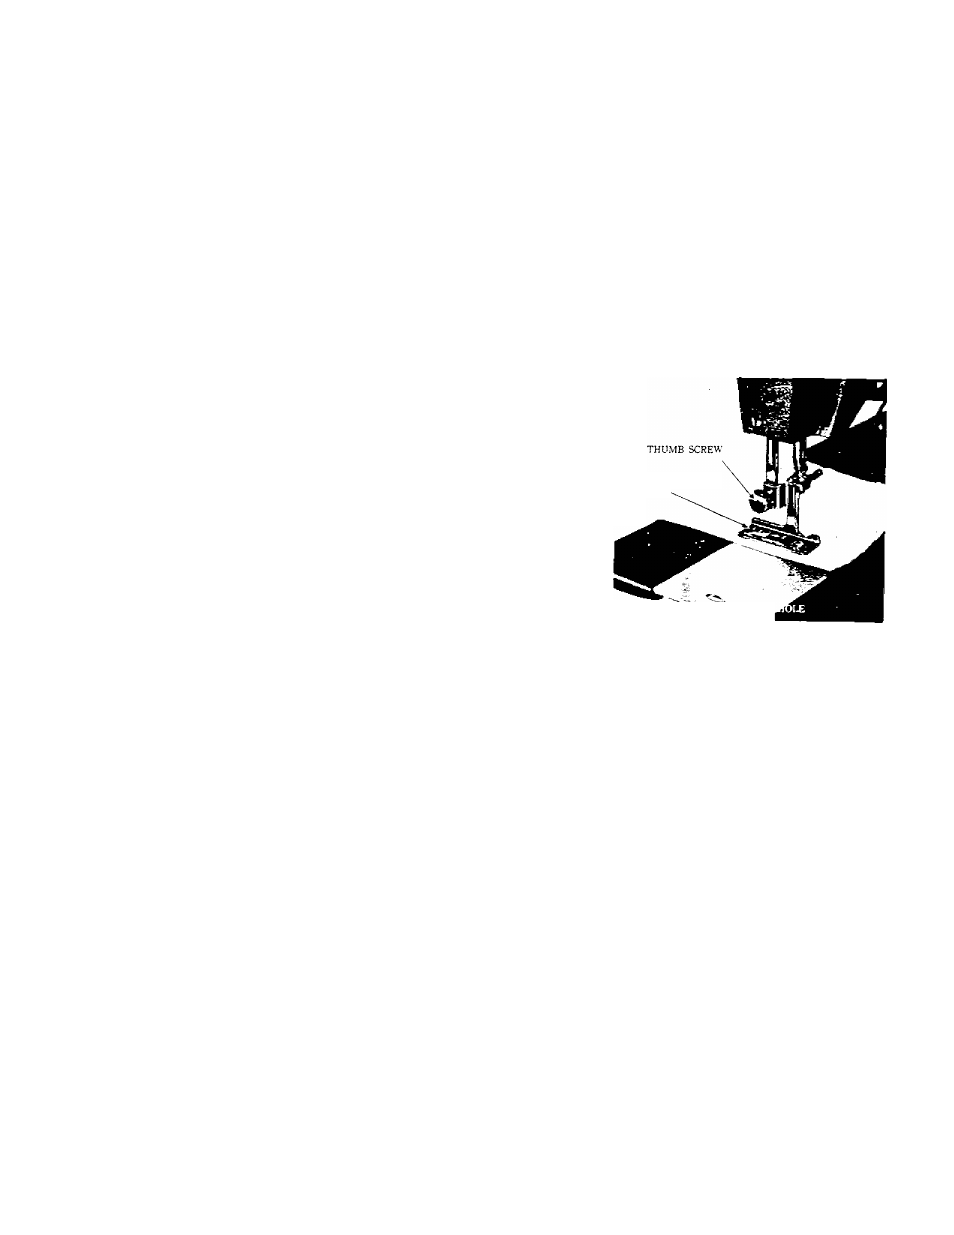
Remove the regular presser fcot
and attach the buttonhole presser
foot. (Fig. 24)
(2)
Set the zigzag width lever “A"
gauge
to a little less than 2.5. (Tig. 21)
(3)
Set the stitch length, dial (Fig.
19) to obtain closely spaced
forward
stitches.
,
BUTTON
(Fig. 24)
(4)
Mark with pencil or chalk the position and e.xact length of the buttonhole
on the fabric.
(5) Place the buttonhole foot on one end of the marking, commence sewing the
left buttonhole seam until it reaches the end of the marking.
(6)
To close the end, drop the feed by pressing down the drop feed button,
set the zigzag width lever “A” to “5” and sew three or four stitches.
(7)
Now to sew the other side of the buttonhole, turn the fabric around 180
15