Zigzag stitch, Overcasting, Sewing knits – SINGER W310 User Manual
Page 24: Sewing on buttons
Attention! The text in this document has been recognized automatically. To view the original document, you can use the "Original mode".
ZIGZAG STITCH:
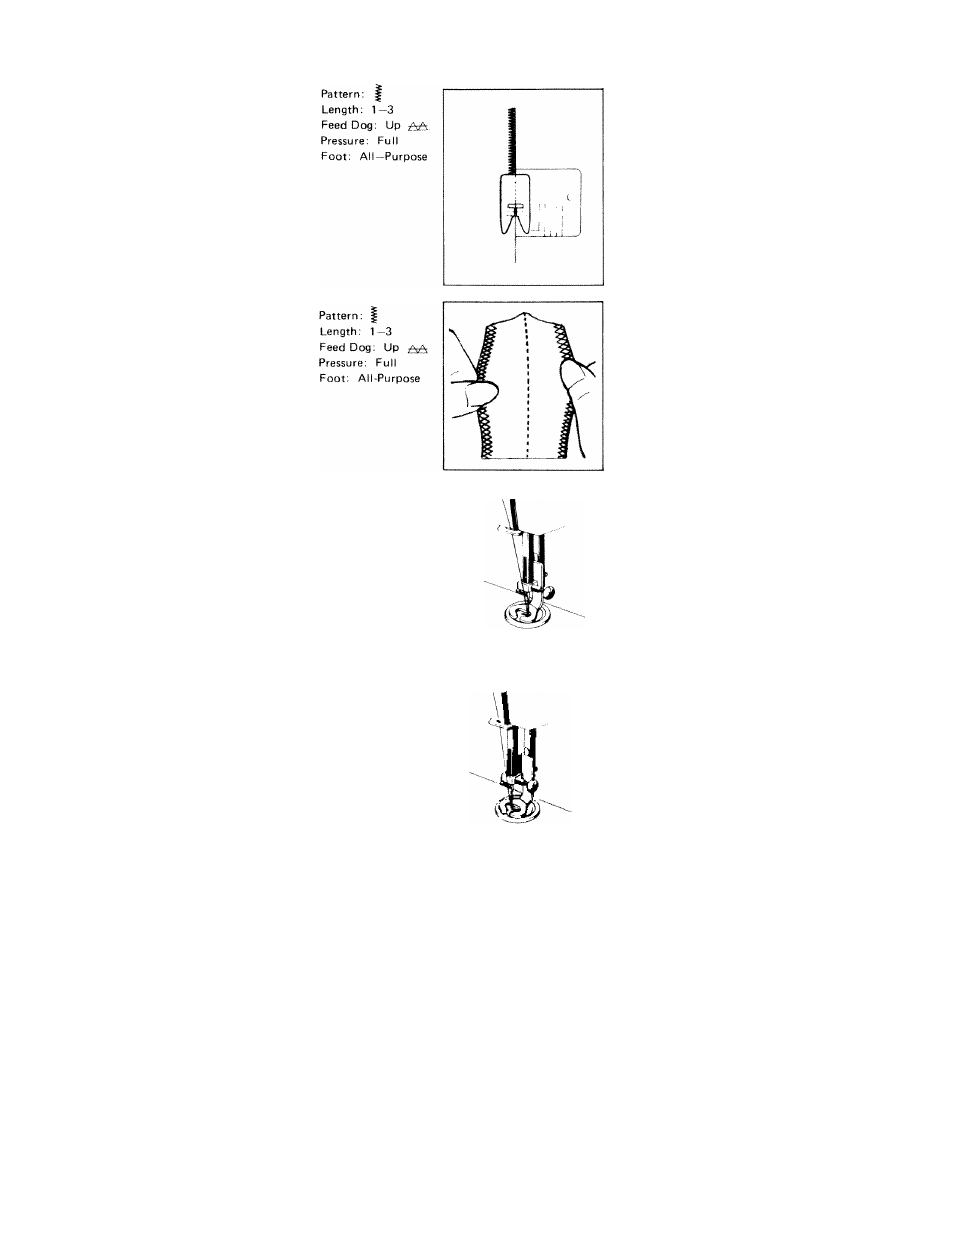
OVERCASTING
Place the edge of the material underneath
the opening of the sewing foot and guide
the raw edge along the centre slot of the
foot allowing the stitch to form half on
and half off the fabric.
The multiple stitch zigzag is a wiser choice
for most fabrics. See Page 26.
SEWING KNITS
The narrow zigzag can be used for seams in
firm knits for added strength. After sew
ing, open the seam and press it flat. Tiny
zigzag stitches can hardly be seen and the
seam will give when stretched.
Generally
on
knits,
however,
try
the
straight stretch stitch or the stitch-and-
overcast. See page 32.
SEWING ON BUTTONS
Place the button so that the hole is at the
center of the foot.
Turn the hand wheel by hand until needle
point is close to the face of the button.
Turn the stitch pattern dial to the right until
the needle comes just above the hole of
button. Turn the hand wheel slowly to
check if the needle clearly enters the second
hole of button. If necessary readjust the
button position below the foot.
Note: Be sure the needle clears the holes of
button by moving the wheel by hand
before running the machine fast.
Usually 6 to 8 stitches are adequate for
securing a button in place. To lock the
threads, set the stitch pattern dial at the
straight stitch position, readjust the button
position so ■ that a hole of the button is
just below the needle, and make a few
stitches in the hole.
Pattern: ^
Length: 0
Feed Dog:Down 32
Pressure: Full
Foot: Button Foot
22