Straight stitch, Seams, Bastiimg/topstitching – SINGER W310 User Manual
Page 22: Darning
Attention! The text in this document has been recognized automatically. To view the original document, you can use the "Original mode".
STRAIGHT STITCH:
SEAMS
The normal stitch length for most fabrics
is between 2—3 but the length chosen
should depend on the fabric and area of
usage. Usually, heavier fabrics require
longer stitches, and lighter weight fabrics
require shorter stitches. For curved seams
and bias cut areas use a shorter stitch
length.
SECTION V
Pattern:
Length; 2—3
Feed Dog: Up AA
Pressure: Full
Foot: Straight Stitch or All-Purpose
BASTIIMG/TOPSTITCHING
Sewing a seam with a longer stitch is useful
for
temporary
seams
prior
to
fitting.
Basting stitches also may be used when
gathering in fullness.
Topstitching can be done very effectively
with the long straight stitch. For a bolder
stitch, two threads of the same type can
be threaded through one needle (size 14
or 16). A heavier thread such as button
hole twist may be used for topstitching,
but be sure to use a larger needle (size 16
or 18).
Pattern:
Length: 4—5
Feed Dog: Up z5sA
Pressure; Full
Foot: Straight Stitchor All-Purpose
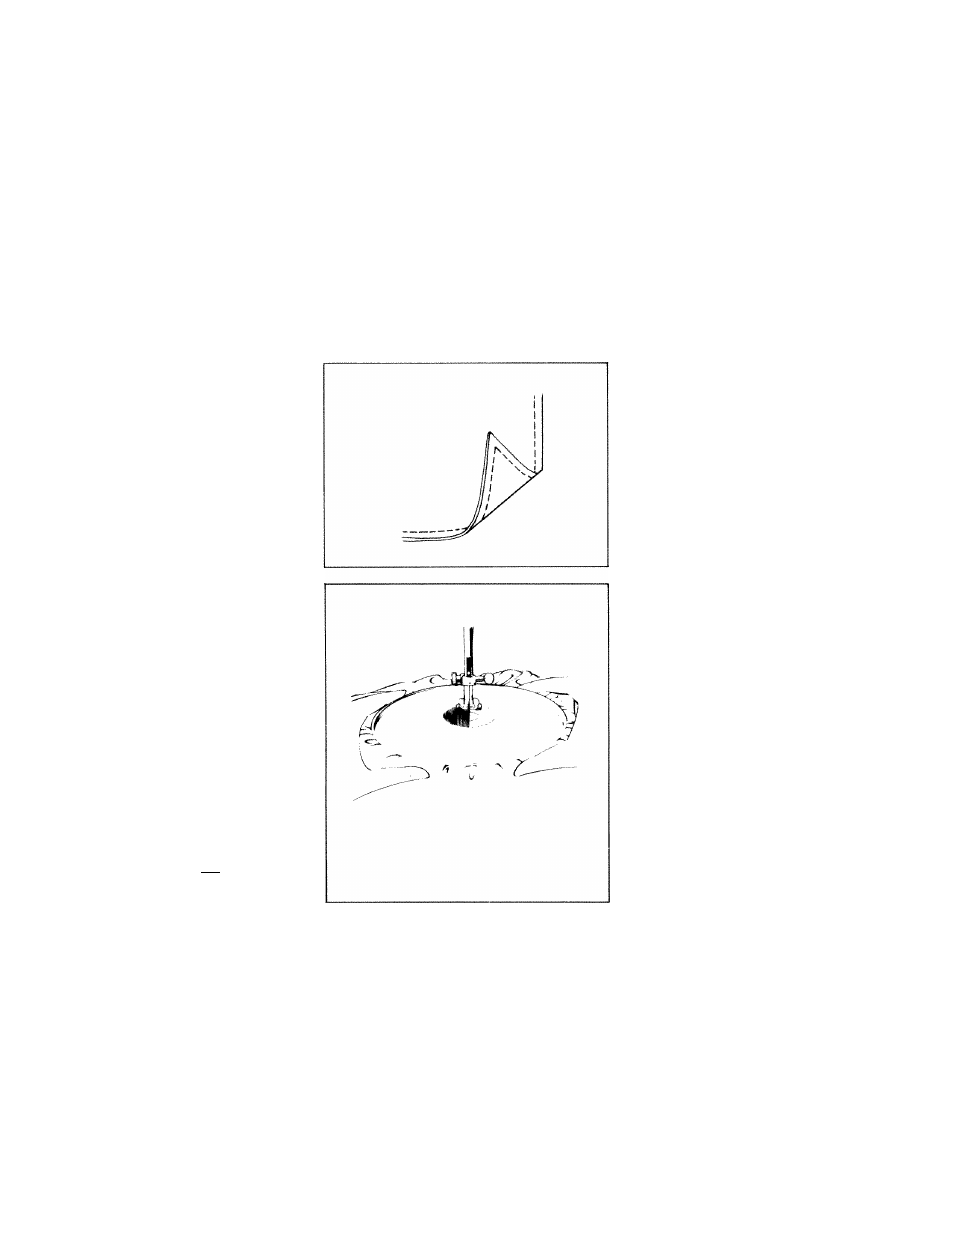
DARNING
Worn spots or small holes can be darned
very easily. Use of an embroidery hoop is
optional depending on the fabric. A fine
thread is recommended so that the fabric
and thread will blend together invisibly.
Trim the ragged edges from the area to be
darned. Hold the threads to start, then
move the fabric slowly backwards and
forwards while running the machine very
fast to fill the area. Professional results
will be attained by moving the fabric in
a figure eight pattern while sewing. After
filling in the area lengthwise, reweave
with crosswise stitches in the same manner.
Pattern: |
Length: 0
Feed Dog: Down A/A
Pressure: 0
Foot: Straight Stitch or All-Purpose
20