SINGER W311 BBS User Manual
Page 21
Attention! The text in this document has been recognized automatically. To view the original document, you can use the "Original mode".
5
i
^
<
5^
>
§.
stop here
finish here? i
I ?
stop here
V.
g^stop here
(STEP 1) (STEP 2) (STEP 3)
(STEP 4)
3.
d.
5.
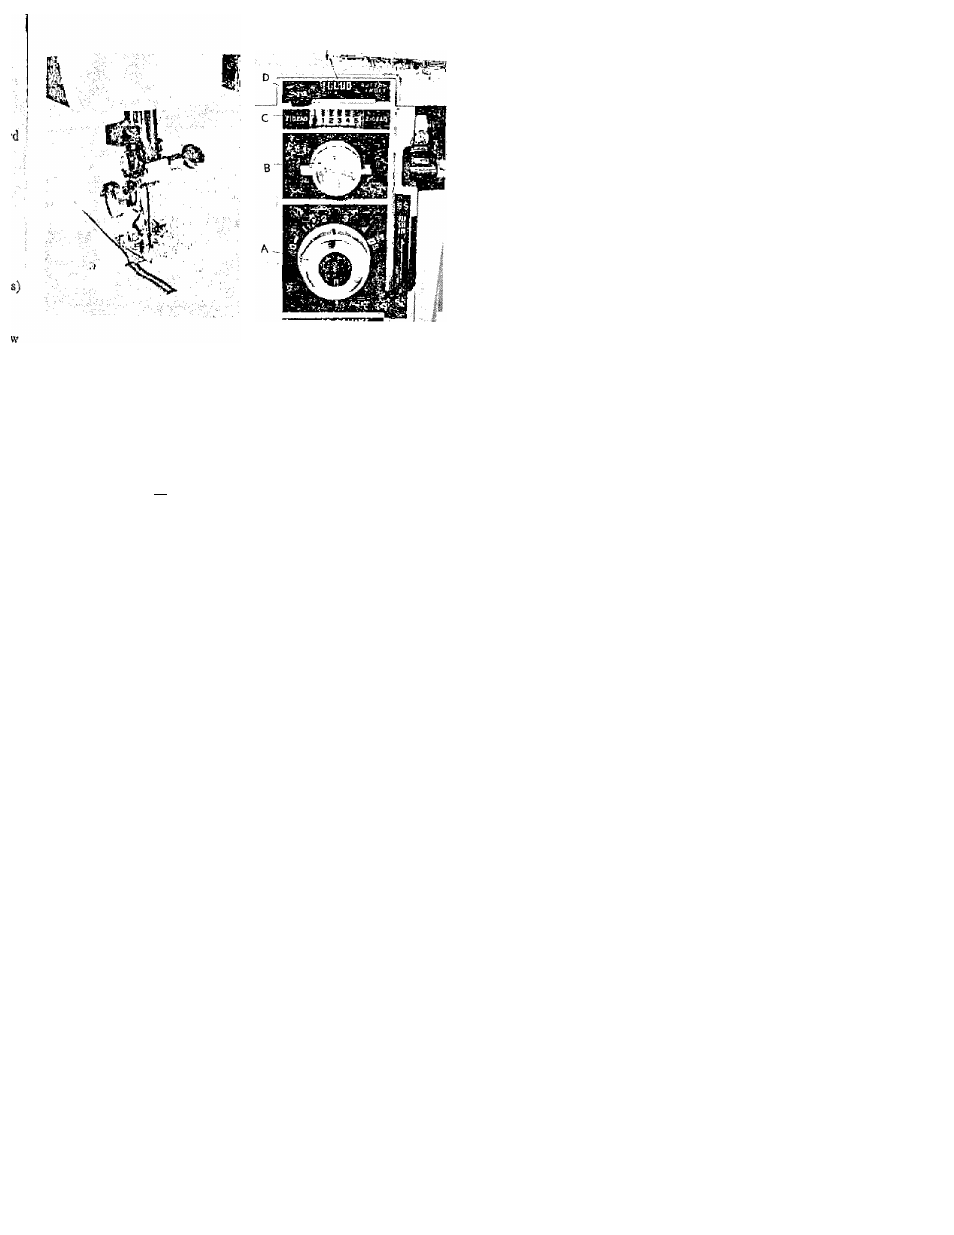
MAKING BUTTONHOLES
First, mark the beginning and end of the buttonhole on fabric
with a basting line or tailor’s chalk. Make one on scrap fabric
as shown in the following directions to a.scertain that the
adjustments of- machine are correct.
1.
Replace presser foot with buttonhole foot.
2.
Set zigzag width dial(B) to 0 point.
Set stitch regulator dial (A) at any point, 1 to 5.
Move buttonhole lever (D) to the right end by your
thumb finger and release it, and buttonhole indicator ( I )
is set at Step 1 position, as shown in Fig.
Lower needle carefully into the mark on fabric indicating
the beginning of buttonhole.
6.
Sew to the mark of buttonhole end and stop machine with
needle in the fabric. (Step 1).
7.
Move buttonhole lever (D) to the right end and release
it, and buttonhole indicator shows Step
2 position, and
commence sewing for the lower tacking. (Step 2)
8.
Move buttonhole lever (D) to the right end and release it,
and buttonhole indicator now shows Step 3 position, then
sew to the mark of beginning of buttonhole. (Step 3)
Move buttonhole lever (D) to the right end and
release it, and buttonhole indicator ( I ) is set at Step 4
position, then stitch the upper tacking. (Step 4)
10.
Cut
the
buttonhole
opening
with
a
seam
ripper,
being
careful not to cut the stitching.
^ ^
9.