Method, Method #2 – SINGER 626E6 Touch & Sew User Manual
Page 48
Attention! The text in this document has been recognized automatically. To view the original document, you can use the "Original mode".
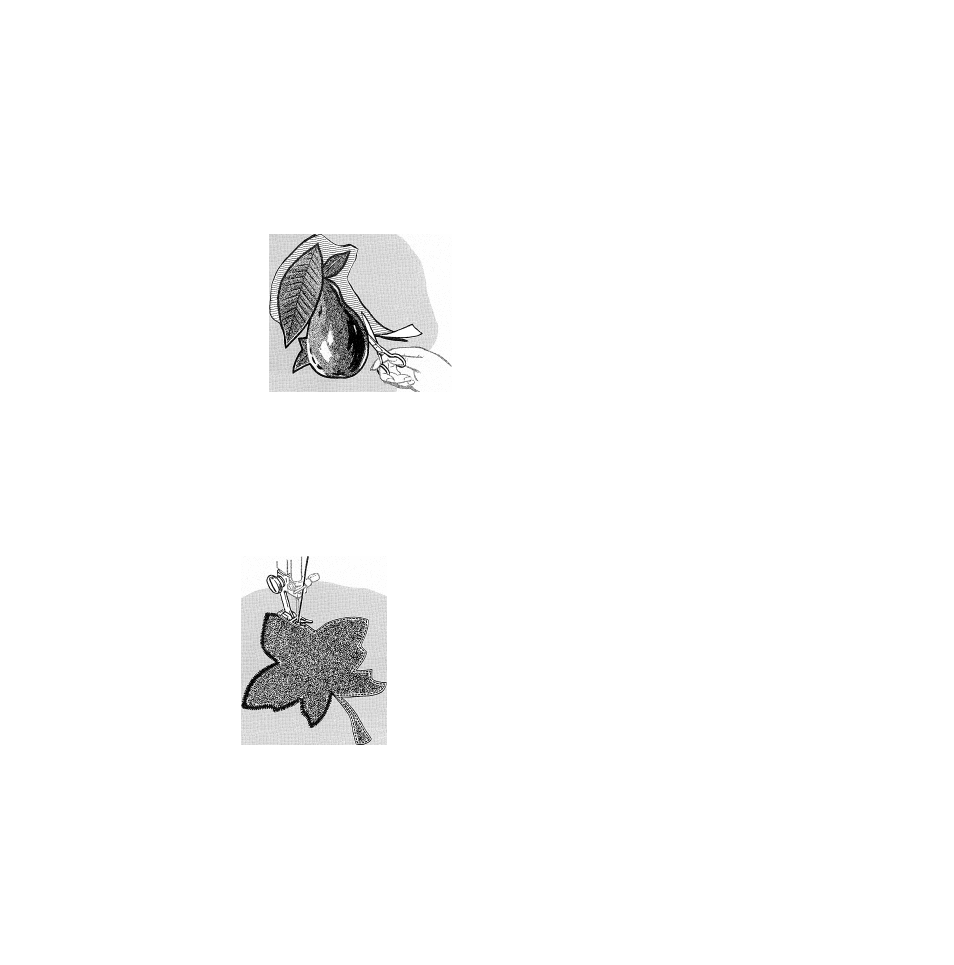
Method #1 ™ Trimming after Stitching
Applique adds beauty and interest to clothes and
household linens. Either contrasting or self fabric can
be used effectively.
The stitch most commonly used in appliqueing is a
closely spaced, plain zig-zag stitch. The width of this
stitch can be varied to accommodate fabrics of differ
ent weaves and textures. Many of the other stitch
patterns can also be used to applique with decorative
stitching.
To prepare for appliqueing, make a sample to help
you decide which of the following two methods is the
more appropriate for your fabric and design,
® Position the design.
® Baste it to the fabric.
® Attach General Purpose Presser Foot
(and General Purpose Throat Plate)
METHOD#!
1. Set Pattern Selector for the desired applique stitch
pattern. Set Stitch Width Selector for the desired
width, and set Stitch Length on
FINE
(above 20).
2. Outline the design with applique stitching.
3. Trim any excess fabric on the outer edges of
the stitching. Remove basting.
METHOD #2
1. Adjust selectors for straight stitching.
Pattern Selector: Straight Stitch (-
Stitch Width Selector: 1
Needle Position: C
Method #2 — Stitching after Trimming
2. Outline the entire design with a short stitch.
3. Trim raw fabric edges to the stitching.
4. Set Pattern Selector for the desired applique stitch.
5. Adjust Stitch Width Selector to desired width set
ting for applique pattern. Set Stitch Length Se
lector on
FINE.
6. Stitch, following the straight stitch outline. This
step will produce a smooth overedged finish, with
no raw edges to be trimmed. Remove basting.
46