SINGER 626E6 Touch & Sew User Manual
Page 22
Attention! The text in this document has been recognized automatically. To view the original document, you can use the "Original mode".
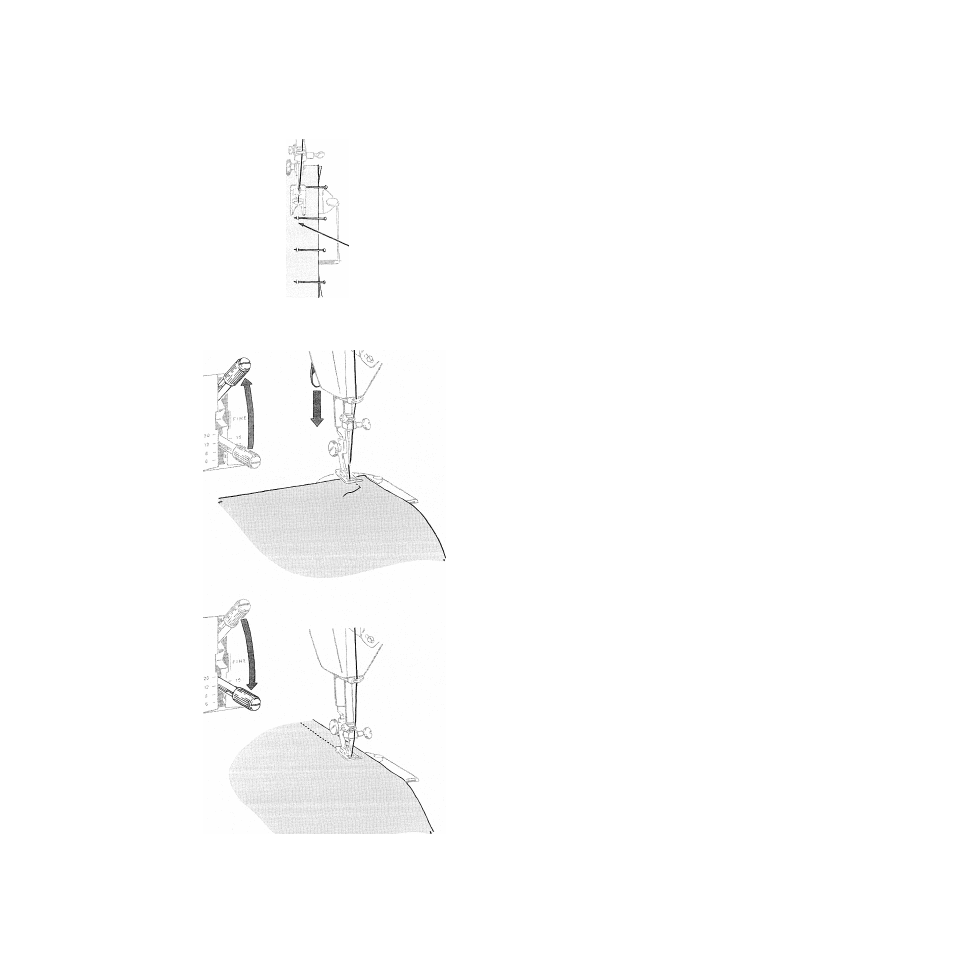
Pins Nip into Fabric
at the Stitching Line
Pin Placement
Pin basting is a time saver and can be used in place of
hand basting when you are straight stitching seams
in easy-iO"handle fabrics. The Straight Stitch Presser
Foot is recommended, but the General Purpose
Presser Foot may also be used. When sewing over
pins with either foot it is important to use fine pins
and to place them correctly in relation to the stitching
line.
Place pins so that:
® They are at right angles to the stitching line,
® They just nip into the fabric at the stitching line.
® There is minimum pin extension beyond the stitch
ing line. Pins should not extend under both sides of
the presser foot and should never be placed on the
underside of the fabric in contact with the feed dog.
STRAIGHT SEAMS
© Pattern Selector: Straight Stitch (------------------------)
® Stitch Width Selector: 1
© Needle Position: C
® Stitch Length: 6 to 20 depending on fabric
® Throat Plate: Straight Stitch or General Purpose
© Presser Foot: Straight Stitch or General Purpose
Starting a Seam
1. With presser foot up, position needle in fabric
about Vi inch from edge.
2. Lower presser foot and raise Stitch Length Selec
tor to RE¥ERSEo Backstitch to edge of material
for reinforcement.
3. Lower Stitch Length Selector for forward stitch
ing, and stitch.
20