Seams, Iside seams of sheer, Home – SINGER 626E6 Touch & Sew User Manual
Page 39: Decorations seams
Attention! The text in this document has been recognized automatically. To view the original document, you can use the "Original mode".
and
home
decorations
seams
© Pattern Selector: Zig-Zag (VW\/WW/^WAM)
® Stitch Width Selector: 2%
® Needle Position: C
® Stitch Length: 15 to 20 dependingon fabric
® Throat Plate: General Purpose
® Presser Foot: General Purpose
To make a lingerie seam both durable and flexible,
use a zig-zag stitch. This seam treatment is particu
larly suitable for bias seams.
1. Straight-stitch the seam (with Stitch Width Se
lector at 1) on wrong side.
2. Press both seam allowances in the same direction.
3. From the right side, top-stitch with zig-zag pattern
(with Stitch Width Selector at
2
V
2
), letting the
needle alternately enter the seam line and seam
thickness.
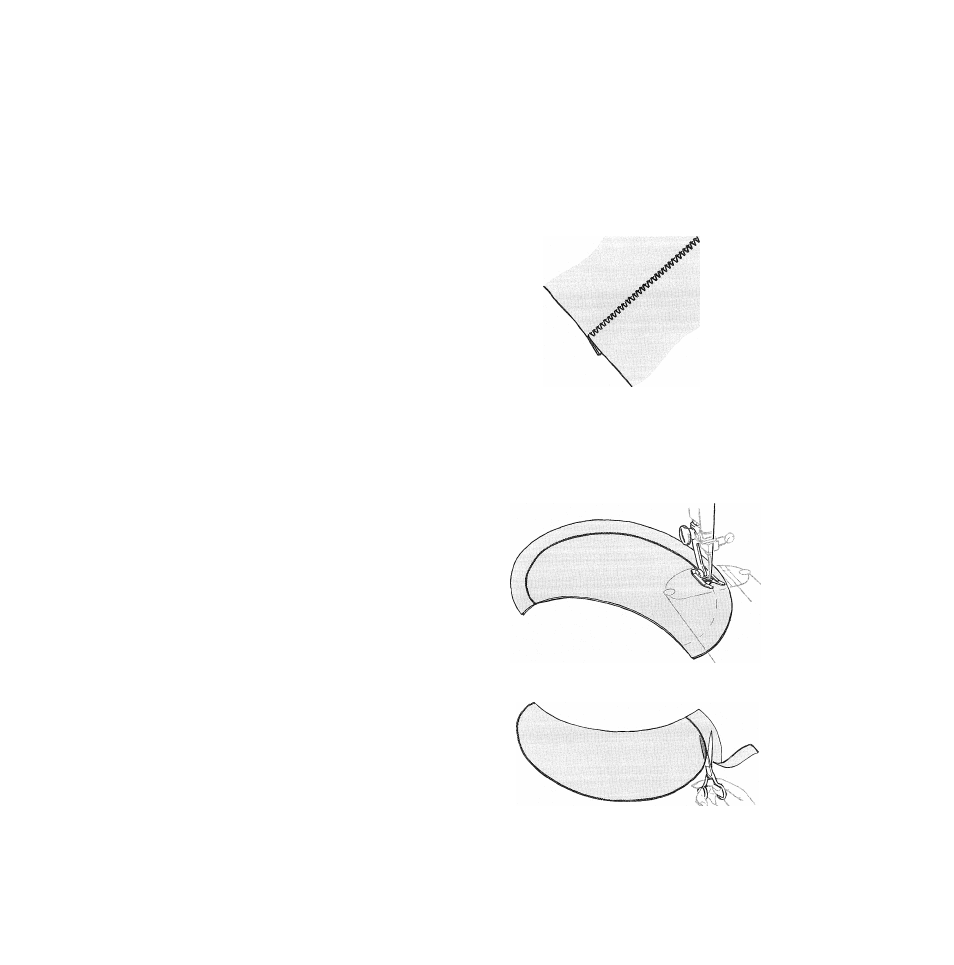
iSIDE SEAMS OF SHEER
® Pattern Selector: Zig-Zag (
® Stitch Width Selector: 2
® Needle Position: C
© Stitch Length: FINE (above 20)
© Throat Plate: General Purpose
© Presser Foot: General Purpose
With a delicate hairline finish, seam allowances that
ordinarily show through can be eliminated.
1. Stitch along seam outline,
2. Trim seam allowance close to line of stitching,
3. Turn and press.
Lingerie Seam
inside Seam of Sheer Collar
37