Zig-zag stitching, 3» zig-zag stitching, How to adjust stitch placement – SINGER 626E6 Touch & Sew User Manual
Page 26
Attention! The text in this document has been recognized automatically. To view the original document, you can use the "Original mode".
3. ZIG-ZAG STITCHING
The seven stitch patterns that are built into your ma
chine will do a variety of jobs with a minimum of ef
fort. Some you will use for practical purposes —
buttonholes and button sewing; seaming, seam finish
ing, and blindstitching; and even mending. Others are
Q Push !n
® Slide
© Release
purely decorative and will give an individual touch to
your clothes and home. Illustrations of all seven pat
terns are shown on page 5.
The plain zig-zag (WVWWVMMM)? which is placed sec
ond from the left on your Selector, is especially useful
for many steps in sewing.
push selector button in
and slide it to right or left until indicator line is
aligned with the stitch pattern you choose. Then re
lease button.
2
3
I s 1 a I
To produce a zig-zag stitch, the Stitch Width Selector
must be moved from straight-stitch position 1 to any
setting between 2 and 5- The higher the number you
select, the wider your stitch will be.
Raise needle above fabric before moving selector.
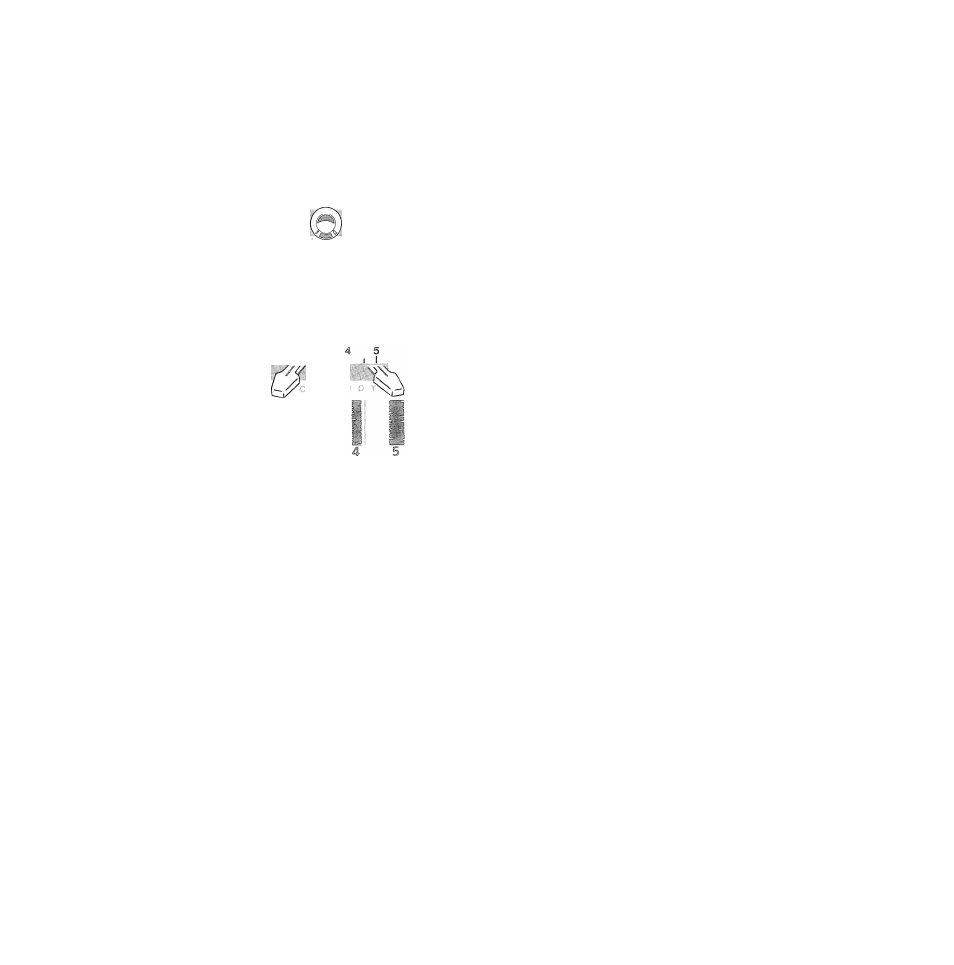
how to adjust stitch placement
A Needle Position Selector setting of C places the
needle in center stitching position. Selector settings
L and R place the needle in left and right stitching
positions at widths less than 5.
Selector setting C is used most often. Settings L and
U
are for special placement of stitching. For example,
an L setting is required for buttonholes and button
sewing. An L or R setting is used to place narrow zig
zag stitching to the left or right of center In decora
tive work.
Raise needle above fabric before moving selector.
Q
0
Left Needle Position
Center Needle Position
Right Needle Position
24