Sewing on buttons – SINGER W2135 User Manual
Page 20
Attention! The text in this document has been recognized automatically. To view the original document, you can use the "Original mode".
18
If you plan to make buttonholes on sheer or soft material, place
tarlatan or paper, which can be torn away after stitching, under the
fabric. And it is always wise to make several buttonholes on scraps
of fabric before working on the garment.
^
For narrower buttonholes, set the stitch width at IVz and move
stitch width lever to 3 for bar tack.
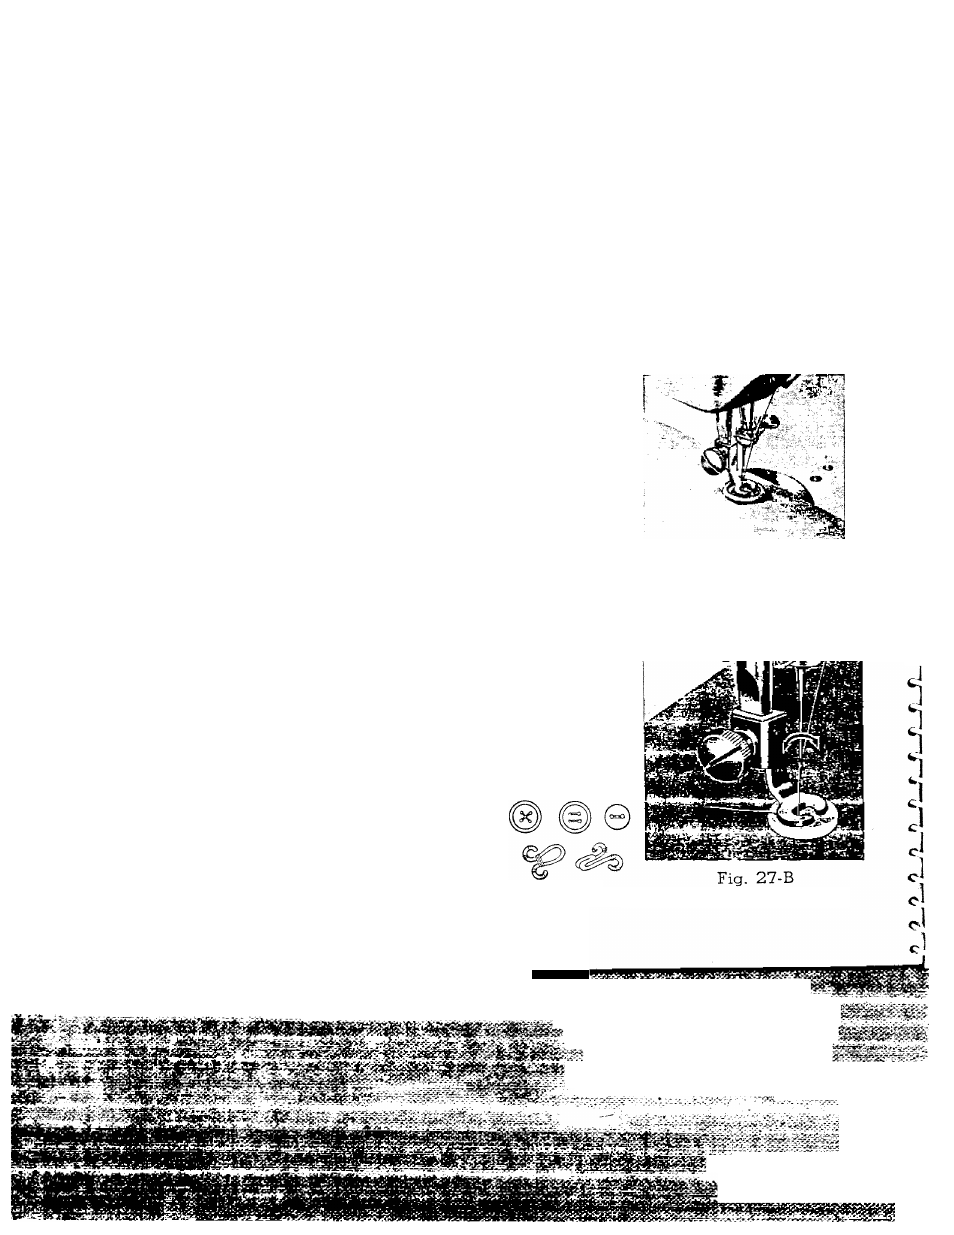
SEWING ON BUTTONS
'
1.
Remove hinged presser foot and attach button sewing foot. (See
Fig. 27-A, B and C).
2.
Turn drop feed knob to "DARN".
3.
Move zigzag width lever to '0' position or to the extreme left.
Place the button so that its left hole comes directly under the
needle,
then
gently
lower
the
presser
foot.
Move
the
zigzag
width lever to the right until the needle comes exactly over the
right hole of the button. Turn the balance wheel slowly by hand
to be sure the needle clears both holes of the button. Correct
width if necessary.
4.
When needle goes into the center of each hole, run the machine
at medium speed, making five or six stitches, stopping with the
needle in the left hole.
5.
To lock the zigzag stitch and prevent raveling,
set the stitch width at 0, and take a few stitches
in the same hole. If you wish you may place
a
rounded
toothpick
over
the
button,
between
the
two
holes,
and
sew
button
to
fabric
in
regular way
Fig. 27-C
Fig. 27-A
‘I