Using the graphic equaiizar, Recording to video-2 and video-3, Recording a source – Onkyo TX-SV535 User Manual
Page 28
Attention! The text in this document has been recognized automatically. To view the original document, you can use the "Original mode".
Recording a source
№
-X.
:yt|:
Recording and dubbing to a tape deck connected
to TAPE-2
1. Press the input selector button of the source to be recorded.
(other than rAPE-2)
2.
Start playing back the device selected in step 1, and start
recording on the tape deck connected to TAPK-2.
NOTES:
•
When the TAPE-2 MONITOR is off, any source signals can be
monitored through the speakers or the headphones (this is normal
operation),
•
If tape deck 2 is 3-head type however, you can monitor the record
ing directly of the tape by turning TAPE-2 MIONITOR on. Refer
to the tape deck instruction manuals for more details.
Set the recording level using the controls on the tape deck used for
recording.
Using the graphic equaiizar
1. Connect the graphic equalizer to the TAPE-2 jacks on the rear
panel.
2. If a second tape deck is used, connect it to the tape jacks on the
graphic equalizer.
3.
Press the TAPE-2 MONITOR button to turn on the T.4PE-2
MONITOR indicator.
Follow the graphic equalizer operation instructions.
To record an equalized signal, use the tape deck (connect to the equal
izer) for recording.
NOTE:
Since the surround function may be less efficient if a graphic equal
izer is also used during playback, flatten the frequency response on
the graphic equalizer.
VCR recording
Data can be recorded from video-disc players, video cassette recorders connected to VlDFiO-2 and 3.
Connect the VCR to VIDEO-2 and/or VIDEO-3.
Refer to each instruction manual for information concerning video-disc players, video camcorder'-. \ ideo cassette recorders and nioniior T\ .
Recording to VIDEO-2 and VIDEO-3
a. Recording the source being played back.
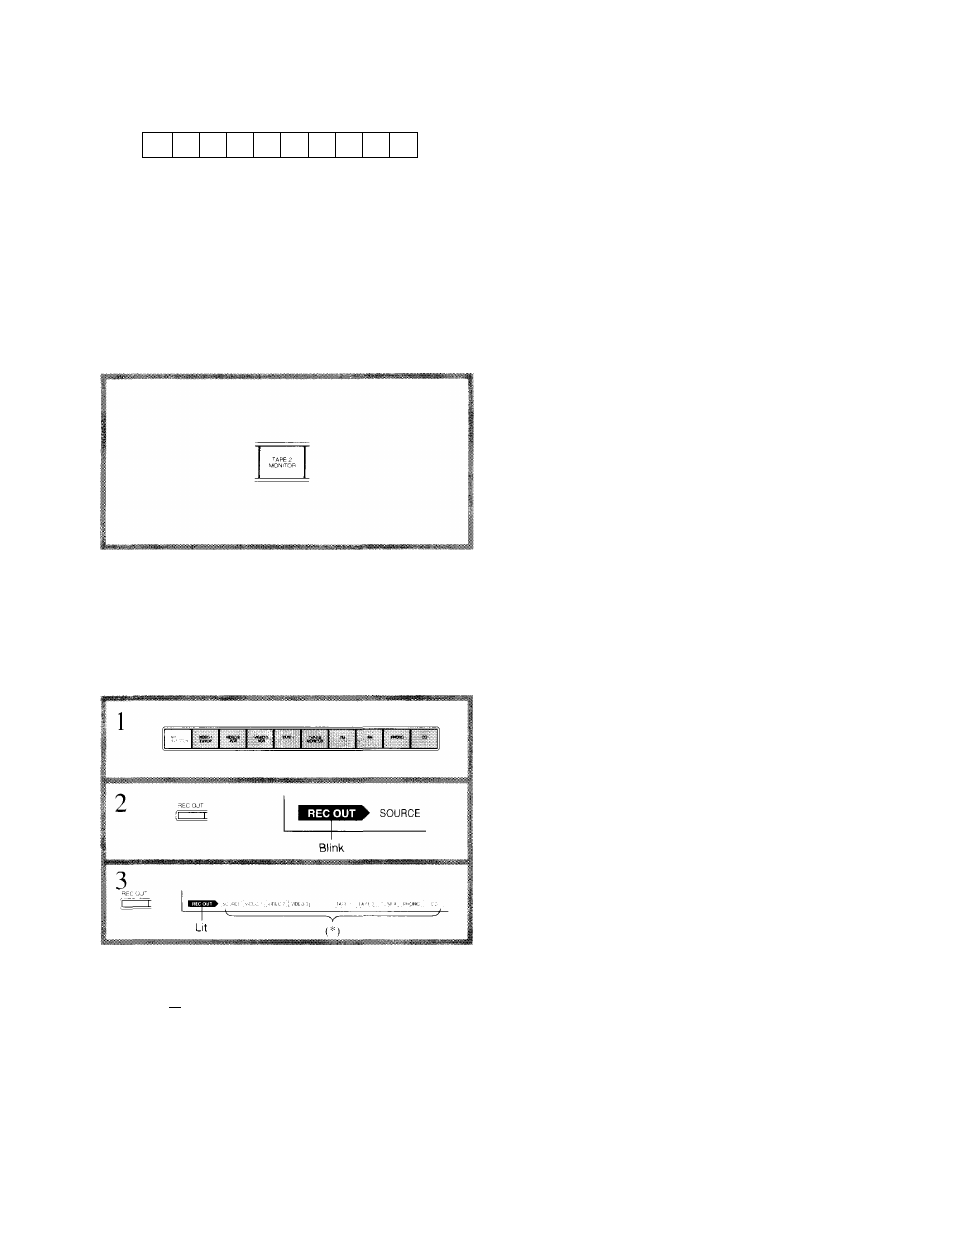
1. Select the source to be recorded with the input selector but
tons.
2. Press the REC OUT button.
3. Press the REC OUT button again while the REC OUT indi
cator is flashing.
The SOURCE and the source you htive chosen will be dis
played in red boxes. (*)
4. Start the source selected in step 1, and start recording on
the VCR connected to VIDEO-2 and/or VIUEO-3.
28
L 1
Lit
I
SOURCE
Blink
~ ^ r ~
( * )
b. Recording a source different from the one being played back
. Press the REC OUT button.
Press the input selector button of the source to be recorded
while the REC OUT indicator is flashing.
The chosen source will be displayed in a red box. (*)
Start the source selected in step 2, and start recording on
the VCR connected to VTDEO-2 and/or VIDEO-3.