Use of surround mode – Onkyo TX-SV535 User Manual
Page 26
Attention! The text in this document has been recognized automatically. To view the original document, you can use the "Original mode".
Use of surround mode
4,
4,
6,
Remote control
IZID
TAPE 1
INPUT SELECTOR
(ZZ) ZZ)
TUNER PHONO
zz
zz
VIDEO--
VIDEO 2 VIDEO-3 1
Remote control
ZZ
3
Remote control
Remote control
l
ZD □
A A
T
T
(ZZI cz
26
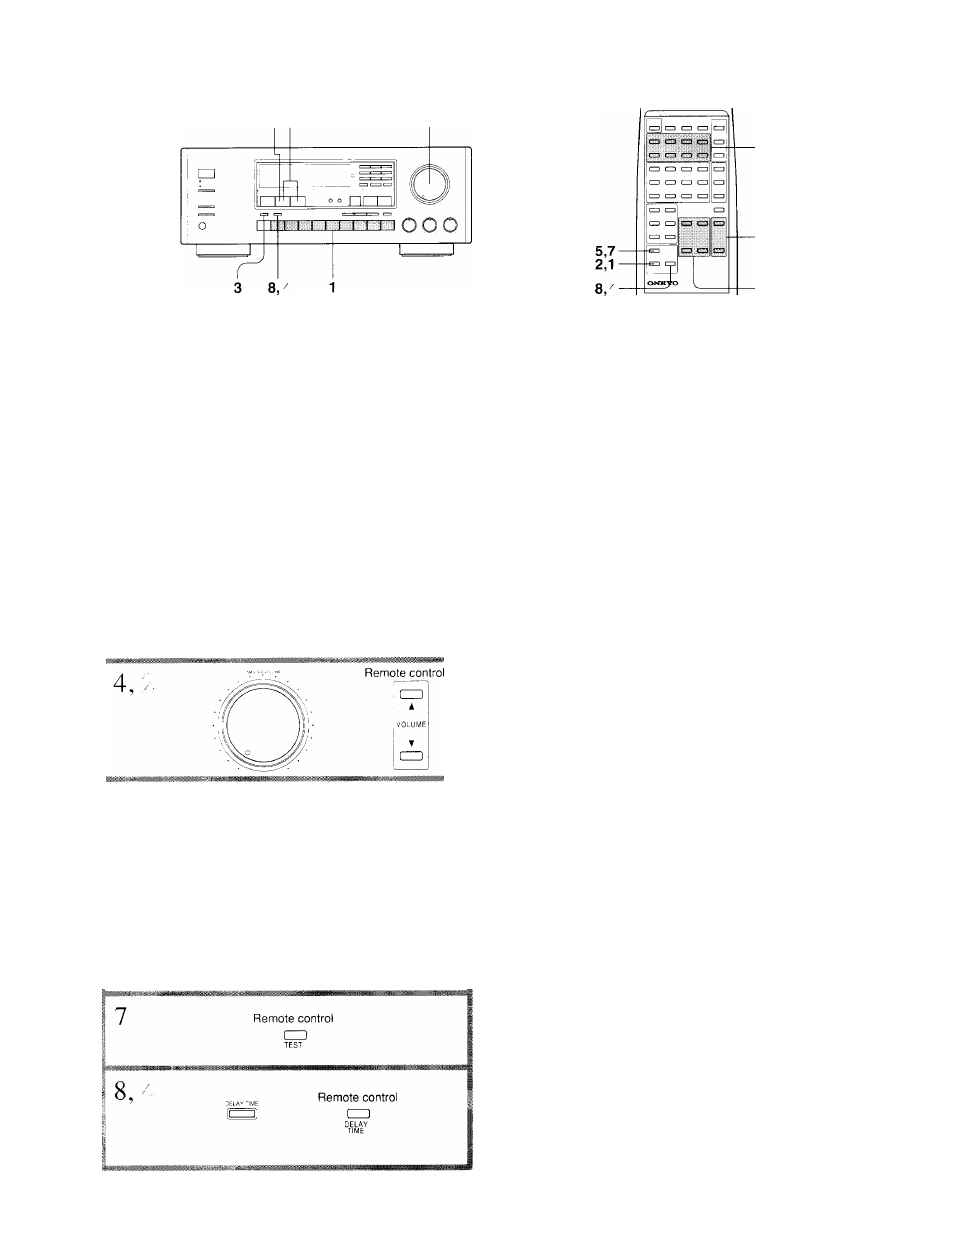
Setting the Dolby Pro Logic surround or
Theater mode
When using video cassette tapes or video discs with the Dolby Sur
round trademark, you can achieve the same kind of' sound in your
room that can be experienced in a movie theater.
1. Select a source encoded with Dolby surround.
2.
Press the DOLBY PRO LOGIC button to select Dolby Pro
Logic surround mode, or press the DSP MODE button to
select Theater mode.
If you are working from the remote control, press SURROUND
MODE button to select either PRO LOGIC or THEATER.
Use the CENTER MODE button to select Center mode.
(Explanation
2
)
Use the MASTER VOLUME to set the volume to the desired
listening position.
5. Press the TEST button to start test-tone cycling. The test tone
(pink noise) cycles from speaker to speaker. The cycling
sequence depends on the Center Mode settings, as follows.
If Center Mode is NORMAL or WIDEBAND:
left front ^ center —> right front -
3.
4.
z
z
When the center mode is set to PHANTOM:
left front —» right front ^ rear
z
6.
Using the test tone as your reierence, adjust the center and
rear speaker levels with the CENTER/REAR LEVEL A and
T
buttons on the remote control.
When one of these buttons is pressed, the level is .shown on the
display for three seconds. The level can be adjusted in each Sur
round mode and stored for that specific mode.
7. Press the TEST button again to turn off the test tone.
8. Adjust the delay time (Explanation 3).
Adjusting the Hall, Live and Arena Surround
parameters
. Use the DSP MODE button to select either Hall, Live or Arena
(Explanation 1).
A. Use the MASTER VOLUME to set the volume to the desired
listening position.
Adjust the center level, and rear level using the CEINTER
LEVEL
A / T
and REAR LEVEL
A / V
buttons on the
remote control.
^. Adjust the delay time (Explanation 3).