Changing the needle plate – Sears OVERLOCK 3/4D 385.16631 User Manual
Page 35
Attention! The text in this document has been recognized automatically. To view the original document, you can use the "Original mode".
SFCTiON 3. LEARN THE STITCHES
Types of Needle Plates
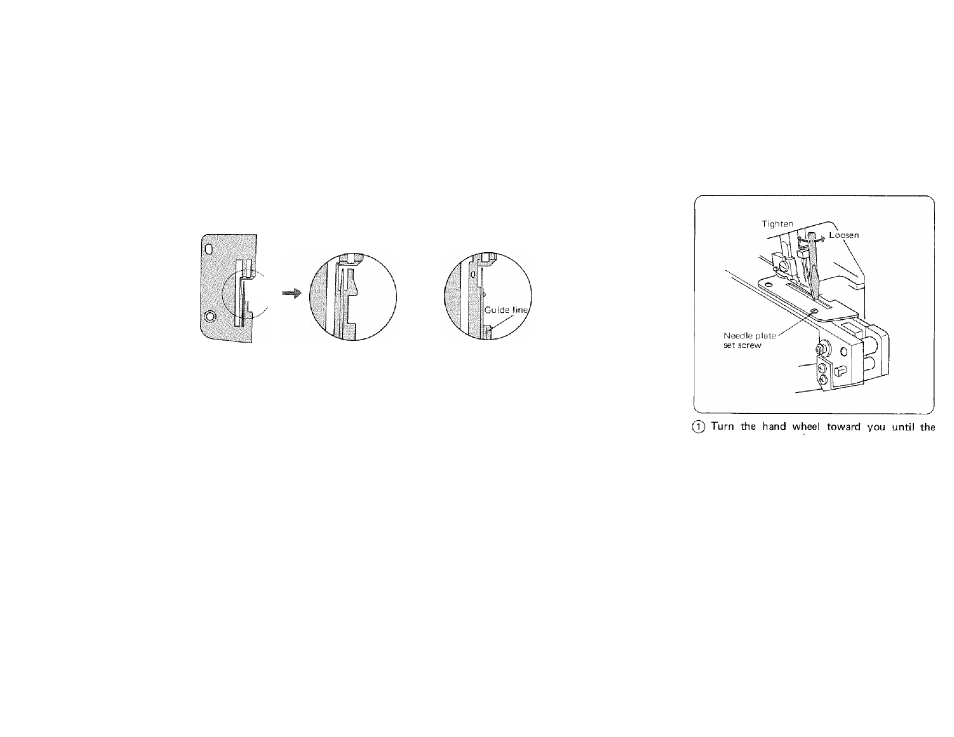
Changing the Needle Plate
@
Stamp on the reverse
side of the plate
Regular
(for normal
sewing)
"S"
Rolled hemming
(for rolled hemming
picot edging and
narrow hemming)
"R"
* Select the needle plate for your sewing need.
* Your overlook is shipped with the regular needle plate in place.
For your Safety;
When you change the needle plate, make sure that the machine is disconnected from the power
supply.
needle comes above the needle plate. Then
remove the presser foot.
@ Open the side and looper covers.
(Refer to page 6.)
Set the upper knife to down position.
(Refer to page 29.)
(J) Remove the needle plate set screw, and lift
the needle plate.
Attach the needle plate you require with the
needle plate set screw.
@ Bring the upper knife to up position.
(Refer to page 29.)
Close the looper and side covers.
Attach the presser foot.
30