Removing and installing blades – Sears 113.23611 User Manual
Page 9
Attention! The text in this document has been recognized automatically. To view the original document, you can use the "Original mode".
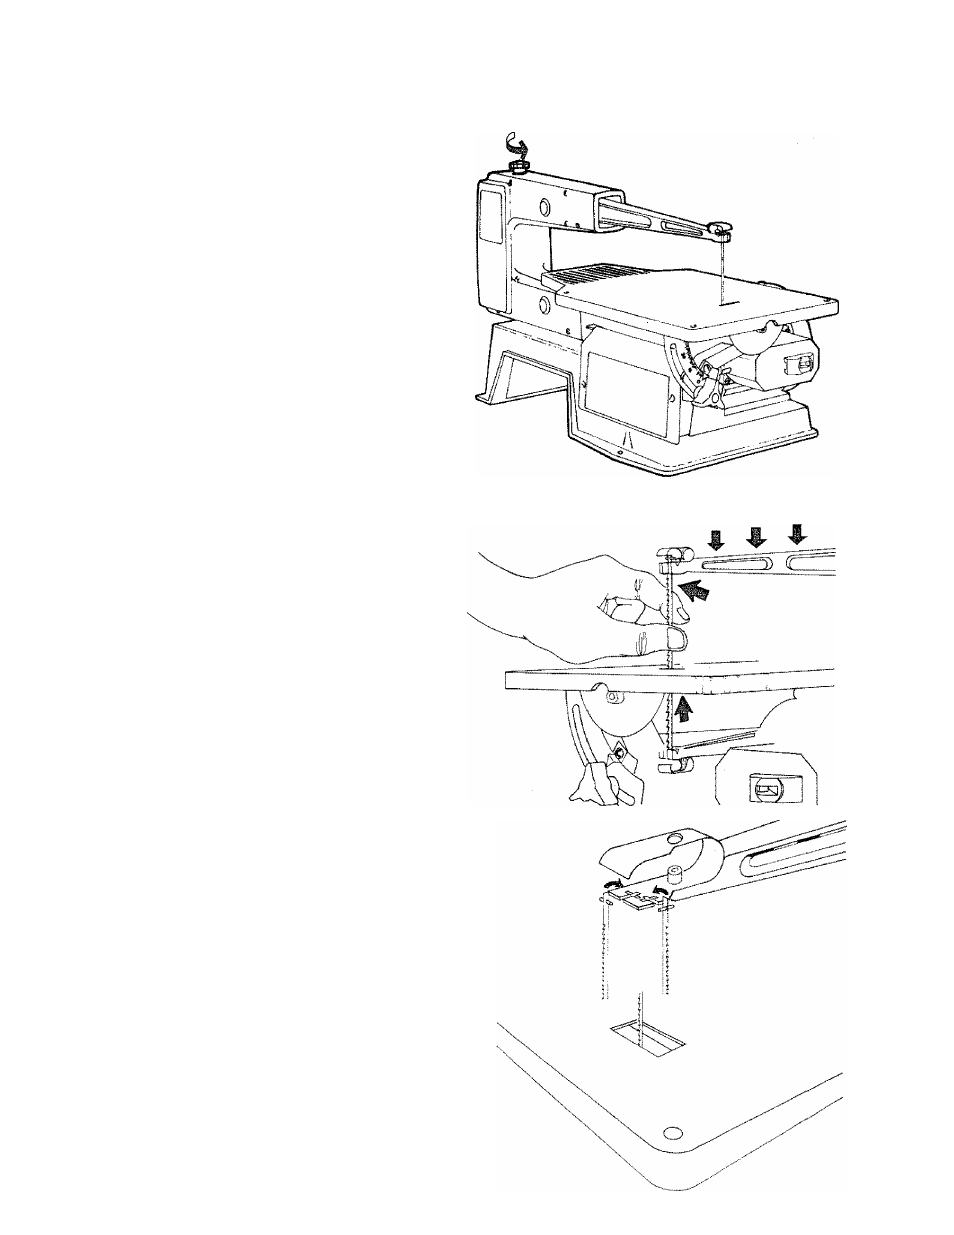
removing and installing blades
WARNING: TO AVOID INJURY FROM ACCIDENTAL
STARTING, ALWAYS TURN SWITCH "OFF” AND
REMOVE SWITCH KEY BEFORE REMOVING OR
REPLACING THE BLADE.
1.. Loosen tension on blade by turning tension knob counter
clockwise
about two full turns.
Slight Pressure Here
2. Remove blade by pulling forward on blade and then lifting
the blade through the access hole in the table.
Slight downward pressure against the upper arm may be
helpful when removing blade from upper holder.
3. Look at the blade holders closely and notice the blade slots
and pin recesses in the blade holder. The blade holder is
made so you can position the blade for cutting from the
front or one side of the saw.
Cutting from the side of the saw will be necessary when your
work piece exceeds 16 Inches in length. For zero degree
bevel angle only.